Author Archive for Sally

Mental Health Awareness Week – some things I’ve found that have helped me with anxiety…

This week, 18 – 24 May is Mental Health Awareness Week on the theme of kindness.  Quite apt during this continuing lockdown period where a lot of us are struggling in one way or another don’t you think?  

Whilst I wouldn’t say I suffer with anxiety, I’m definitely an anxious person.  In my teenage and early adult years I suffered with Emetophobia, which caused me a lot of anxiety and whilst I don’t think I’ll ever be completely over this phobia I’ve certainly learned how to deal with it better over the years. I’ve written a full blog post on this which you can read here if you want to. I cannot believe how many people messaged me after I posted this saying that they felt the same, it took me so long to get the courage to write that post and I’m so glad I did, it just goes to show that you might think you’re the only one who feels someway but you pretty much definitely won’t be.

Anyway, during this period of time and in the years following my worst time with it, I learned a few different coping mechanisms and things that I know now will help me to feel better and I thought I’d share them here just incase they’re helpful to you too.  I think it’s important to note that these are things that have helped me personally – they may not work for everyone but hopefully even one or two of them might.
Yoga / in fact any sort of exercise…

Yoga is something I’ve got into in more recent years.  Focussing on your body and regulating your breathing does wonders for your mind.  I carry a lot of tension in my back when I feel anxious and if I’m feeling panicky I can sometimes feel shaky which in turn gives me awful back ache.  I’m beginning to realise now that if I can feel an anxiety session coming on a quick half hour of Yoga with Adriene will usually sort me out if I catch it early enough.  While I was running I found this had a similar effect on my mental well being but I haven’t run for ages so we won’t go there 😉

Do something with your hands

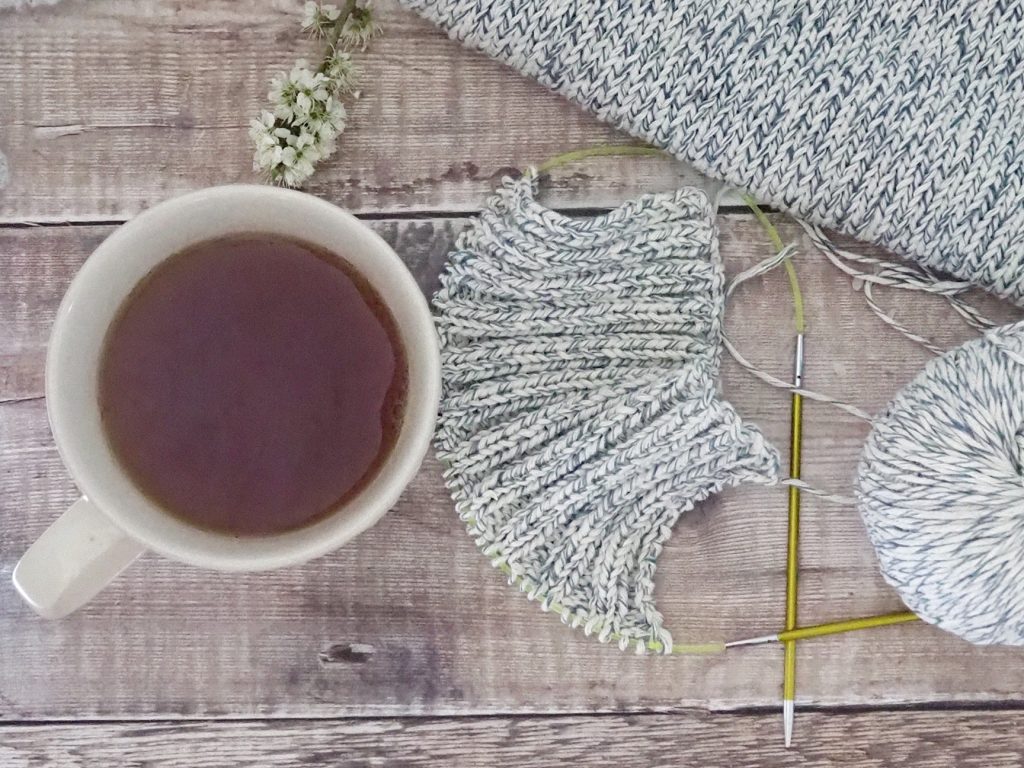
I cannot talk enough about how knitting helped me during the worst time of my phobia.  It was something therapeutic that I could do with my hands which was mindful enough to calm my anxious mind.  It also gave me something to look forward to and plan for – thinking about which project I’ll make next and what wool I can buy. I do this with fabric now 😉  Some of the benefits recorded with knitting have also been lowered blood pressure and distraction.  It can also be very social, there’s a whole world of knitting Instagrammers out there you know! I know lots of people who would say the same about crochet and gardening too.
Prayer & meditation   

I’m a Christian so I’ll always pray through my worries, sometimes sitting alone for a while listening to a talk or meditation and reading my Bible will be enough to remind me that God is in control and give my worries over to him. However, I’m only human and a bit of a control freak so it’s worth mentioning that sometimes I find this difficult too.

Getting Outside

When you’re gripped with worry and on the verge of panic going out for a walk can be the last thing you feel like doing but when I’m feeling anxious getting outside, usually with the dog now, does me the world of good. Something about the calm and quiet of being in nature helping to calm my mind I guess.

Counting backwards from 100

Sounds madness but I’ve been known on a few occasions during lockdown to have woken up in a state and been calmed back to sleep by doing this over and over accompanied by some deep breathing.

Write it down

Another thing I’ve only recently got into is journaling, I was sceptical at first but actually getting your feelings down on paper does actually help – who knew!  
Get someone who understands to rationalise with you

In my teenage years it was my parents and a couple of close friends, now it’s my husband.  Talking over your anxieties with someone who cares about you, even if they feel silly to you, will always help.

Be kind to yourself

In the midst of my worst struggle with my phobia mental health wasn’t talked about like it is now.  I felt like there was something wrong with me, that I was strange or weak.  If you’re going through a tough time please know that you aren’t alone. 

When I was at my worst with this there were very few people who actually knew what I was going through, I got very good at hiding it and knowing how to avoid situations I couldn’t cope with without looking too weird.  What I mean by saying this is that you never know what someone else is going through even though on the outside they might look fine!

Always be kind and remember…
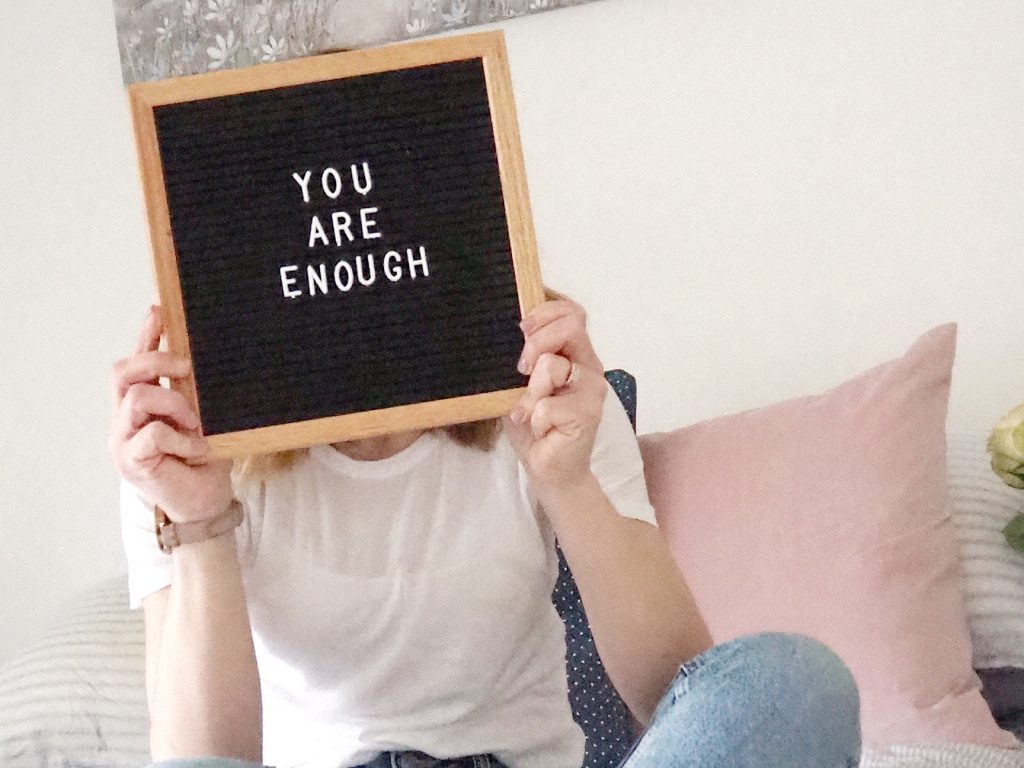
I hope some of those tips may have been helpful.  I’m always happy to chat if you are suffering from a similar phobia or if you just want to chat in general. 

Take care, stay safe and as always thank you for reading!!

Sally xx


Lockdown Reading Inspiraion – Five Books I’ve Loved Lately…

What are you currently reading??  It’s a question I am asking anyone and everyone at the moment.  I’m not sure what’s happened to me during this isolation period but I cannot get enough of books.  I should explain that this isn’t entirely uncommon for me, I’ve always been a ‘reader’ and books have always been part of my life.  I could sit in a library or bookshop for ages, stare at the books and just feel – well – comforted! 

Since having my children though I’ve found it harder and harder to read at home, I’d usually have a book on the go but I’d struggle to concentrate or to read more than a couple of pages in bed before I was ready for sleep.  Holidays were really the only time I’d ever get through a whole book in less than six months!!

I think this lockdown period, a time where we actually can’t be that busy, we can’t fill our time with outings and gatherings and kids activities, has enabled me to rediscover what I always loved about books which is that feeling of escapism, or being part of another world for a little while and all of the emotions that a piece of writing can make you feel.

So, in case like me you’re always looking for your next read at the moment, I thought I’d share with you five books I’ve read lately that I’ve really enjoyed and why I loved them so much.

I’ve linked the books in the title so that you can view them for yourself if you want to 🙂

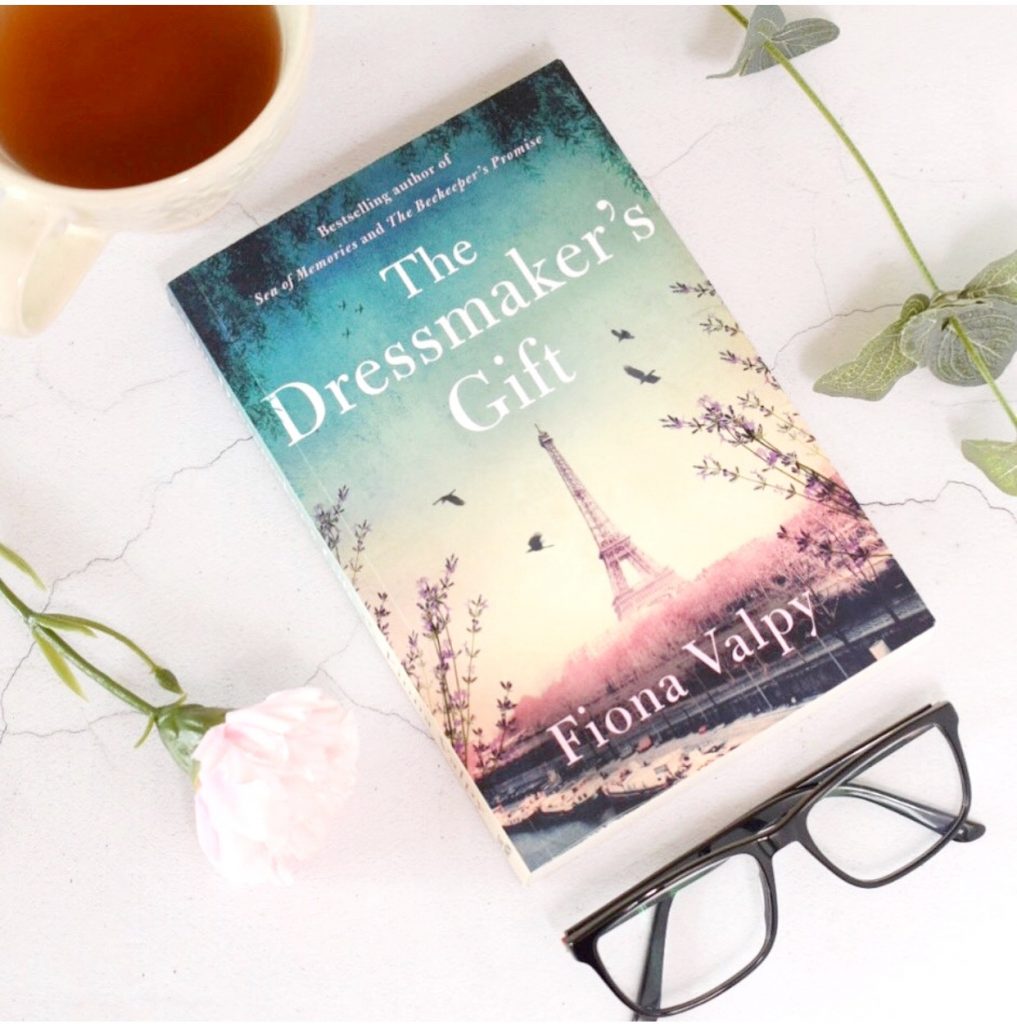
The Dressmakers Gift – by Fiona Valpy

The book follows Harriet as she unravels the truth about her Grandmother’s story when she lived and worked in Nazi occupied Paris during the war in 1940.  I love anything set in the 1940s it’s my favourite era to read and learn about and to have it set in a French atelier during that time with the references to sewing, dressmaking and French design and fashion was just perfect for me.  I loved the story, a little reminder if ever we needed one of what our grandparents and great grandparents went through during that time.  I adored this book and didn’t want it to end!

The Family Upstairs by Lisa Jewell

‘Rich, dark and intricately twisted, this enthralling whodunnit mixes family saga with domestic noir to brilliantly chilling effect.’ RUTH WARE

This book has mixed reviews on Amazon but for me I was absolutely gripped throughout and read it in a week which is unheard of for me lately.  It’s kind of dark and a little bit creepy but it kept my interest until the end, wanting to find out what had happened and why things had turned out the way they did.  My only criticism might be that the end seemed a little rushed but I guess all books have to end somewhere.  Definitely recommend if you want a page turner that you won’t be able to put down and like a bit of mild psychological thriller-ism (is that a word!!).

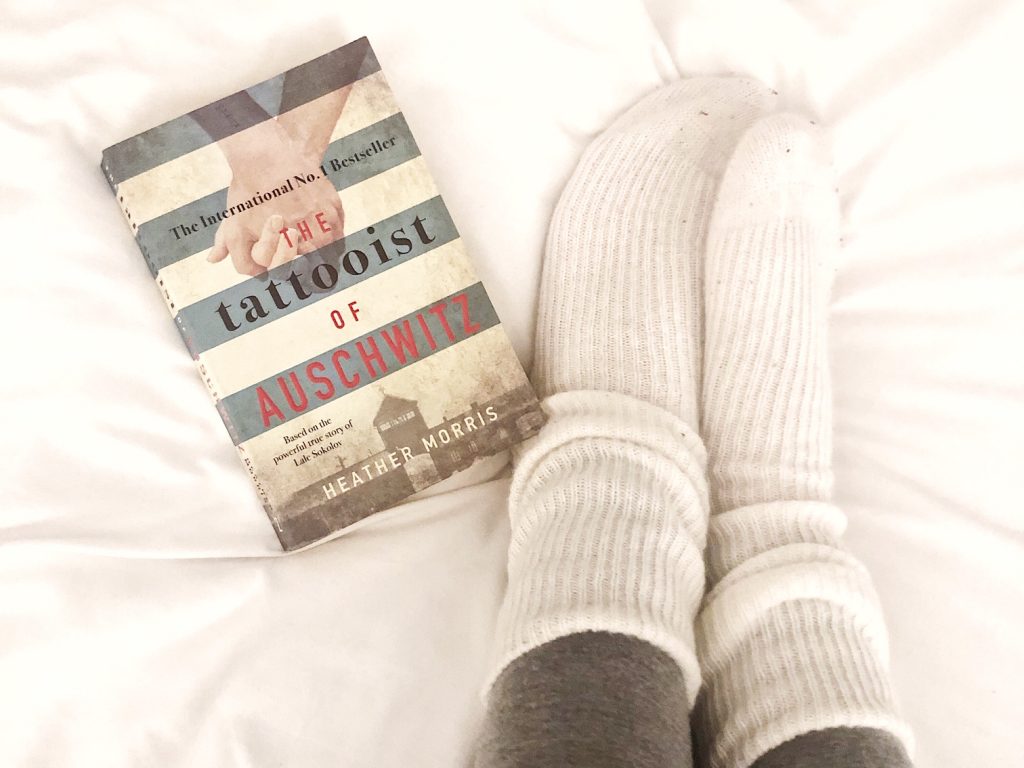
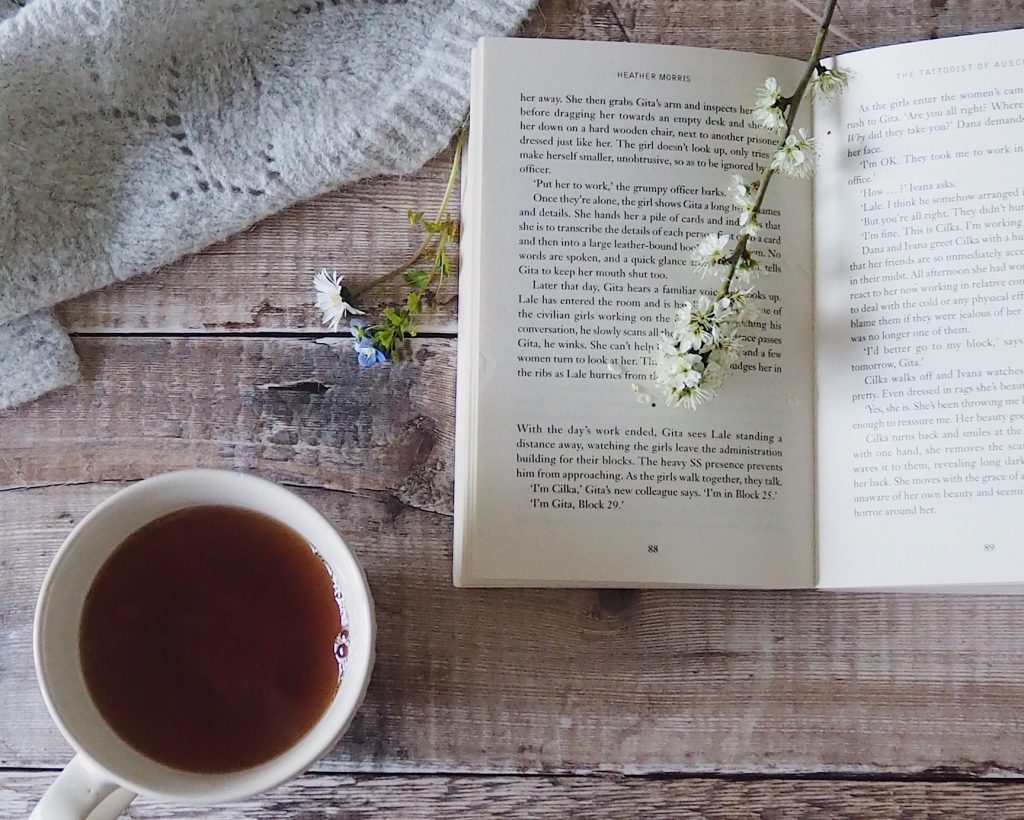
The Tattooist of Auschwitz by Heather Morris

Another book set during the second World War!  This one has been on my list for ages, I started the book at the start of lockdown and was worried it would be a bit hard going, given how I was feeling, but actually it wasn’t at all.  Don’t get me wrong there are parts of the book that are pretty harrowing to read, it’s set in a German concentration camp after all, but it is an amazing story of love, friendship and the determination to survive above all of the odds.  The most amazing bit is that it’s based on a true story.  I found the real life parts at the end fascinating.

The Girlfriend – by Michelle Frances

‘A girl. A boy. His mother. And the lie she’ll wish she’d never told’

Continuing the psychological thriller theme I read this book on our holiday to last year and it was another one that just kept me gripped throughout.  I could not put it down.  Lots of twists and turns, every chapter ends on a cliff hanger that left me unable to put it down to sleep.  The sign of a good book – and the making of a very tired mumma the next day!!

The House we Grew Up In – by Lisa Jewell

‘ An unforgettable story about a family with a terrible secret’

Another Lisa Jewell book! This one didn’t keep me quite as gripped as the one above but I still really enjoyed it.  It did make me feel quite sad in parts, not crying my eyes out sad, but sad about the knock on effects family life can have and how parents are parents but are still their own people with their own feelings and issues.  Very compelling, an excellent read.  I won’t waffle on anymore about it incase you decide to read it yourself and I ruin it for you.

So that’s it, next on my list is Grown Ups by Marian Keyes. I’ve read every one of Marian’s books so far and I’m looking forward to seeing if this one lives up to the others.

Have you read any of the books on my list?  I’d love to hear what you thought and please do let me know what you’d recommend for my ever growing ‘to read’ list.

Lots of love as always!! Sally xx   
*Blog contains some affiliate links*  

Beginner Sewing Tutorial – Easy Pom Pom Cushion

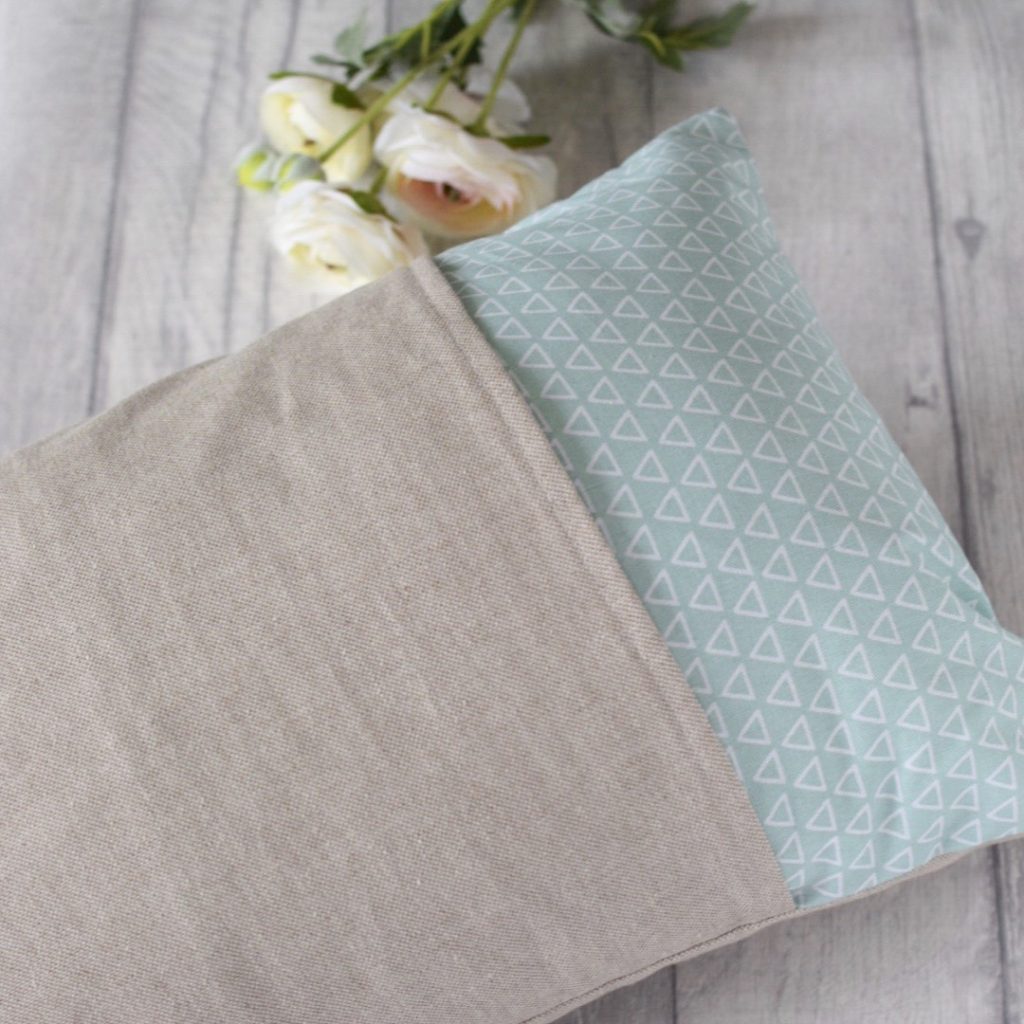
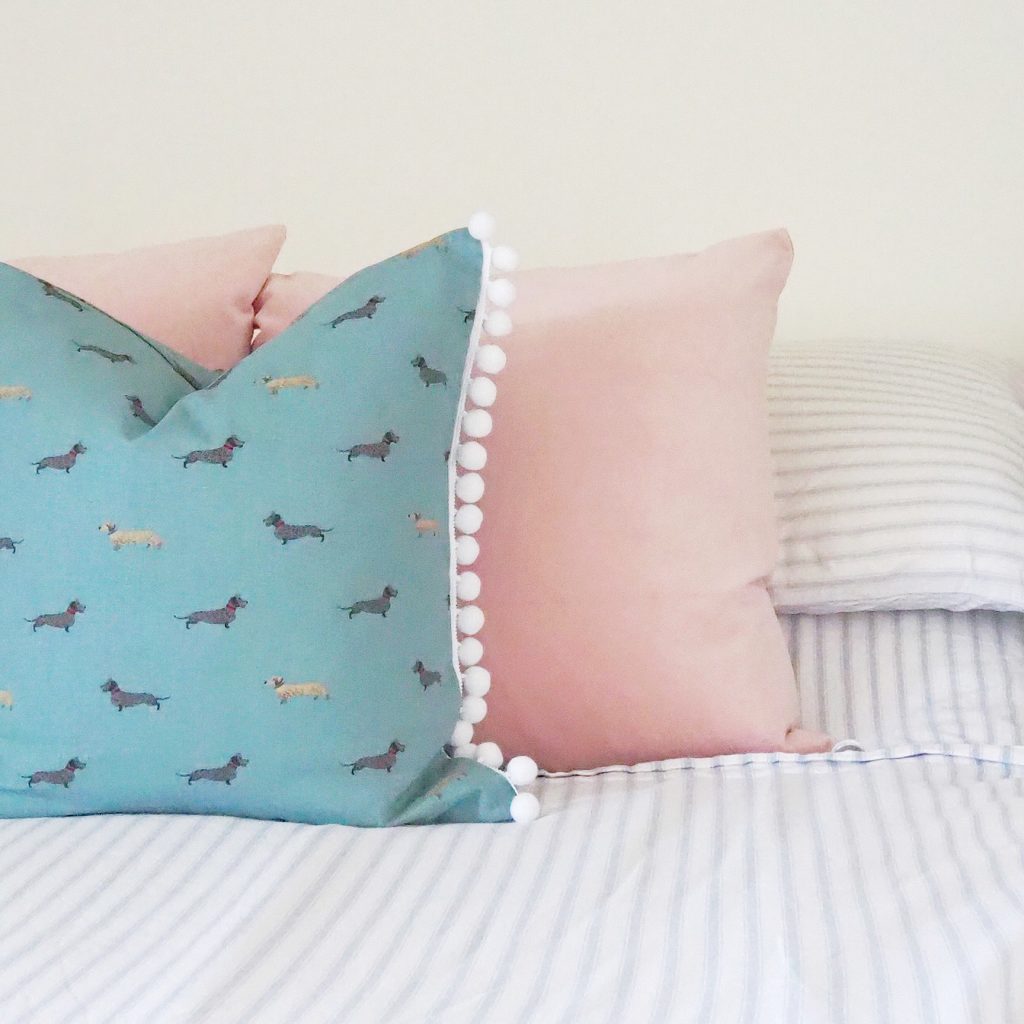
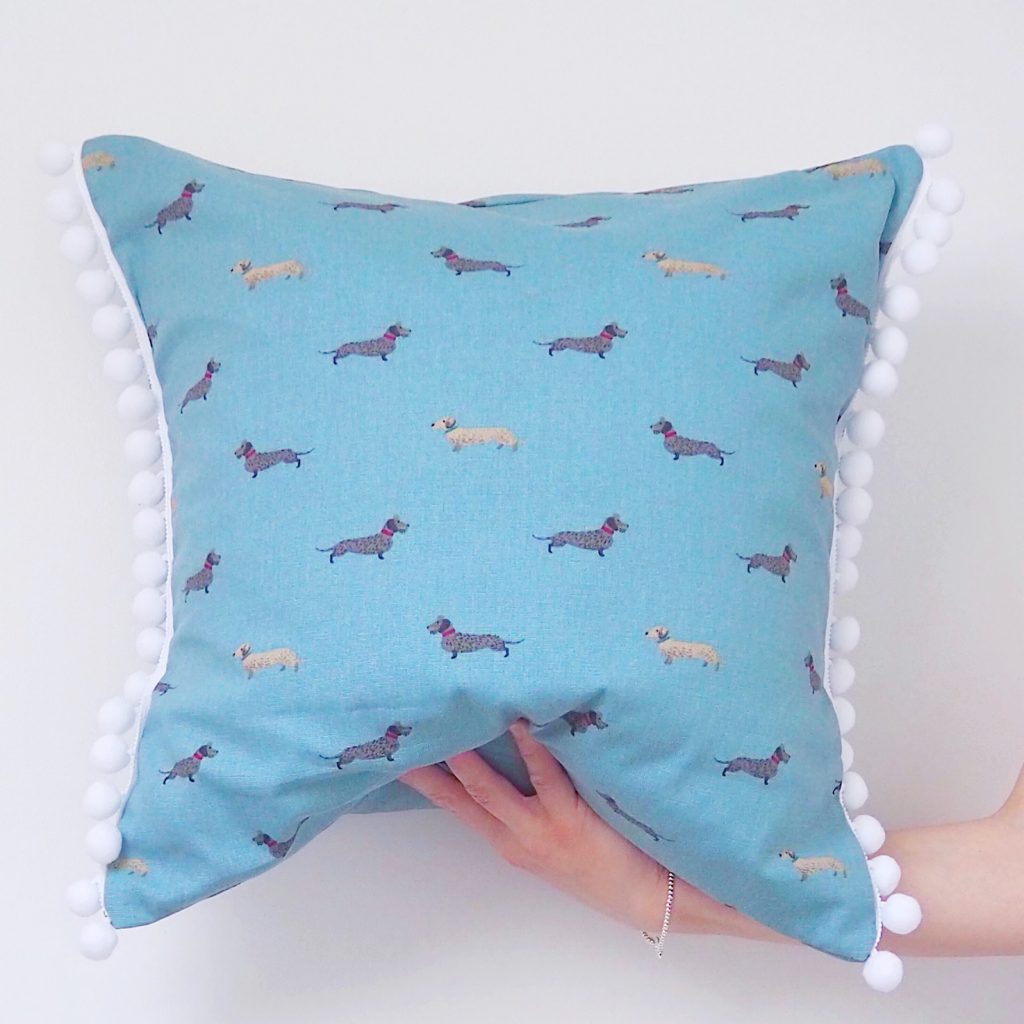
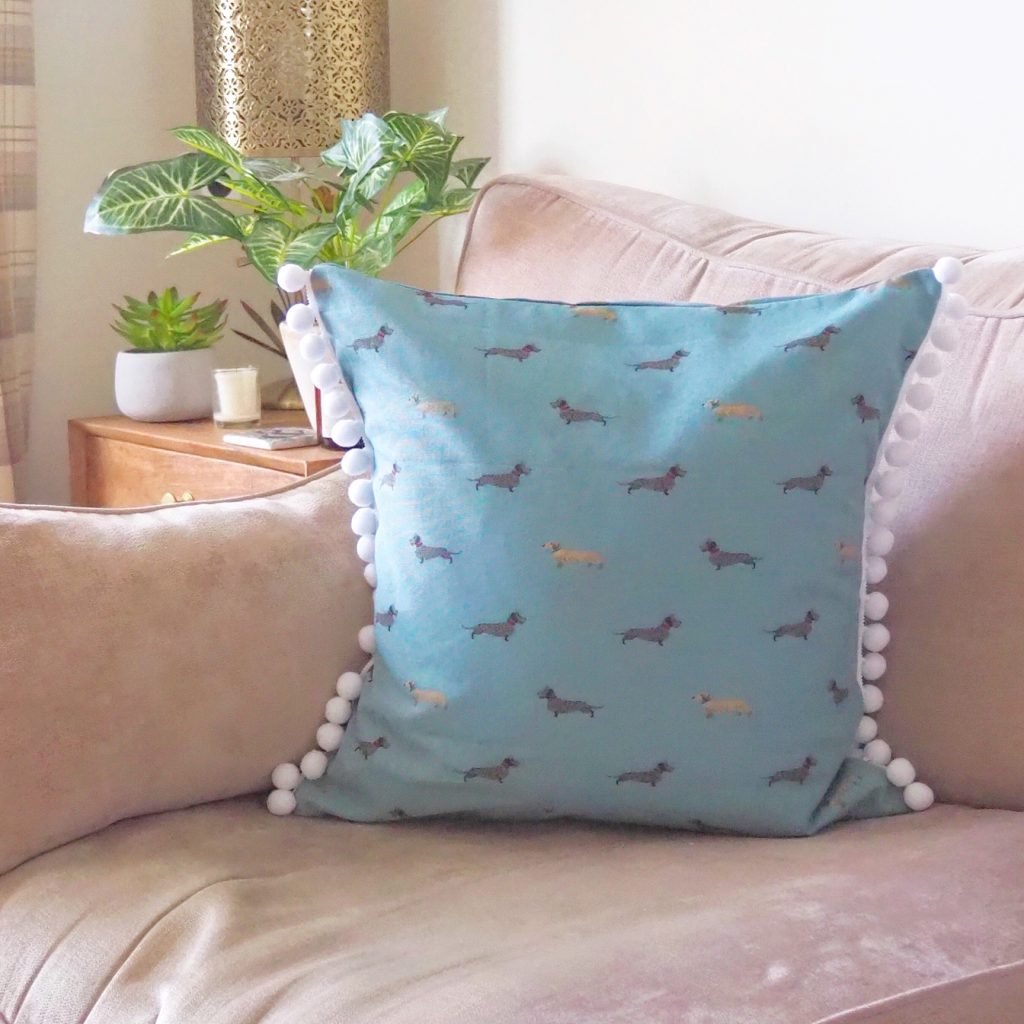
This envelope style cushion cover is one of the easiest styles of cushion cover to make as there are no zips and no button holes to master.  The added touch of the pom pom trim gives a bit more interest but you could just as easily make it without of you don’t have any available or don’t want to.

You will need:

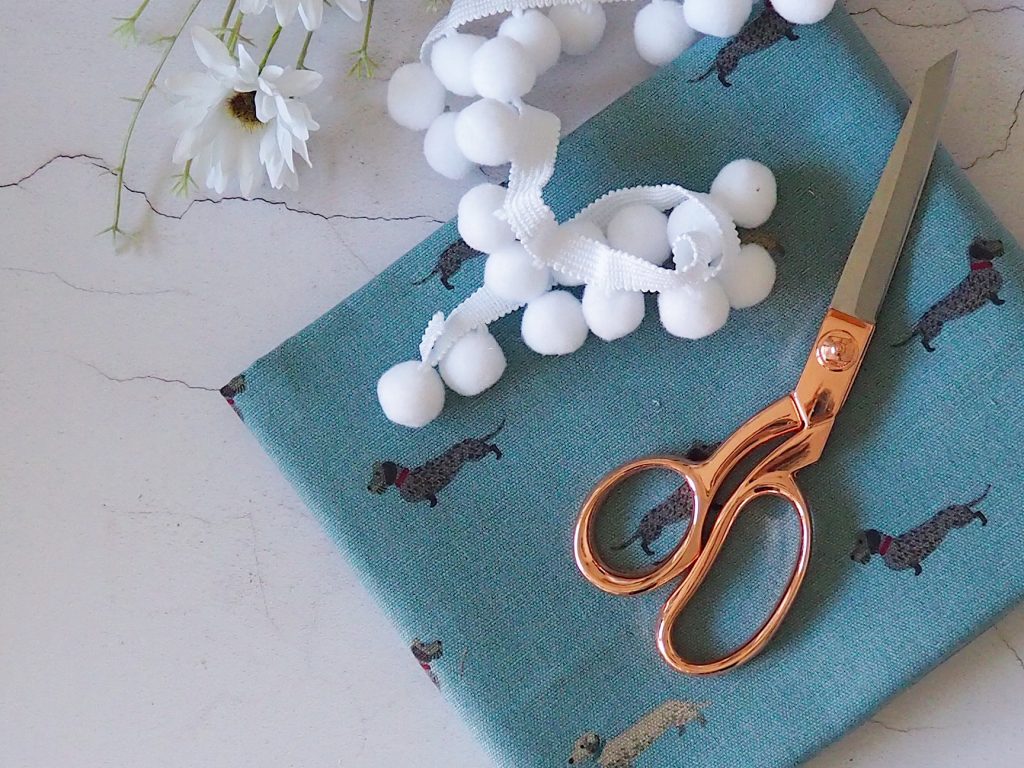
A cushion inner pad | Fabric for your cushion cover | Pom pom trim (if using) | Matching thread | Sewing machine | Scissors | Pins

Step 1 – cut the front of your cushion cover

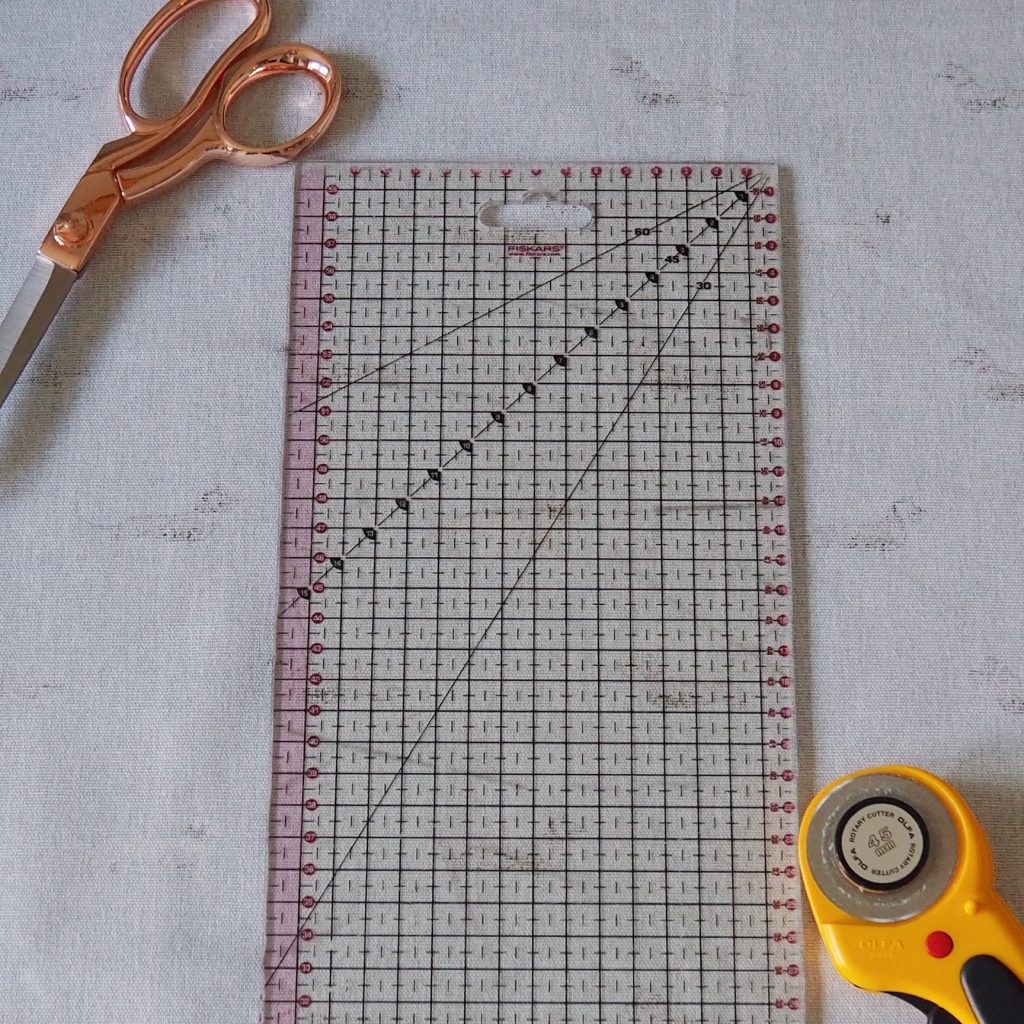
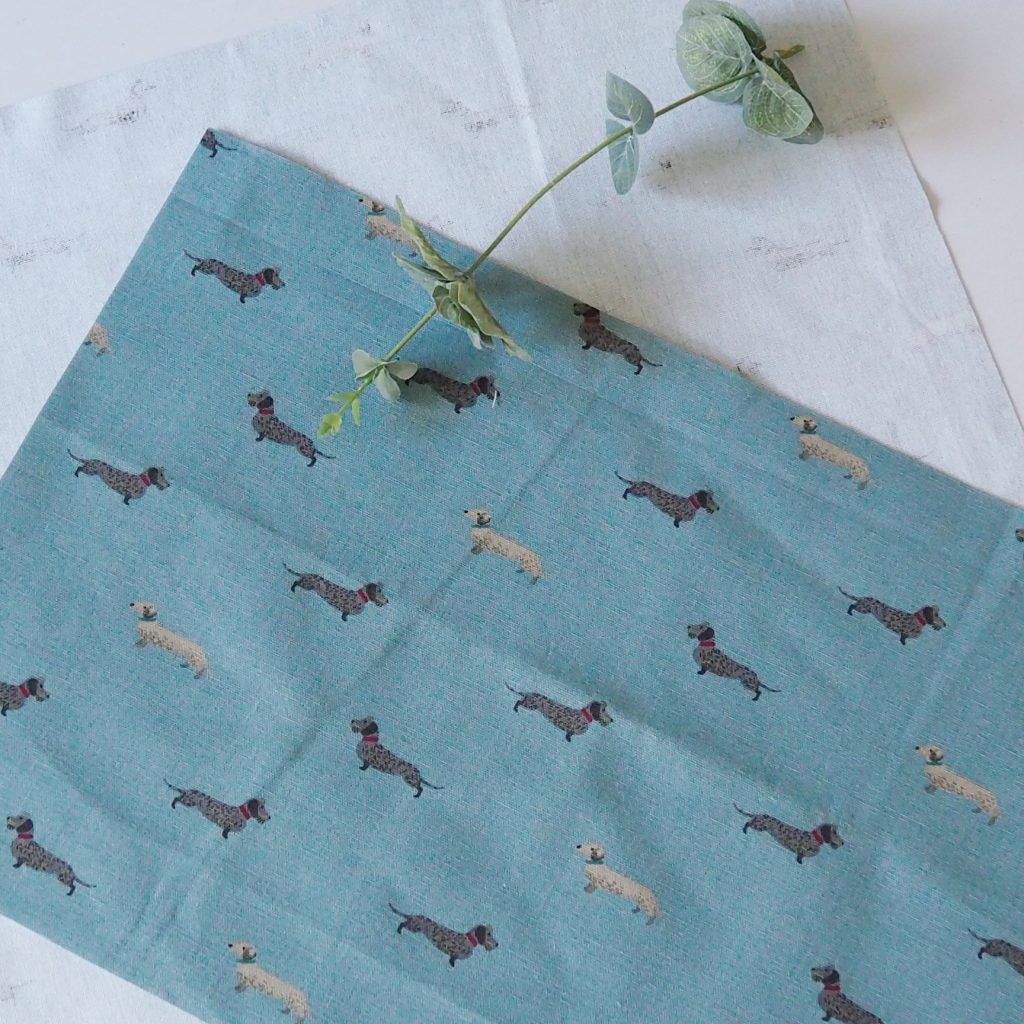
Measure your cushion pad.  You will need to cut a square, or rectangle according to your cushion shape, to the measurement of your cushion pad but you will need to include a 1cm seam allowance all around.  For example, my cushion was 50 x 50 cm so I cut a square which measured 52 x 52cm which included a 1cm seam allowance for each side.

Step 2 – cut your back ‘envelope’ pieces

You will need to cut two rectangles for each of your ‘envelope’ pieces.  There is no exact rule for working out this measurement, but I tend to use the formula width x 80% of the length of your cushion.  So for my example above I will be cutting a rectangle measuring 52cm x 40cm.  An 80% measurement might feel quite long but remember that this is going to include a hem and you want quite a generous overlap of the layers so that no inner pad pokes through!

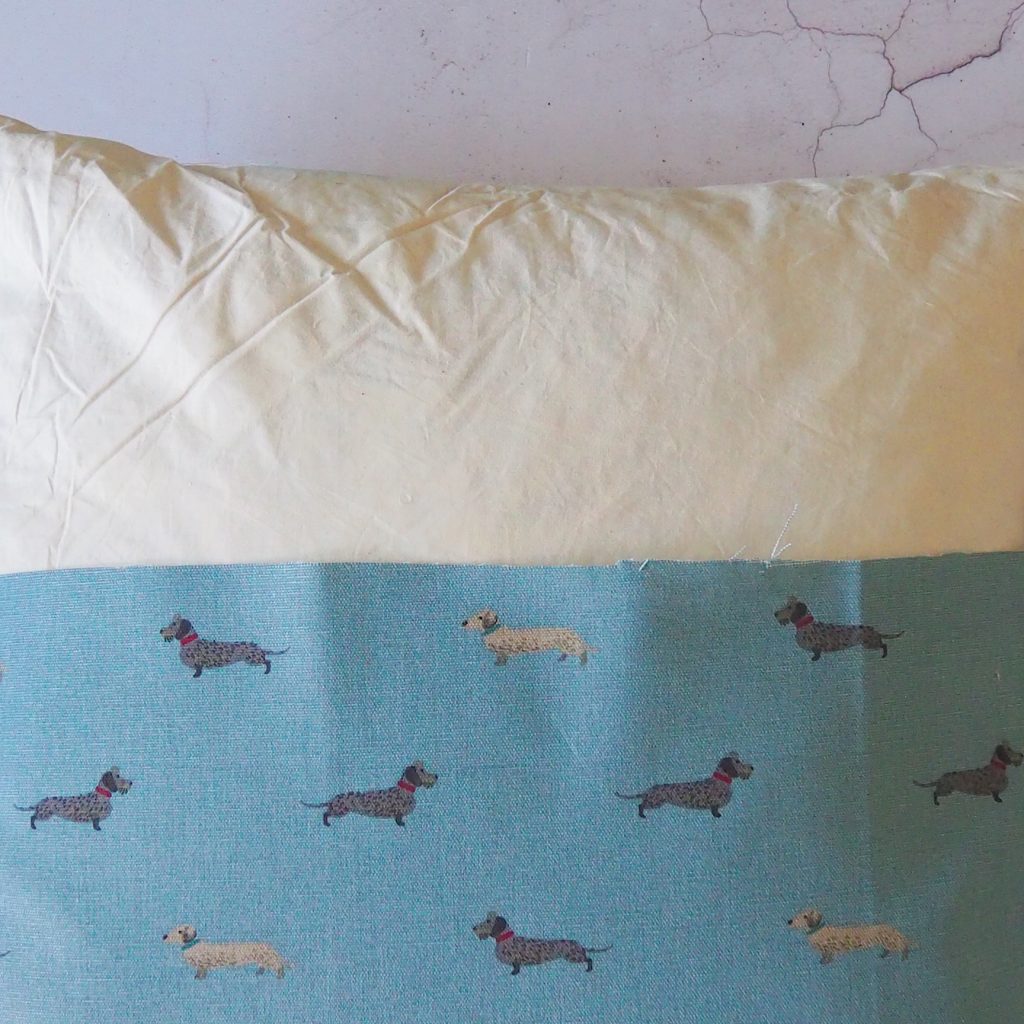
NB. If you are using a rectangular cushion follow a similar calculation.  For example if you have a cushion measuring 50 x 30 cm go with two pieces at either 80% each or sometimes having a small piece and a larger piece can work nicely like my example below. 

Step 3 – hem both of your envelope pieces

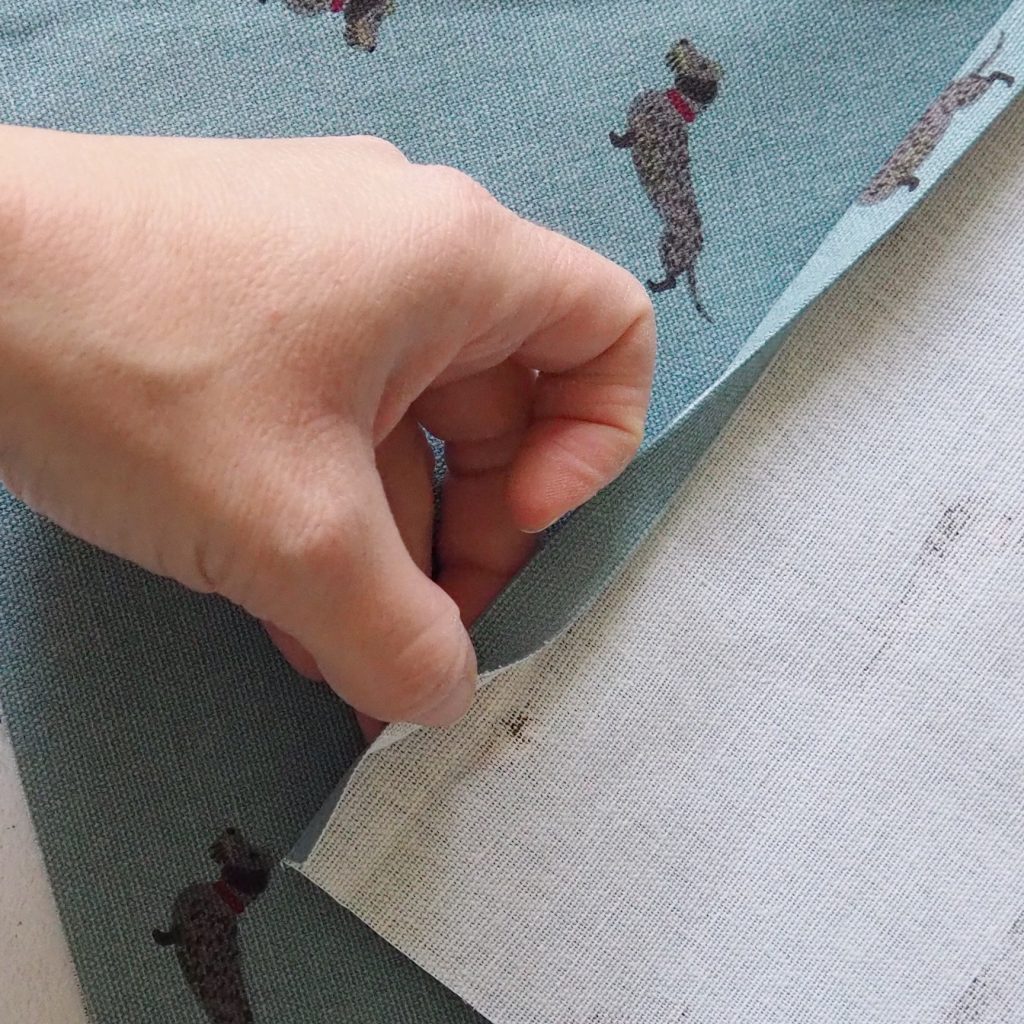
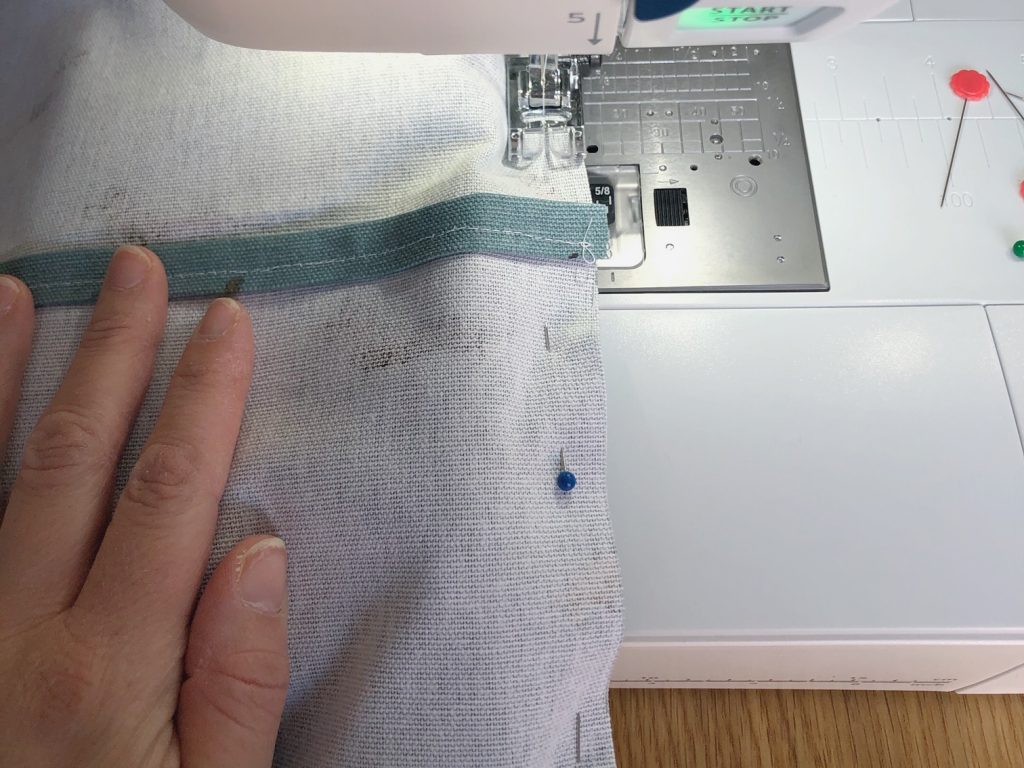
Turn over and press a 1cm hem along one of the opening edges of your back pieces then press over another 1cm so that your raw edge is completely enclosed.  Pin this seam if necessary as you’ll be sewing this soon.  Repeat this step for your other envelope piece, if you are using a directional print like I have here (the print all faces in the same direction) just make sure that your fabric is going to be the right way up once it’s sewn.  You may need to turn one hem at the top of your piece and the other at the bottom to ensure that the print will be facing the right way when it’s sewn. 

Step 4 – cut and prepare your pom pom trim (if using)

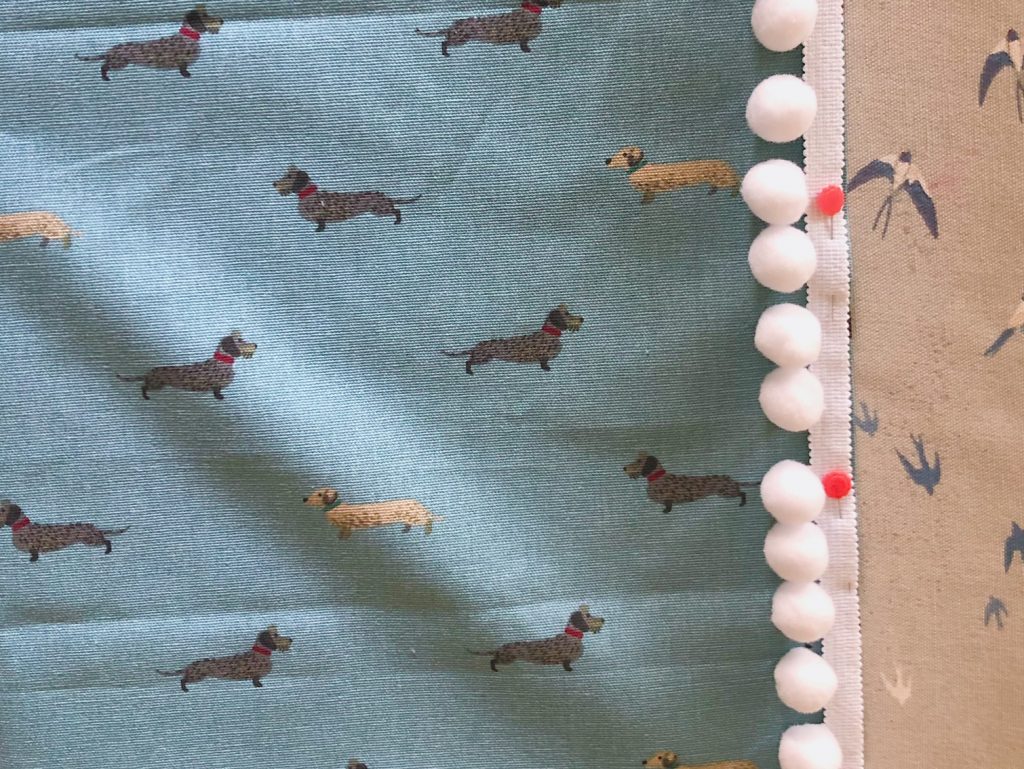
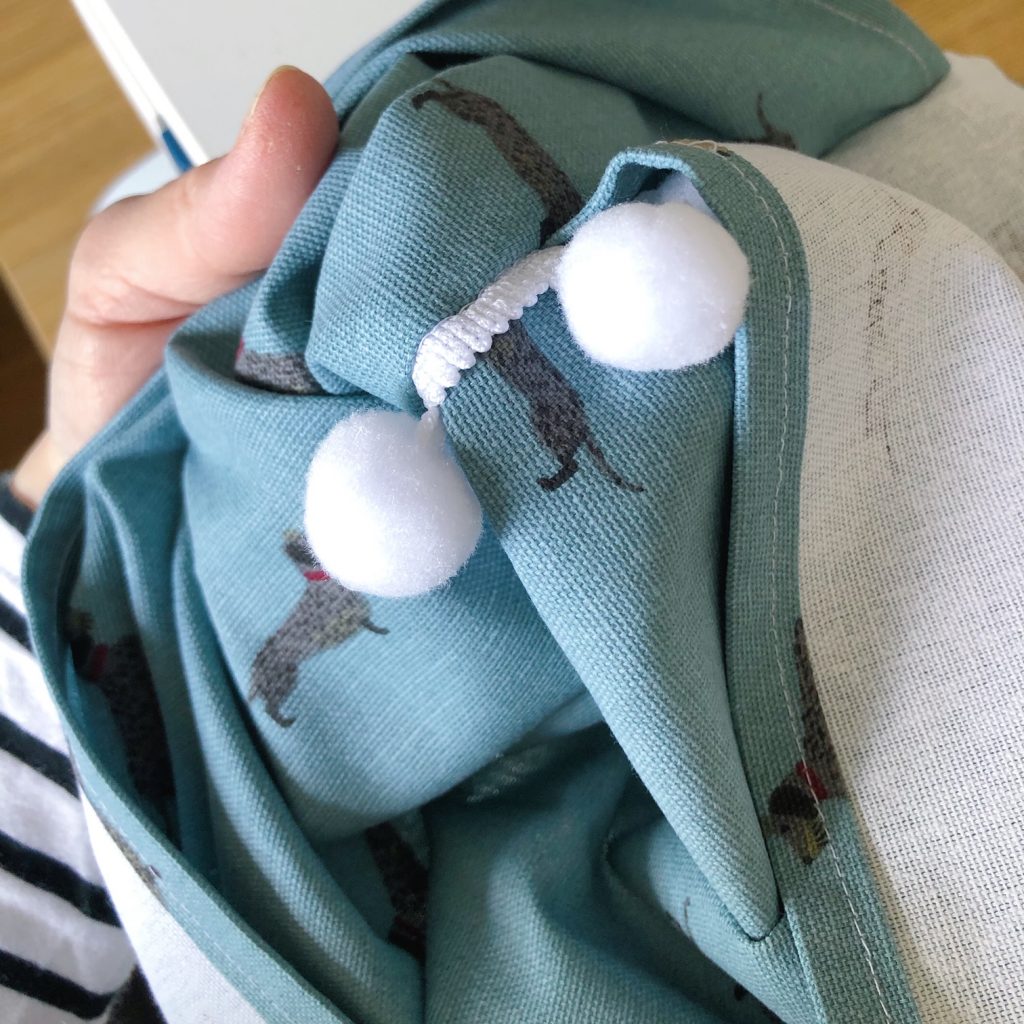
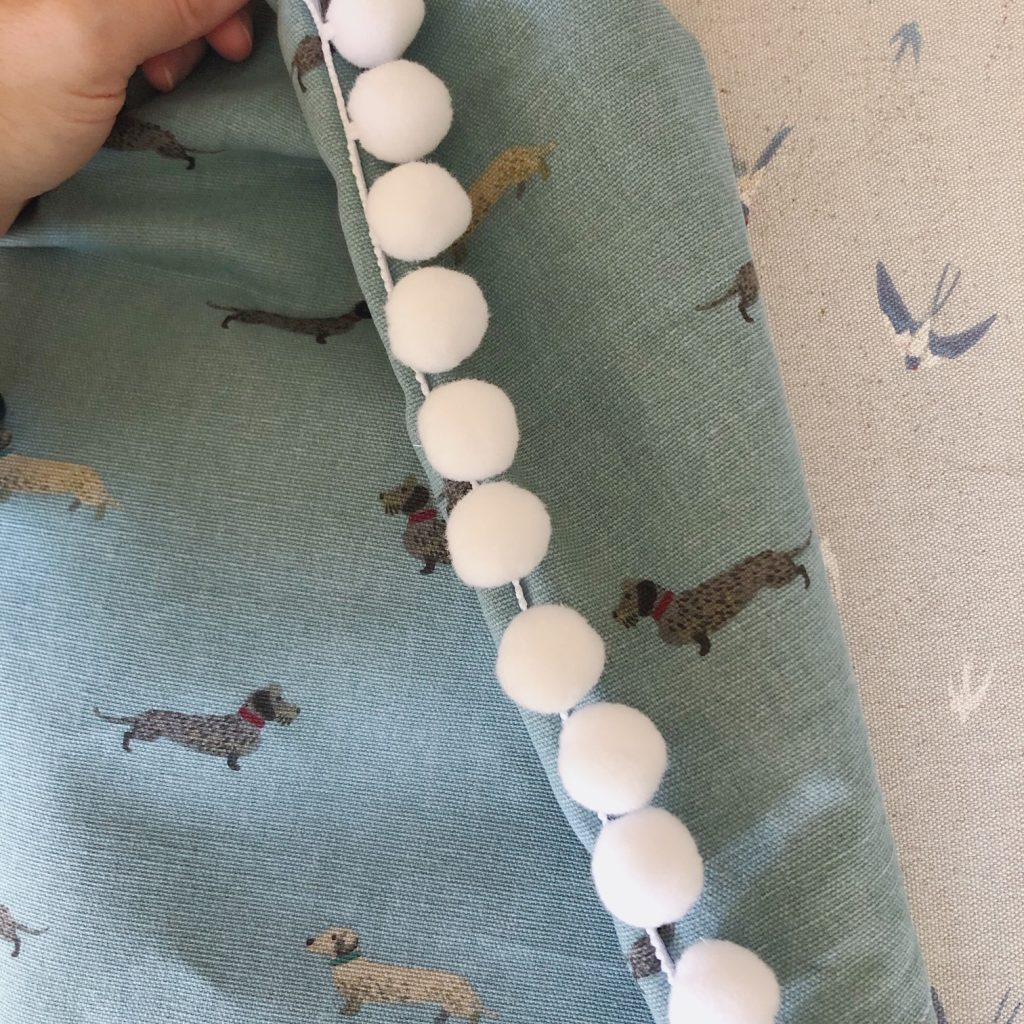
If you are using a pom pom trim measure and cut two lengths the same length as your cushion plus approximately 3cm extra just in case!  Place one length of trim along the left edge of your front cushion piece on the right side of your fabric with the pom poms facing inwards.  Pin the trim to the cushion piece and repeat on the right side.  Once pinned, tack the trim to your cushion piece either by machine using a straight stitch with a long stitch length or by hand.  This will keep the pom poms in place when you’re sewing the cushion cover together.  Remove the pins as you go.

Step 5 – sew your cushion together

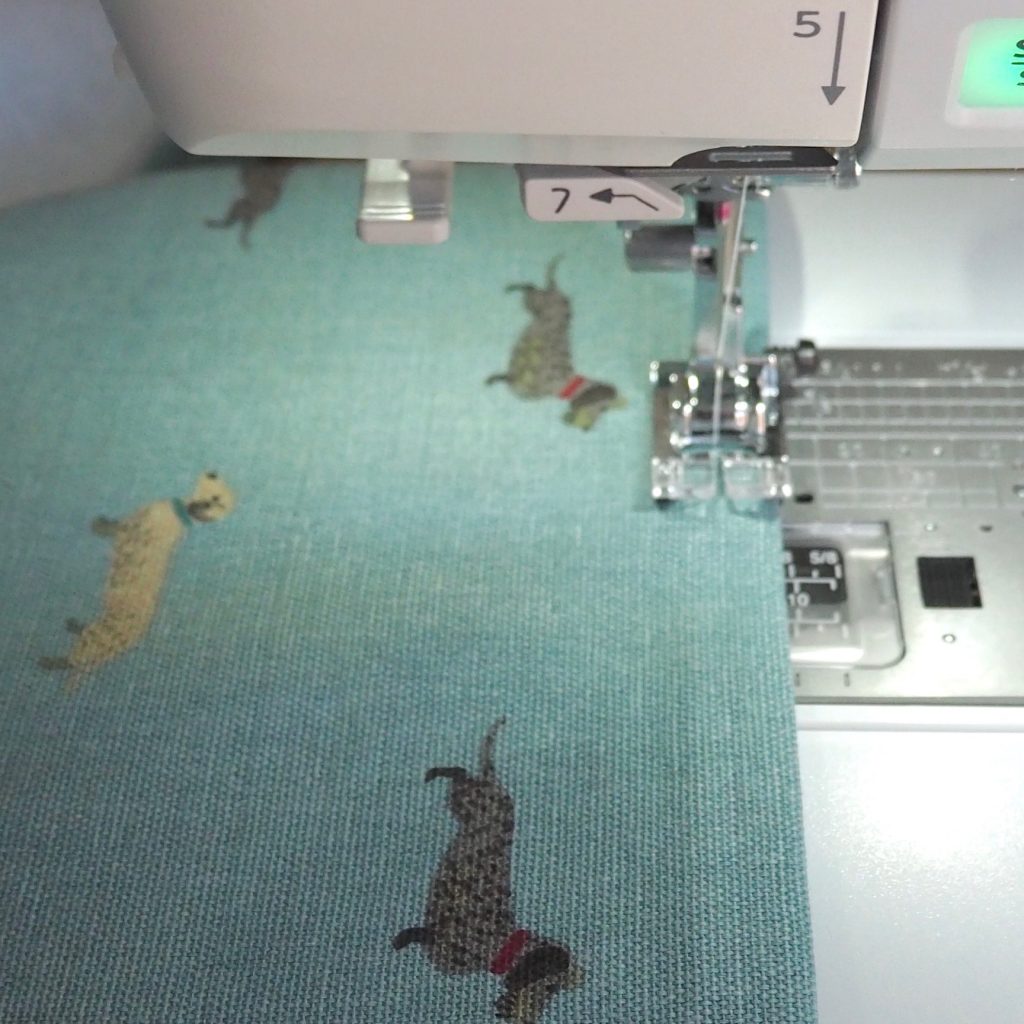
With your pom pom trim now tacked in place, carefully place your cushion top and envelope pieces right sides together, one back piece overlapping the other and pom poms securely inside.  Pin all around the edge taking care that all of the trim is facing the inside of the cushion and nothing is accidentally poking out.  Once everything is securely pinned, take your cushion over to the sewing machine and carefully and slowly sew all around the full square, Making sure to sew through the edge of your pom pom trim at the sides which should be securely sandwiched between your back and front pieces.

If you would like to you can finish the raw edges of your cushion with a zig zag or overlock stitch to prevent fraying.

Step 6 – turn your cushion cover through to the right side

Pull your cushion cover through to the right side through the envelope opening, straighten out the edges and make sure that you managed to catch all of that pom pom trim in your seam.  If you missed any simply unpick that area, pin it back in, turn it back to the wrong side again and sew the area that you missed. 

Give the cushion cover a good shake out and a lovely press with the iron and pop it over your cushion pad.

And that’s it, you now have a lovely, fancy new cushion pad! 

I hope you enjoyed this tutorial, if you do use it to make your own cushion cover I would love to see and share your pictures.  You can tag me on Instagram @poppy_and_primrose.

I’m hoping to be adding more beginner sewing tutorials to my blog – I’d love you to subscribe to my mailing list to be the first to hear about them and to make sure that you don’t miss out.

Thank you so much for reading and happy sewing!

Lots of love

Sally xx

Isolation Tales – Week 4 – Life lately…

Hi, how are you doing, really? Here we are at week four already, Easter seemed to come and go and although we were sad not to be having the loud family gathering we might usually be having, we actually had a really lovely weekend.  Of course the amazing weather we were blessed with helped a lot! 

We’ve all been going to bed late and getting up late and although we don’t seem to be doing too much with our days, they still seem to be flying by and somehow we are at the end of the Easter holidays and I need to start thinking about quite how we’re going to get back into the routine of home schooling again.  Although I am quite a morning person and even though I have been struggling to get up in the mornings lately, I really, love it when I manage to force myself up an hour before everyone else to get my yoga done and have a bit of quiet time so maybe getting back into more of a routine next week will be a good thing.

On the whole this week I have noticed a bit of a shift in my mood.  I feel a little bit calmer, a bit more settled in our quiet days, but evening (and 4 o’clock in the morning) seems to be the time that I start to feel anxious again and remember the reason why we are in this strange situation and I think a lot of you are still feeling that way too which makes me feel less alone. 

For this week’s round up here’s a little ‘What I’ve been…’ I’ve not done one of these for a while so I thought it might be fun.  If you want to join in feel free to steal the prompts!

So, here goes, what I’ve been…

Loving   

Spotting all of the lovely blossom that has suddenly appeared on our walks, it’s just so beautiful against the blue skies we’ve been having and can’t fail to make you feel happy.  Spring is still springing despite everything.

Snapped this on our dog walk the other day 🙂

Hating

Not being able to see people – goes without saying really doesn’t it but we have been having lots of lovely video chats.

Wearing

Joggers and leggings mainly but the shorts and even a dress came out for Easter day and I was amazed at how much better I felt about myself that day, although it didn’t take long for the joggers to come back!

Sewing

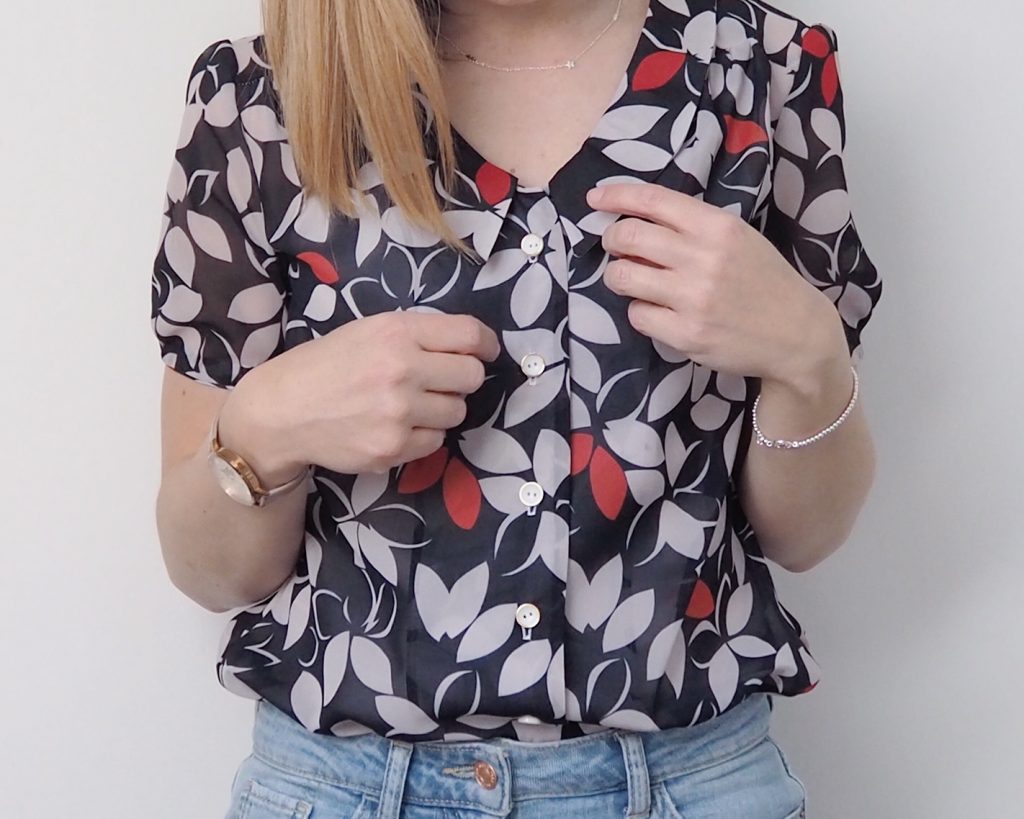
I actually got around to sewing up something for myself this week.  I made the Mimi blouse from the Tilly and the Buttons book Love at First Stitch.  It wasn’t the easiest of makes but I really appreciated having to take my time and really think about something.  Sewing is so mindful to me. If you didn’t already know I have a separate Instagram account just for my dressmaking and you can follow over at @secret_life_of_a_seamstress (shameless plug alert) 😉

Drinking

Lots of tea – and wine in the evenings like most of us 😉

Eating

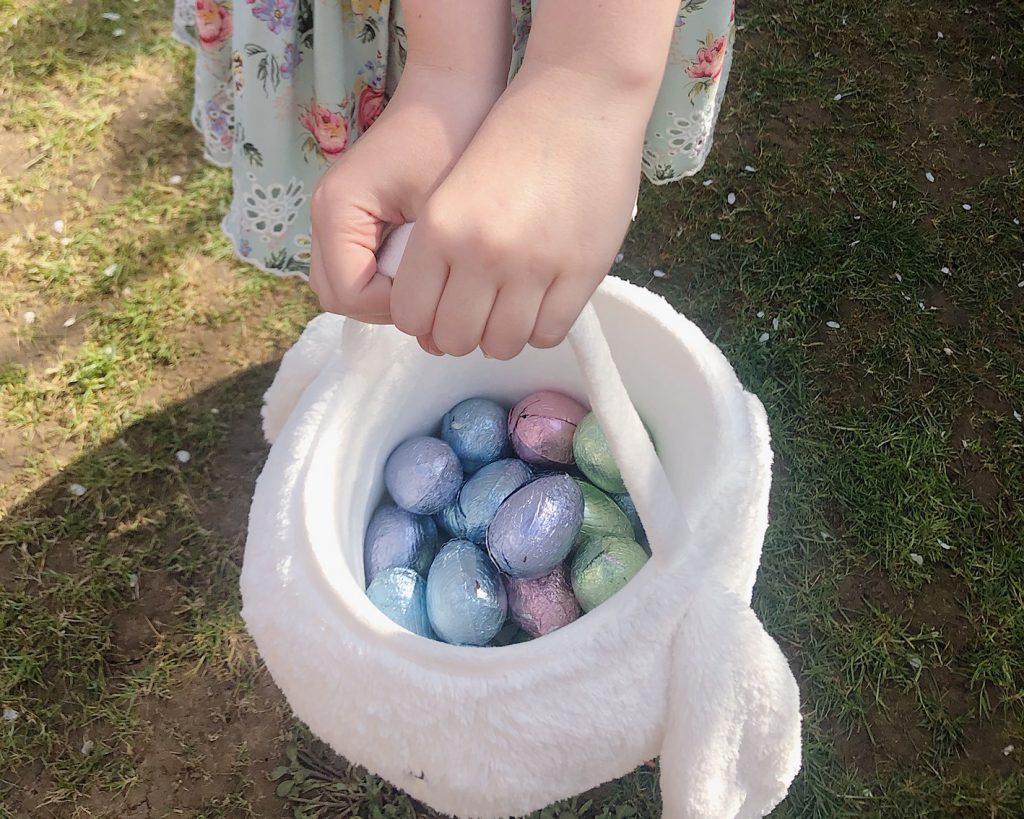
All of the cakes we’ve been baking as well as all the Easter eggs, there’s going to have to be some serious exercise done after all this!  We’ve been having a veg box delivered which has helped us be more creative with our veg eating, this week we ended up with lots of carrots and a swede so we made a carrot and swede soup, it was delicious and probably not something we would have made normally. 

Buying

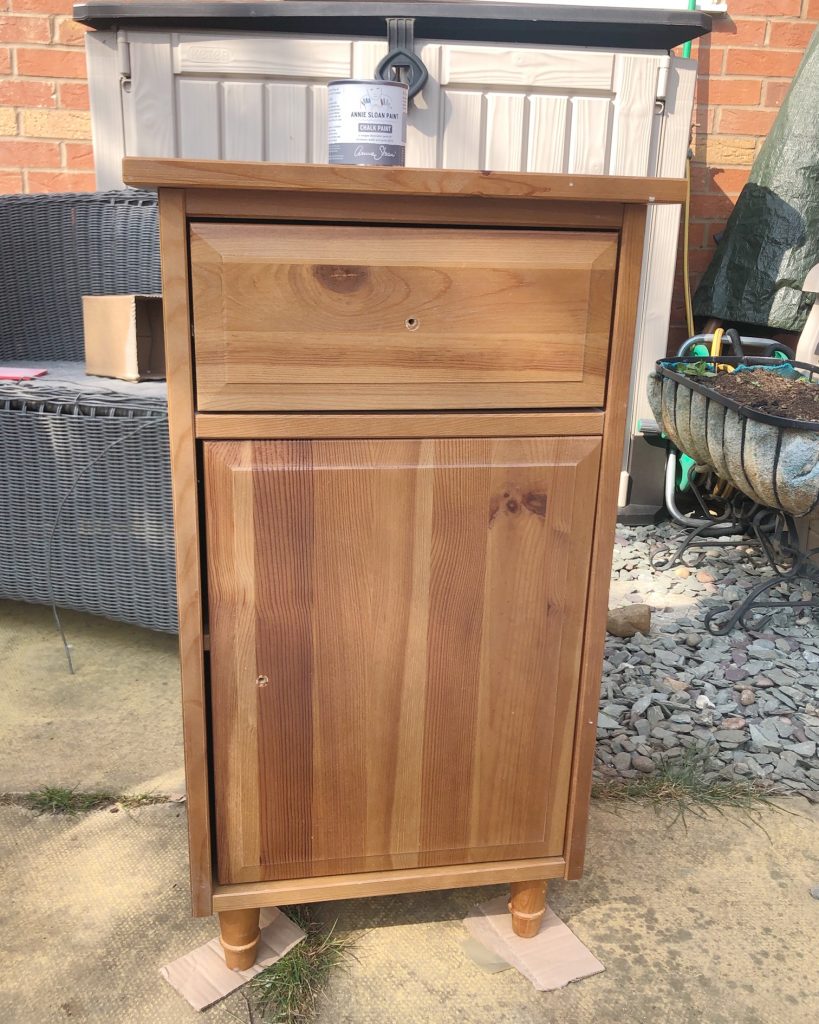
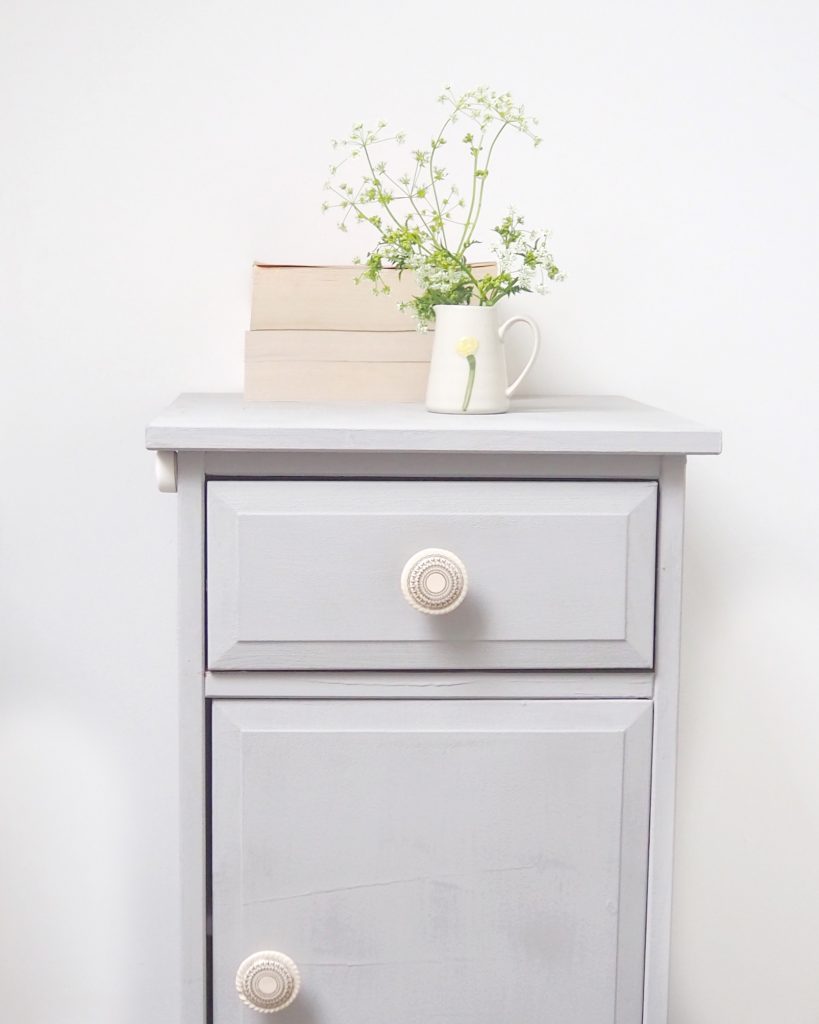
Annie Sloan paint! I’m a little bit addicted already.  Upcycling is something I’ve wanted to try for a while and I’ve finally managed to paint our bedside tables.  I used Paris grey and really enjoyed painting out in the garden sunshine.  I’ve even ordered some more paint and if we’re not careful, everything that’s not moving is going to get painted. Next I have my eye on our bedroom mirror 😉

Watching

We’ve been catching up on ‘The Split’ and watching old episodes of ‘Not Going Out’ for a bit of light comedy relief.

Playing

Dobble – if you haven’t already got this game in your stash you need it.  I’m always amazed by the way it shows how your mind works!  Easily pleased obviously and the perfect size to take out and about with you or play in the garden.

Reading

The Family Upstairs by Lisa Jewell – I absolutely loved this book, could not put it down and managed to finish it in a week which is unheard of for me lately.  I’ve just started The House We Grew Up In also by Lisa on the Kindle.

Thinking

About how our life might look once this is ‘over’ whenever that might be.

Realising

That even though this time might be strange it’s also a bit of a gift in many ways and I want to make sure I use it wisely!

If you fancy doing a ‘What I’ve been…’ yourself do tag me on Instagram so that I can head over and have a read!

Thanks for reading

Take care and stay safe and well!

Sally xx
*This post contains some affiliate links which means if you choose to purchase anything I’ve linked via my page I may earn a small commission at no extra cost to yourself*

Hair Scrunchie Tutorial – easy ‘make in an hour’ sewing project

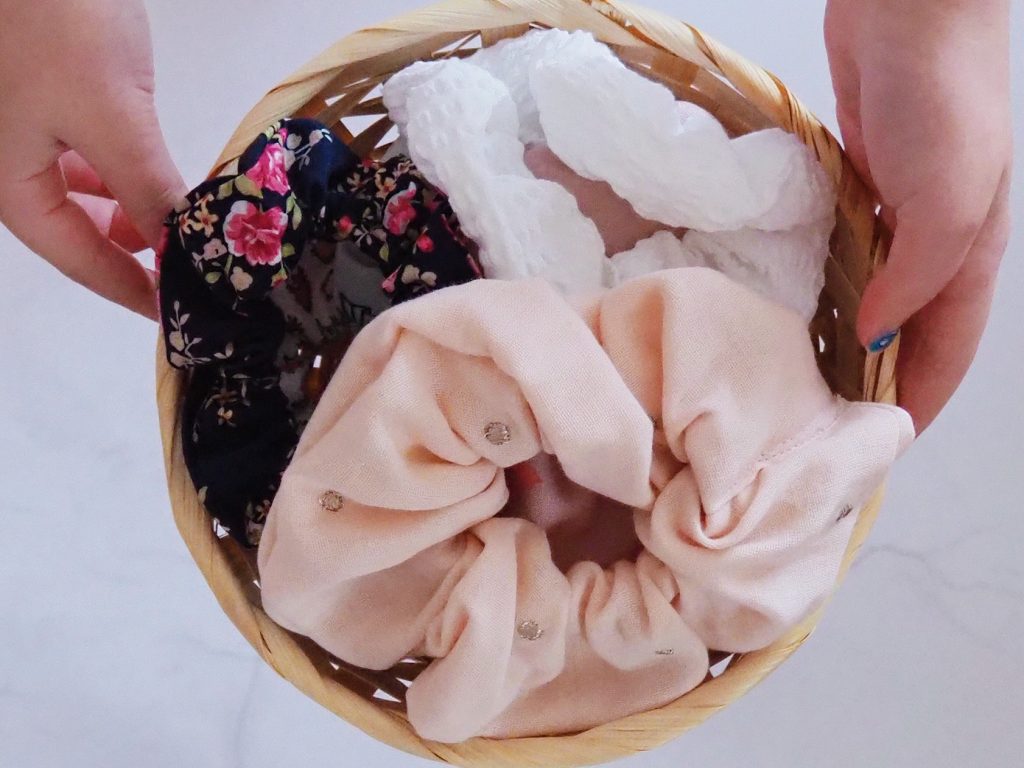
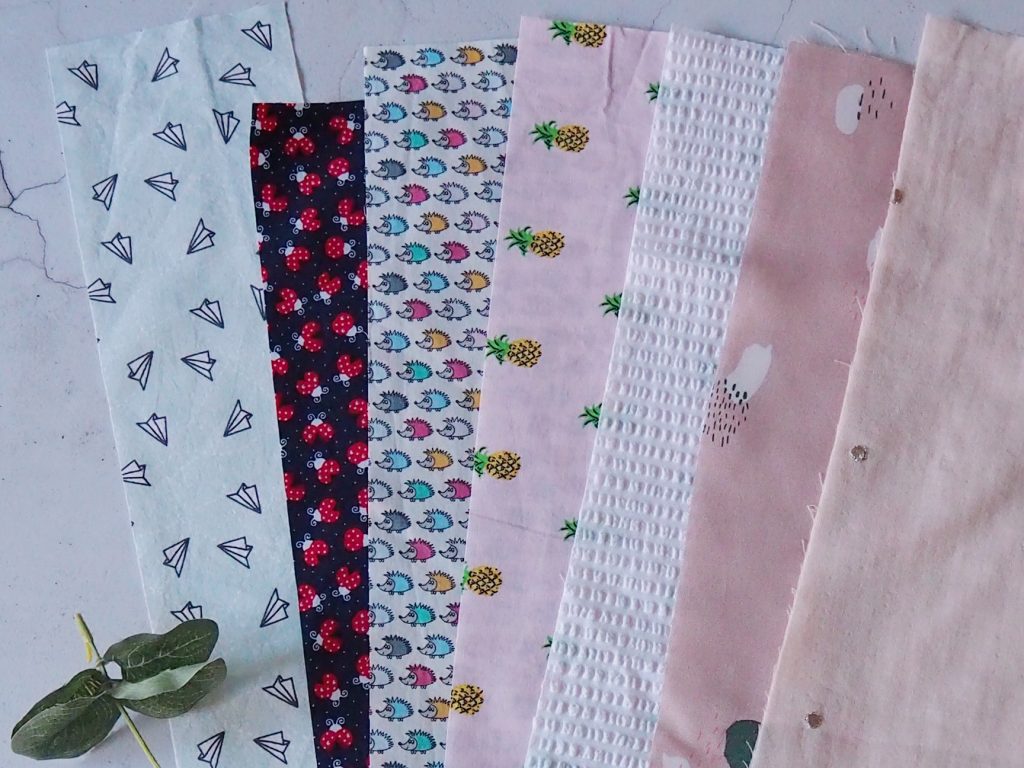
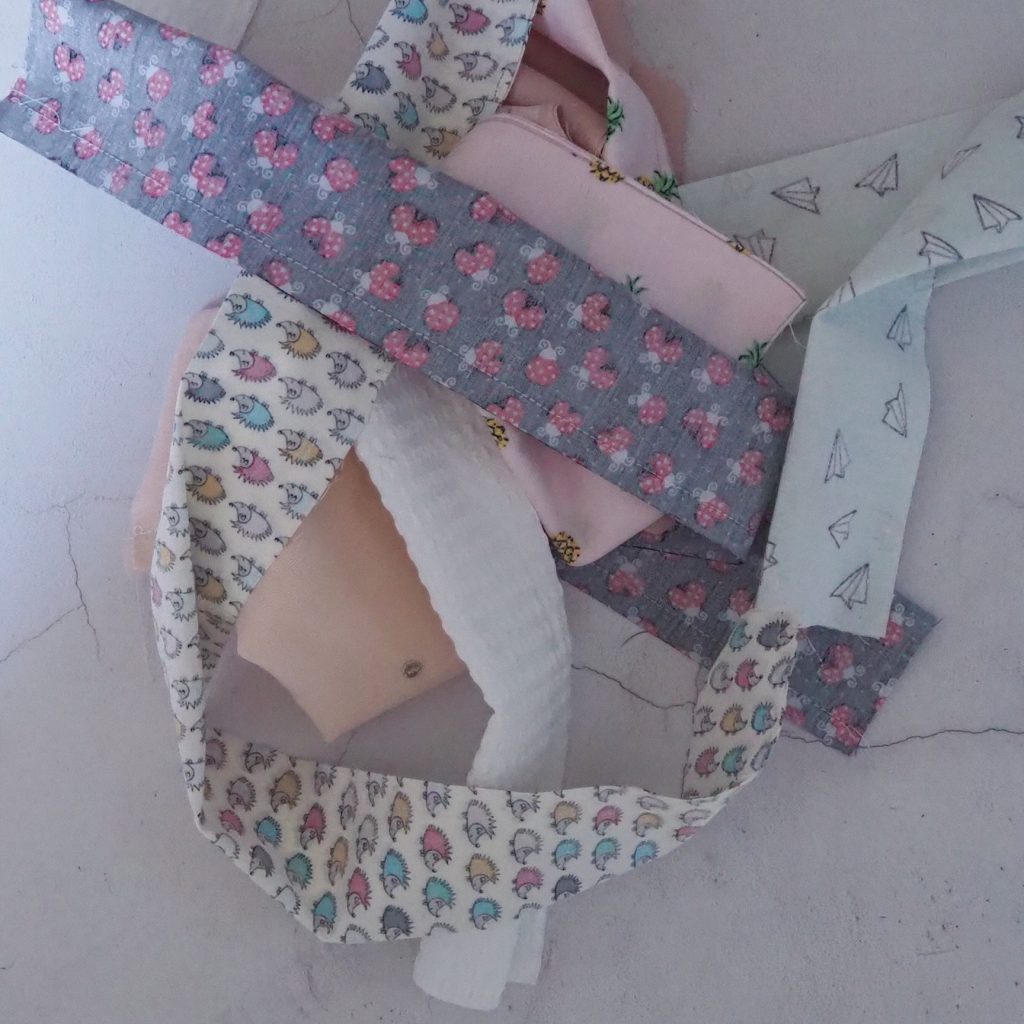
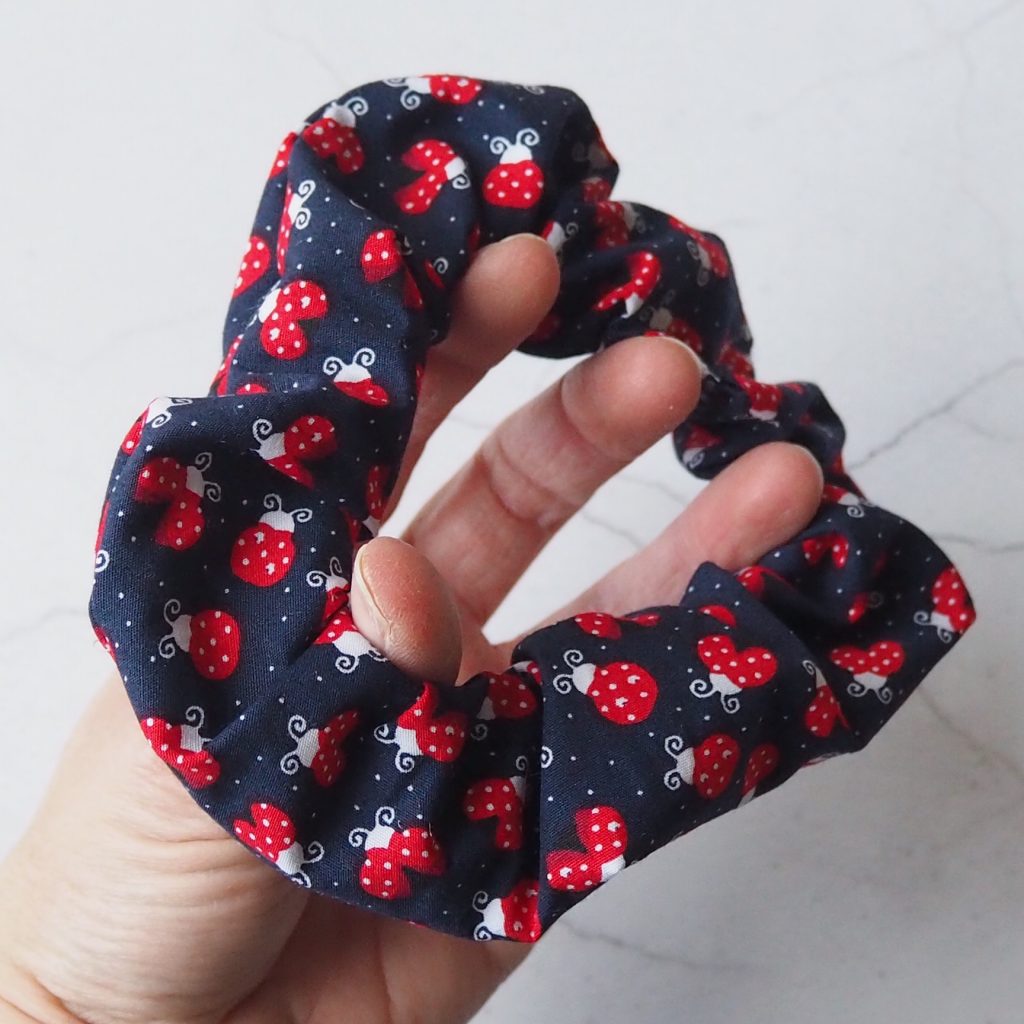
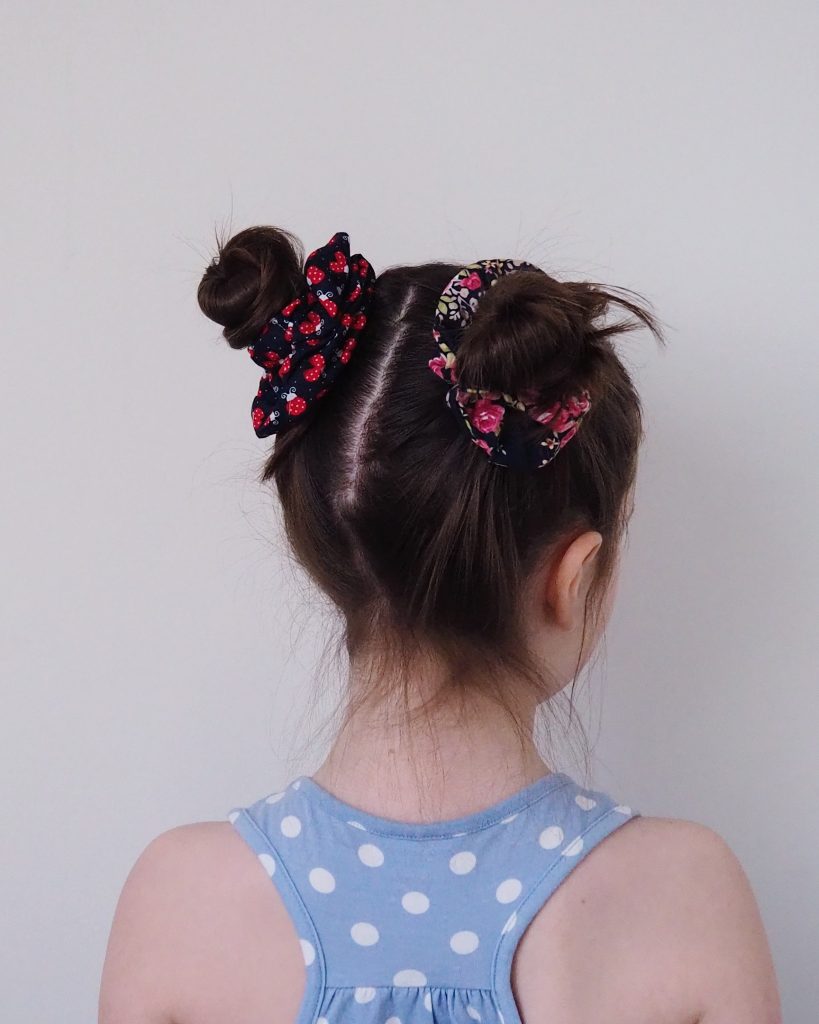
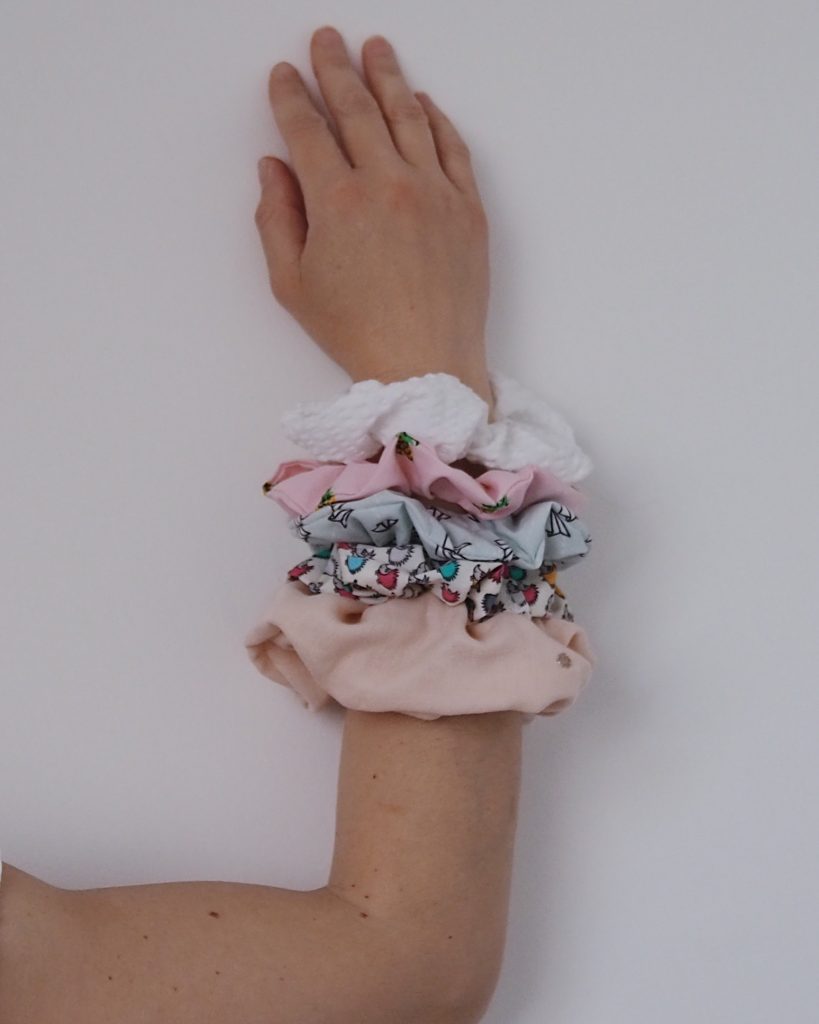
These pretty hair scrunchies make an excellent little project for beginner and more experienced sewists alike.  They are brilliant for using up fabric scraps and you can even make them to co-ordinate with your handmade clothes!

In my instructions I’ll be sewing on my sewing machine but you could also sew all of this pattern by hand if you don’t have a machine available.  They make a great starter sewing project for children who want to learn to sew too.

You will need:

Fabric scraps | Elastic approx. 5mm/1cm wide | Co-ordinating thread | Safety pin | Sewing machine or hand sewing needle

Step 1 – cut your fabric

Choose the fabric you would like to use for your hair scrunchie.  If you don’t have any fabric available or can’t get to a shop you could always use an old item of clothing or an old sheet or duvet cover that you no longer need.

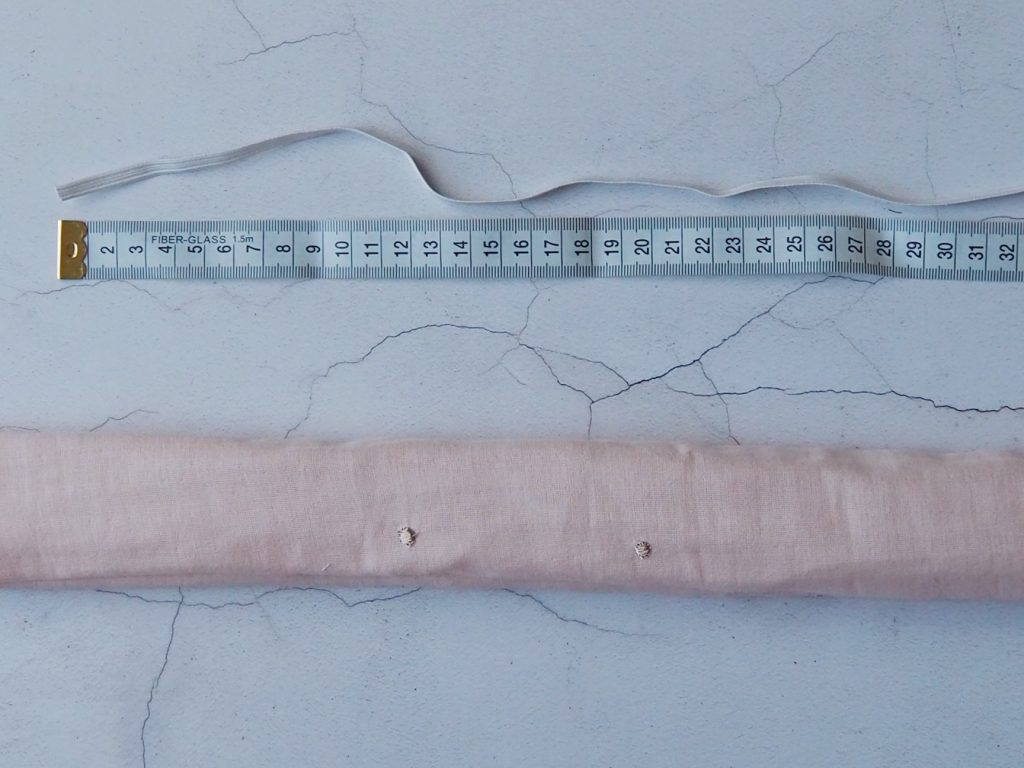
Draw a rectangle onto your fabric measuring 50cm by 10 cm and cut it out. If you would prefer more fabric in your scrunchie increase the width and equally, if you have very thick hair and want to be able to wrap your scrunchie around your hair more times, increase the length.  The smaller scrunchies I’m making today are made to the size above, but I also made two which were 50cm by 15cm and they were more puffy (technical term!).

Step 2 – sew your fabric into a tube

With right sides together fold and pin your fabric along the longest side of the rectangle.  Sew a seam of 1cm along this length either by hand or with your sewing machine. If your fabric is quite bulky you may wish to trim your seam down to 0.5cm but be careful not to cut into any of your stitches.

Step 3 – turn your tube right side out

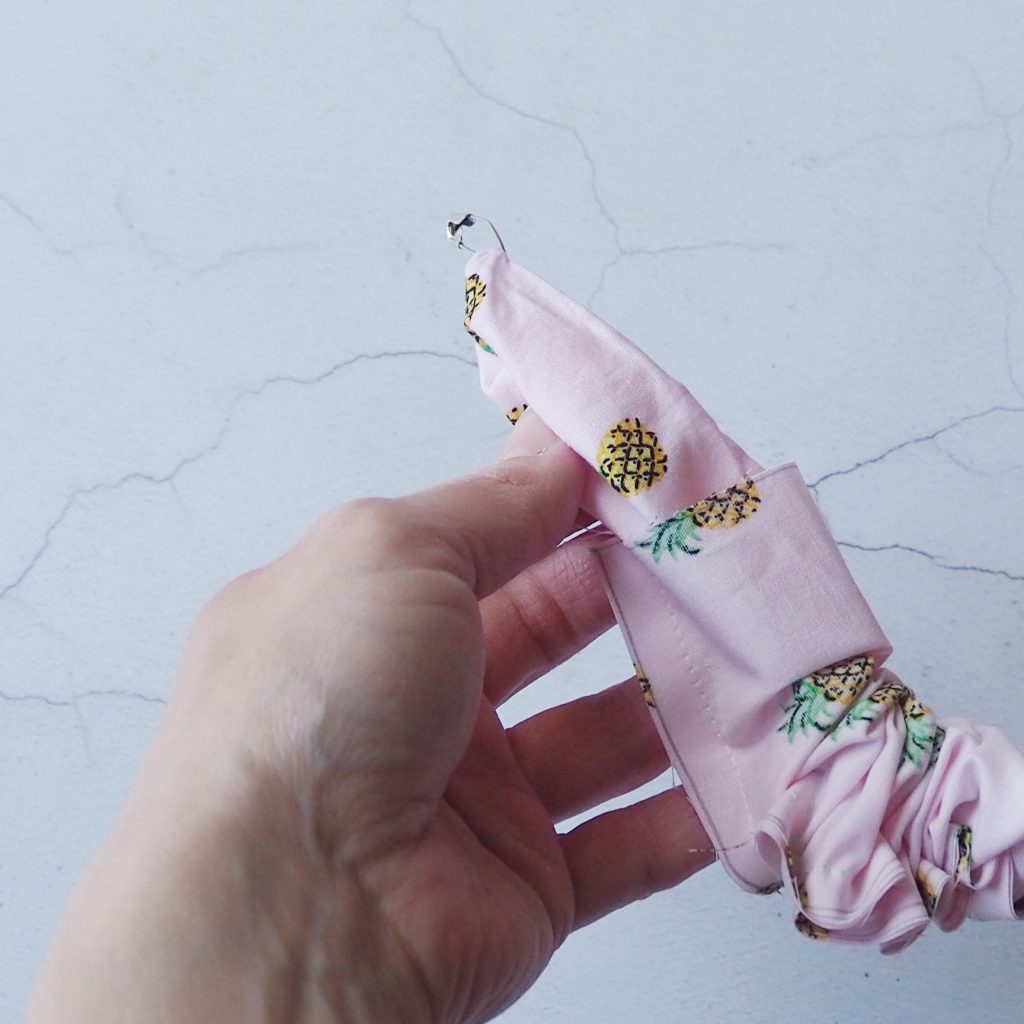
Turn your tube through to the right side.  If you find this difficult you can either fold the ends over a thick knitting needle or attach a safety pin to one end of the fabric and guide it through the tube to the other side and pull through.  Give your tube a quick iron on the right side if you want to be really neat!

Step 4 – cut your elastic

If you cut your rectangle to 50cm cut a length of elastic approximately 30cm.  If your rectangle is shorter or longer, as an approximate measurement cut your elastic roughly 65% of your rectangle length. 

Step 5 – thread your elastic

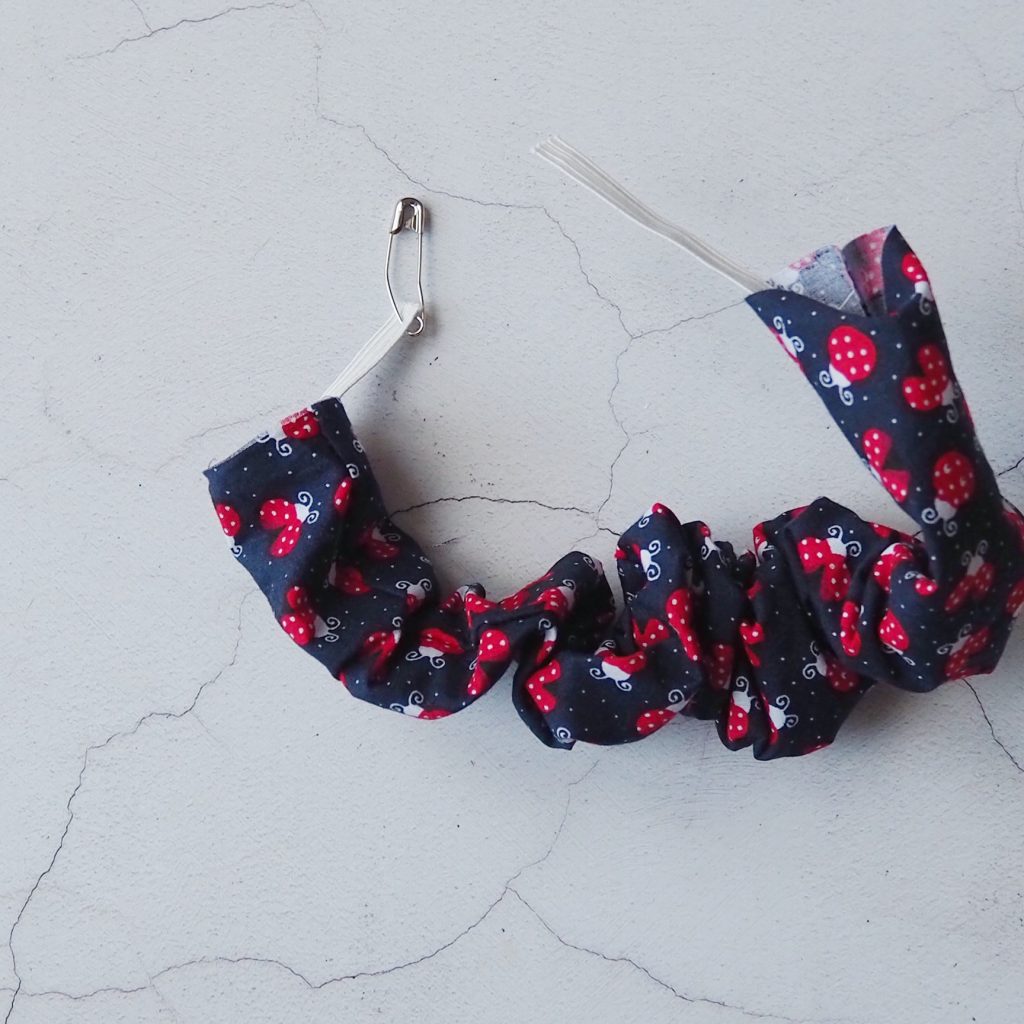
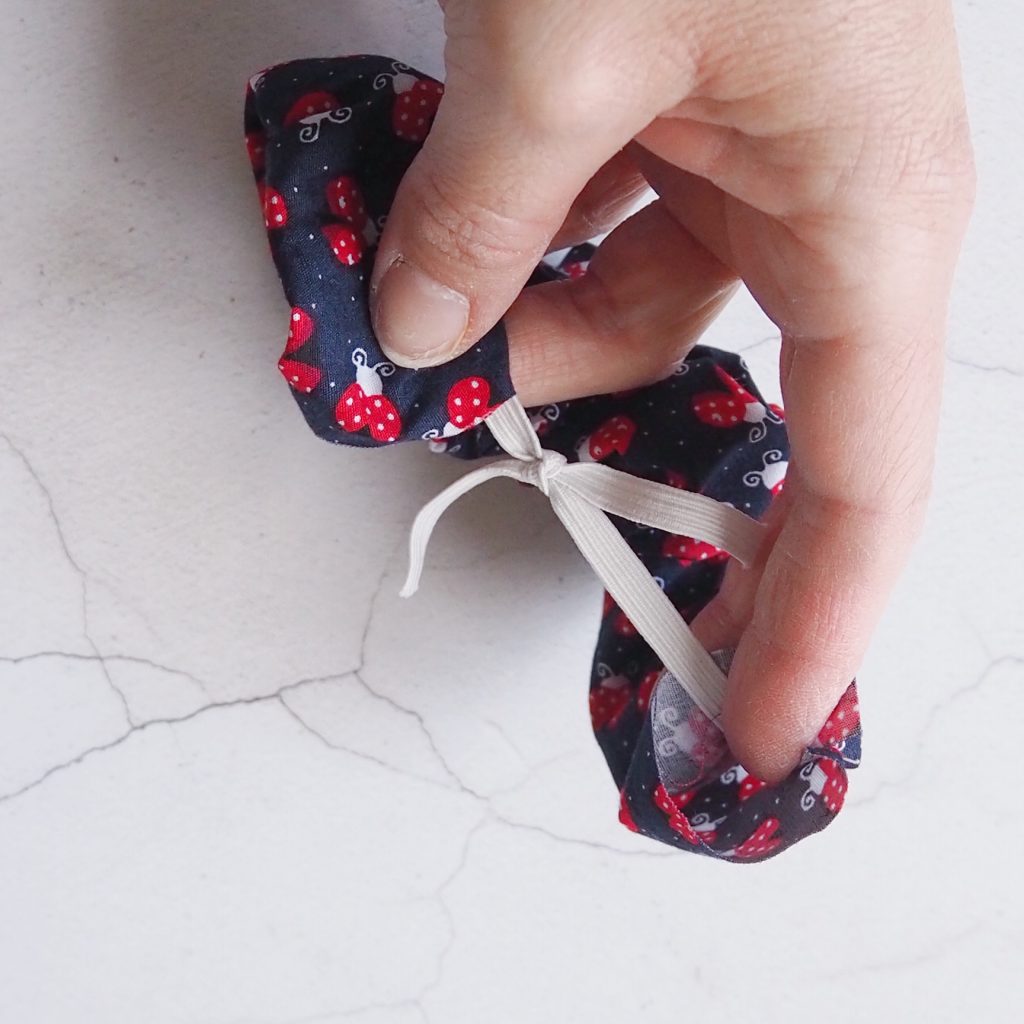
Attach a safety pin to one end of your elastic and thread it through the inside of your tube of fabric until it pokes out the other end.  Make sure you keep hold of the other end of the elastic too or you will lose it inside your tube.  When the safety pin comes out the other end remove the pin and tie the ends of elastic into a secure double knot.

Step 6 – close your fabric tube

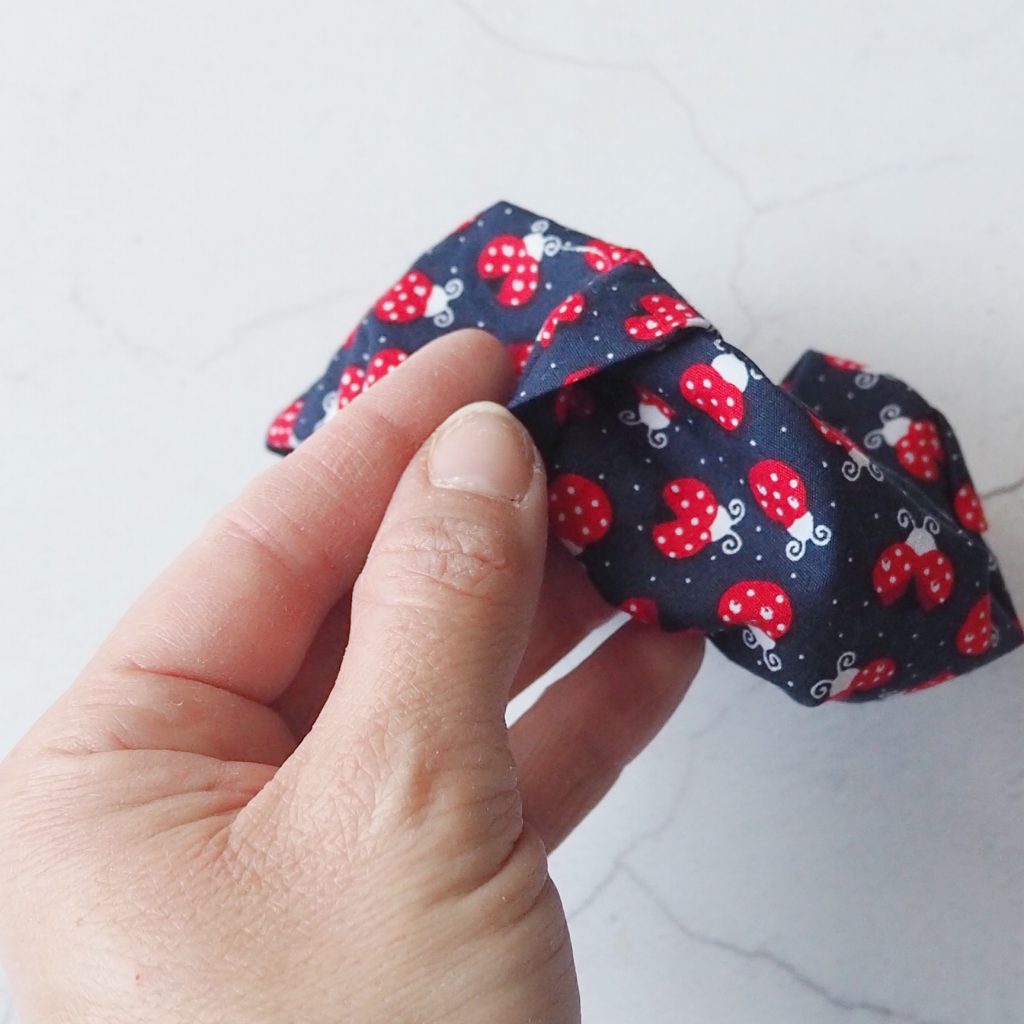
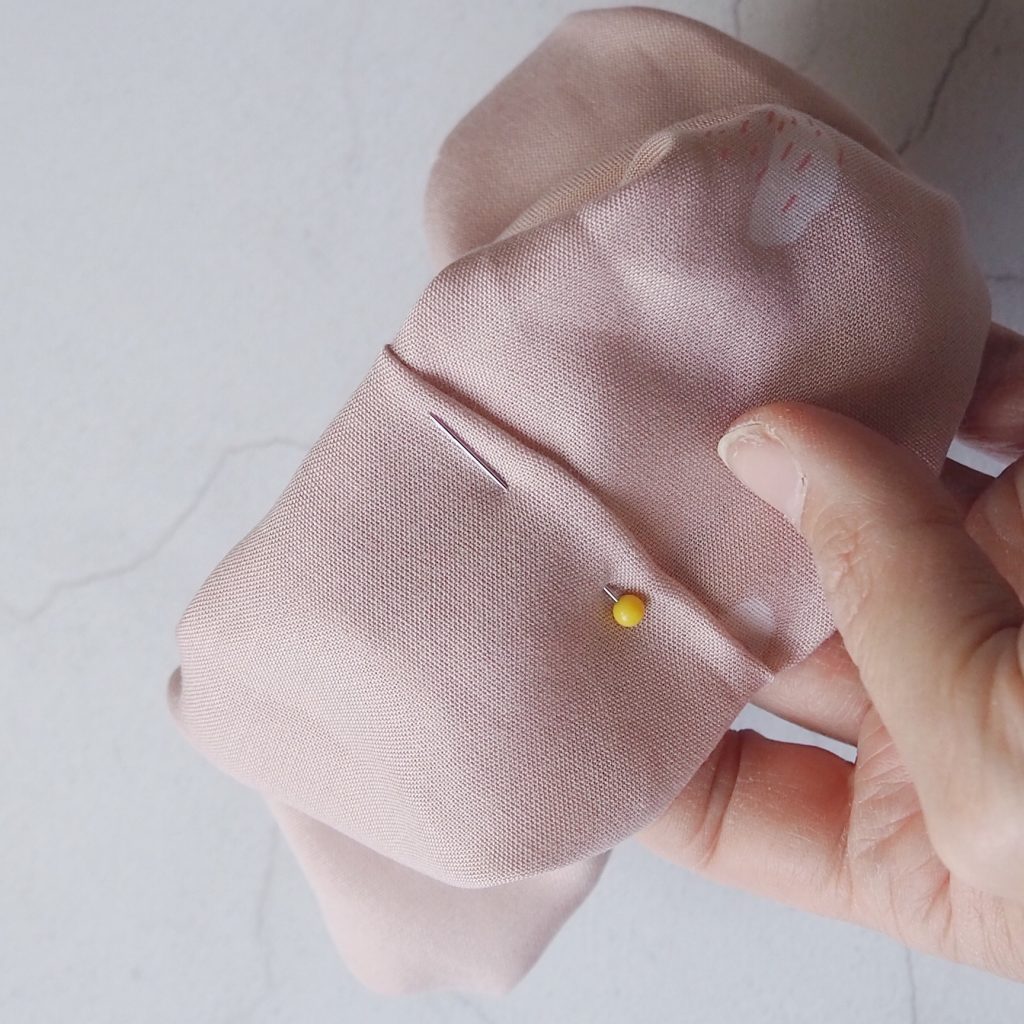
On one end of your fabric tube fold inwards a seam of approx. 1cm with your fingers, this doesn’t need to be super accurate but try to make sure you have enough that no raw edges are going to peek through.  Poke the raw edge of the other end of your tube inside and underneath your folded end and pin. 

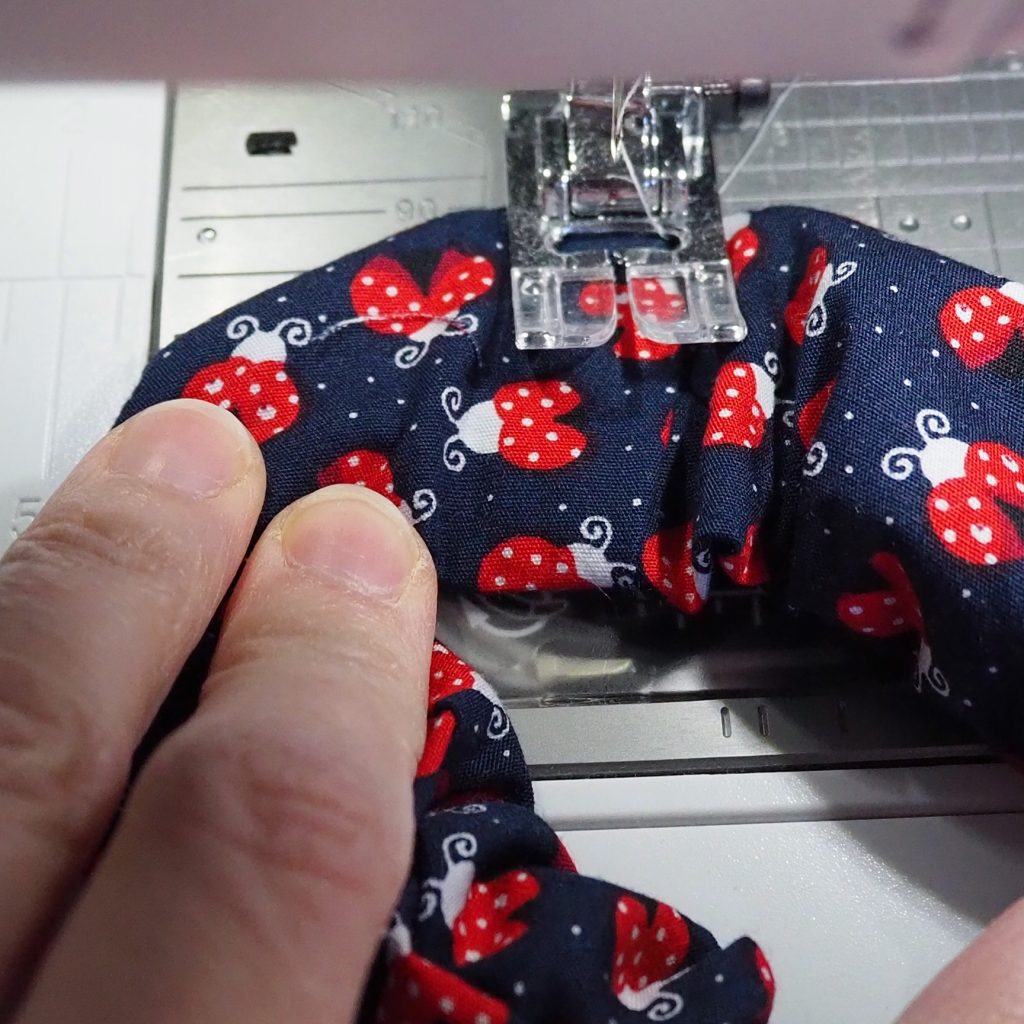
Then, either with your sewing machine or by hand, sew through all three layers (both ends of the tube and the elastic) to close the tube.  If you want to be really neat you could slip stitch this opening by hand anyway so that no sewing is visible.  I always tend to use the machine and a matching thread because when the scrunchie is all bunched up it doesn’t notice anyway!

Give your scrunchie a quick stretch on your hand to evenly spread the gathering.

Step 7 – well done, you’re done!

Congratulate yourself on making your scrunchie and wear it with pride!!

If you use my tutorial to make your own scrunchie I would love to see and share your pictures.  You can tag me on Instagram @poppy_and_primrose.

I’m hoping to add more beginner sewing tutorials to my blog – I’d love you to subscribe to my mailing list to be the first to hear about them and to make sure that you don’t miss out. You can sign up via my website home page.

Thank you so much for reading!

Lots of love

Sally xx