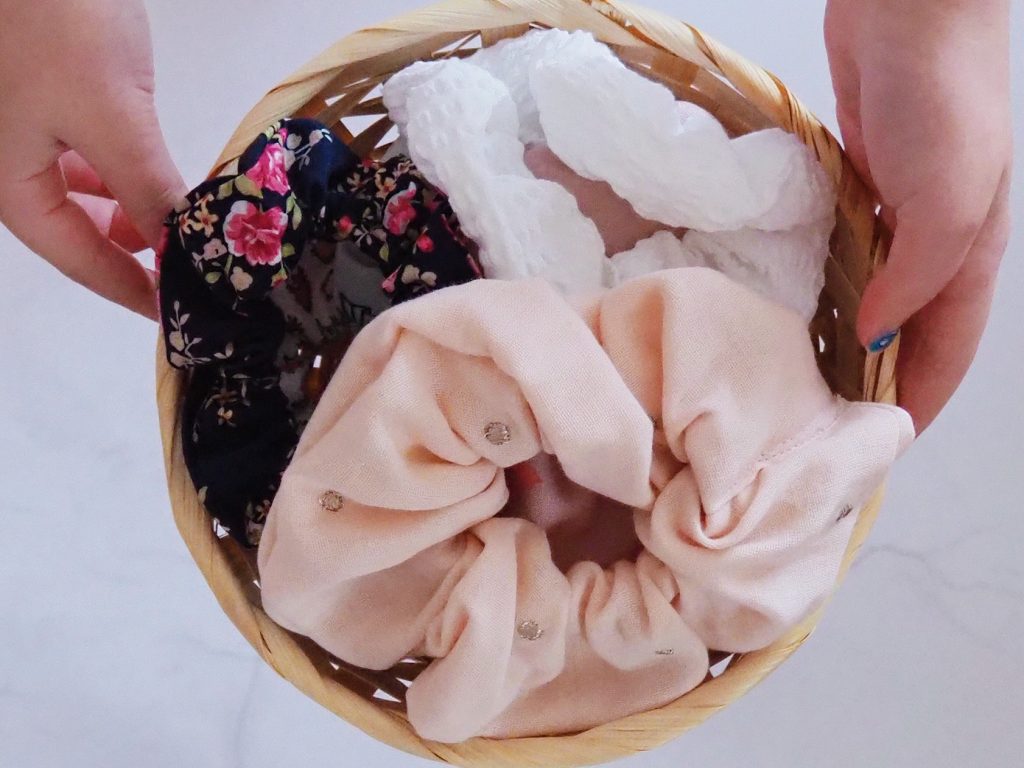
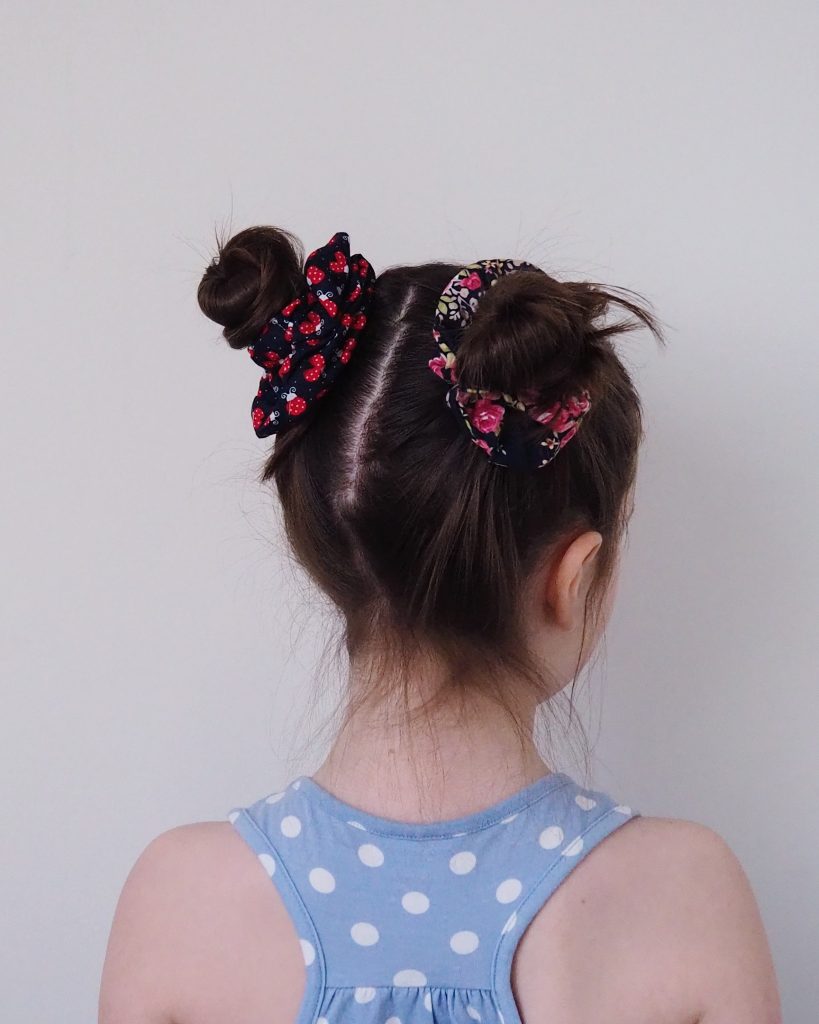
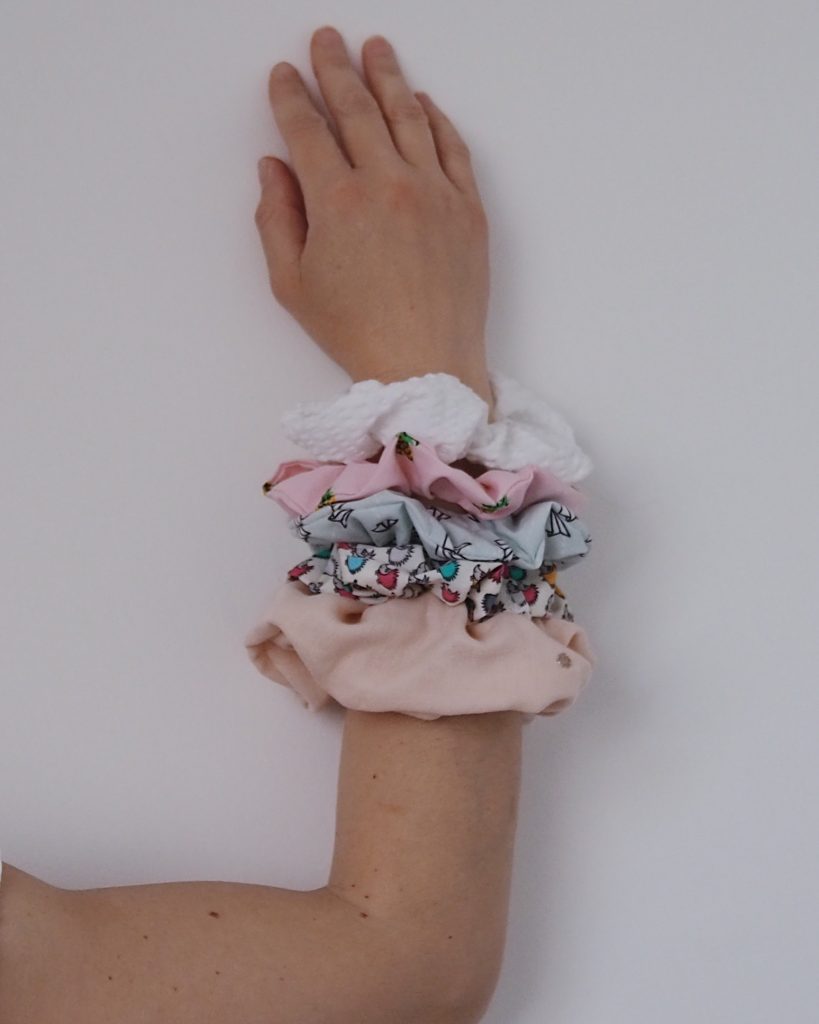
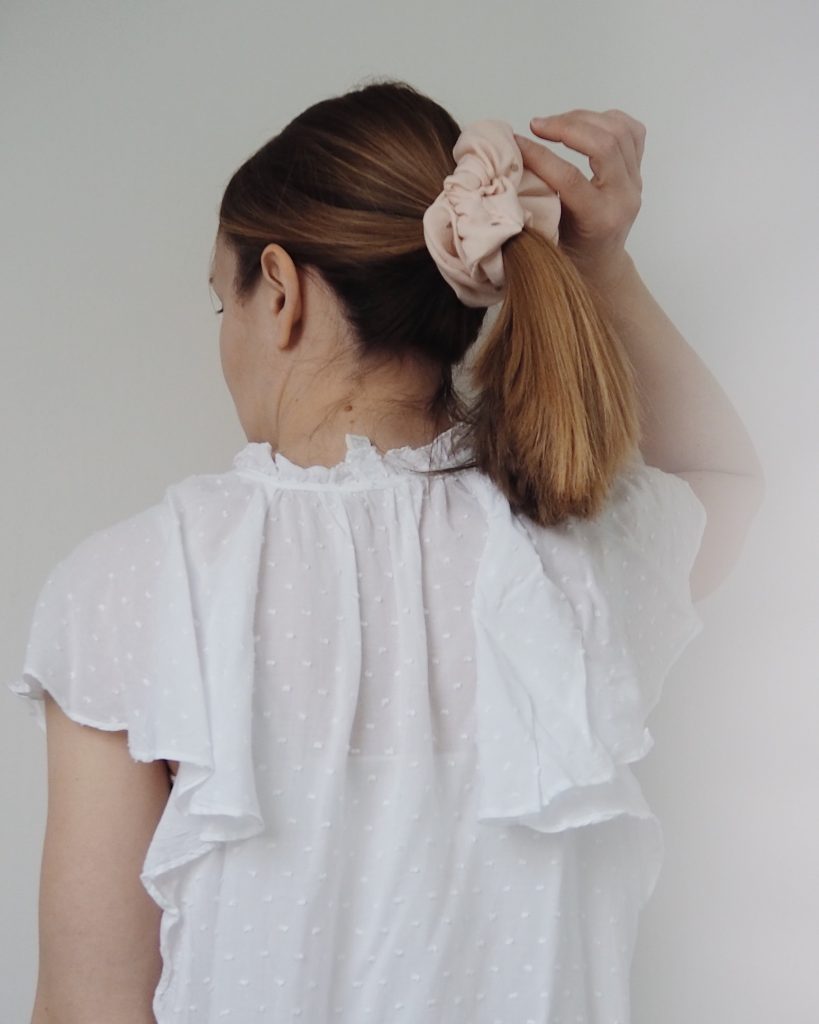
These pretty hair scrunchies make an excellent little project for beginner and more experienced sewists alike. They are brilliant for using up fabric scraps and you can even make them to co-ordinate with your handmade clothes!
In my instructions I’ll be sewing on my sewing machine but you could also sew all of this pattern by hand if you don’t have a machine available. They make a great starter sewing project for children who want to learn to sew too.
You will need:
Fabric scraps | Elastic approx. 5mm/1cm wide | Co-ordinating thread | Safety pin | Sewing machine or hand sewing needle
Step 1 – cut your fabric
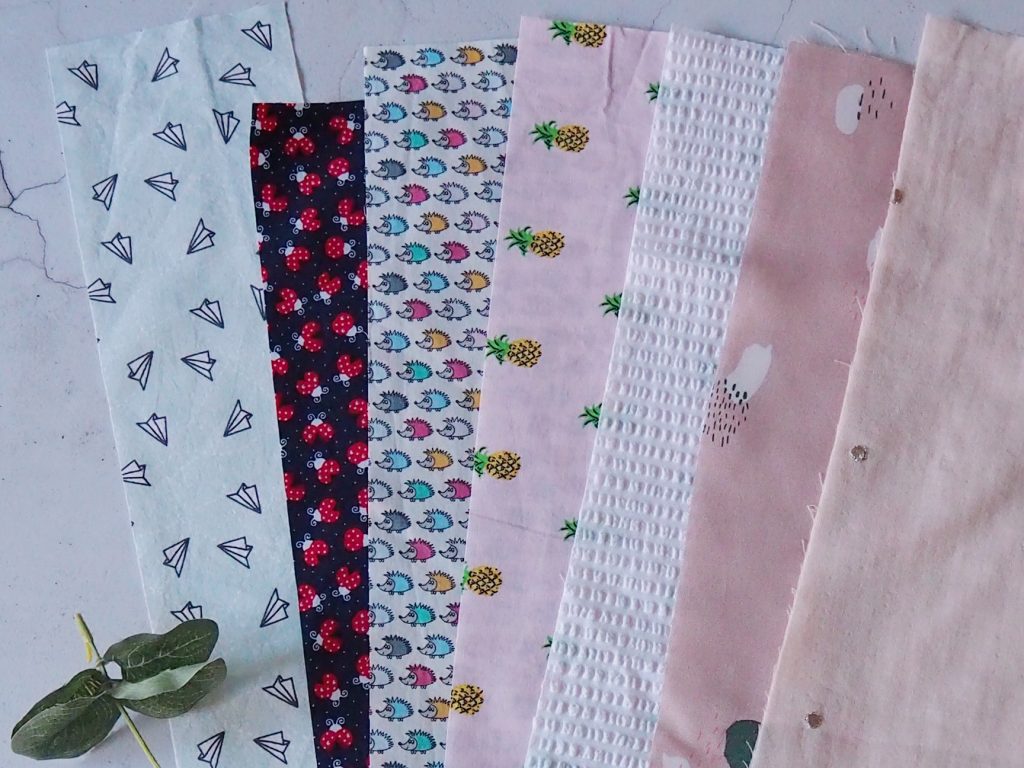
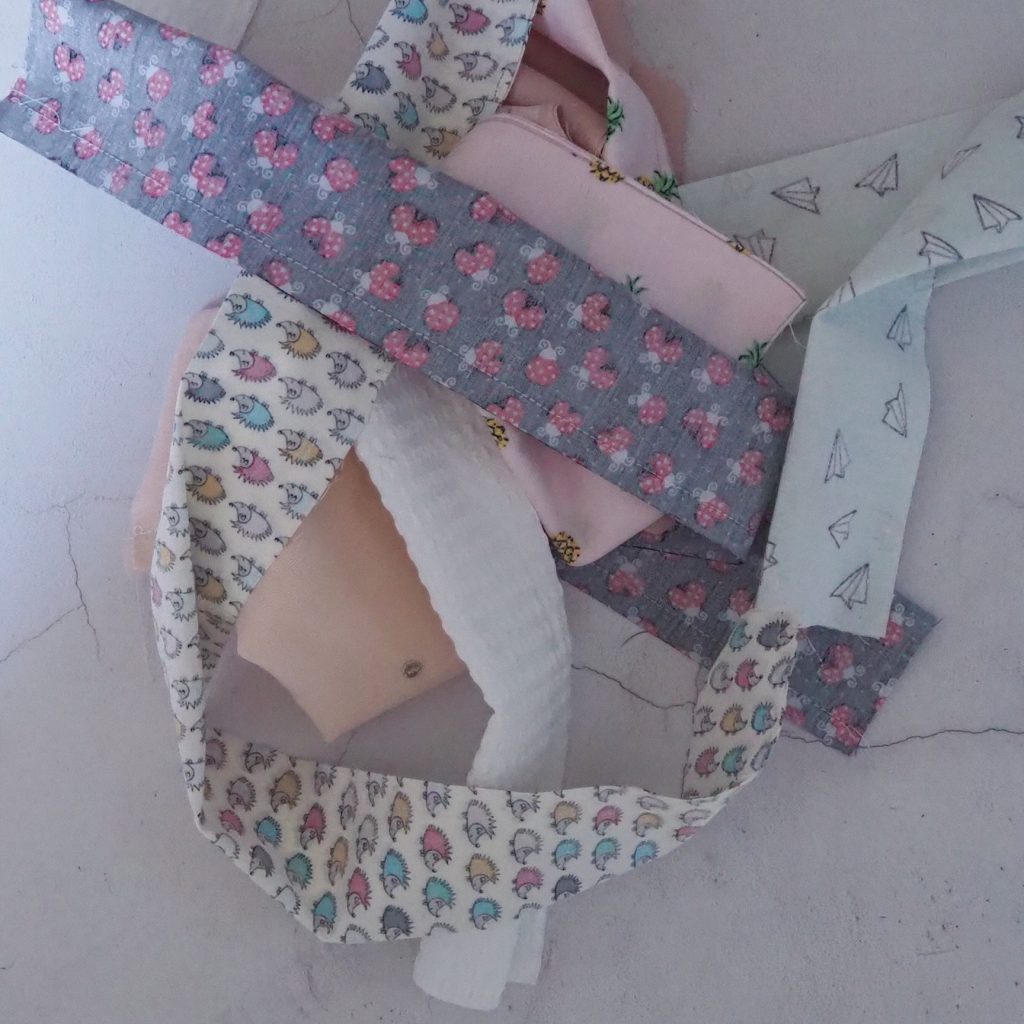
Choose the fabric you would like to use for your hair scrunchie. If you don’t have any fabric available or can’t get to a shop you could always use an old item of clothing or an old sheet or duvet cover that you no longer need.
Draw a rectangle onto your fabric measuring 50cm by 10 cm and cut it out. If you would prefer more fabric in your scrunchie increase the width and equally, if you have very thick hair and want to be able to wrap your scrunchie around your hair more times, increase the length. The smaller scrunchies I’m making today are made to the size above, but I also made two which were 50cm by 15cm and they were more puffy (technical term!).
Step 2 – sew your fabric into a tube
With right sides together fold and pin your fabric along the longest side of the rectangle. Sew a seam of 1cm along this length either by hand or with your sewing machine. If your fabric is quite bulky you may wish to trim your seam down to 0.5cm but be careful not to cut into any of your stitches.
Step 3 – turn your tube right side out
Turn your tube through to the right side. If you find this difficult you can either fold the ends over a thick knitting needle or attach a safety pin to one end of the fabric and guide it through the tube to the other side and pull through. Give your tube a quick iron on the right side if you want to be really neat!

Push through with a knitting needle 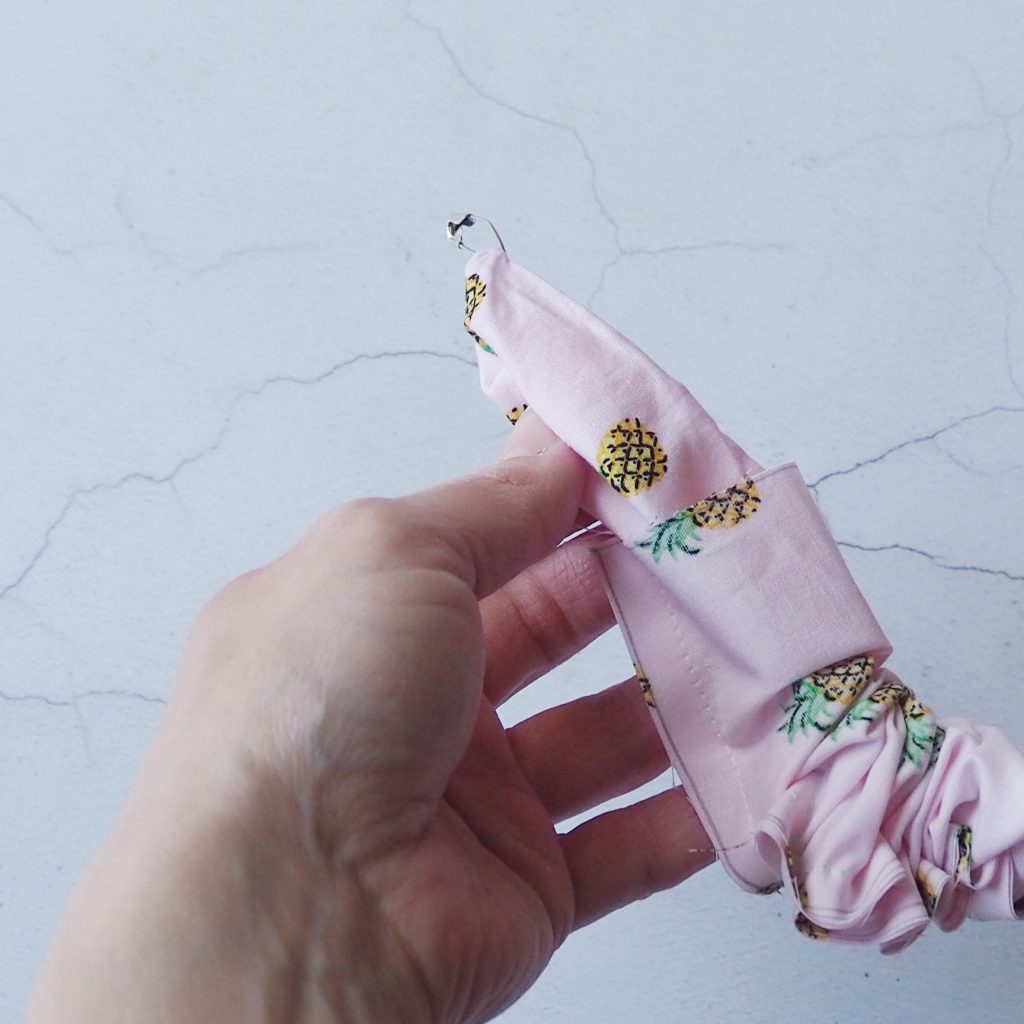
Or use a safety pin
Step 4 – cut your elastic
If you cut your rectangle to 50cm cut a length of elastic approximately 30cm. If your rectangle is shorter or longer, as an approximate measurement cut your elastic roughly 65% of your rectangle length.

Step 5 – thread your elastic
Attach a safety pin to one end of your elastic and thread it through the inside of your tube of fabric until it pokes out the other end. Make sure you keep hold of the other end of the elastic too or you will lose it inside your tube. When the safety pin comes out the other end remove the pin and tie the ends of elastic into a secure double knot.
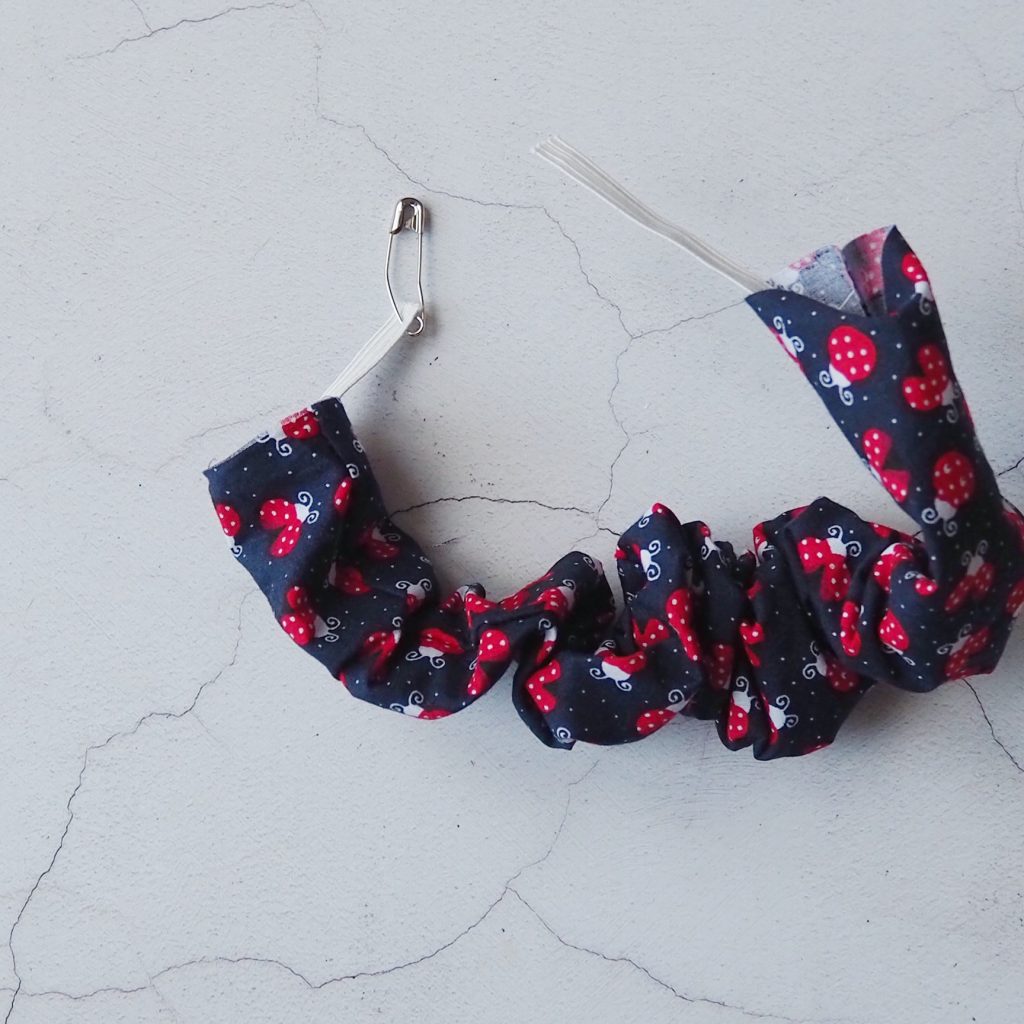
Pull your elastic through with your safety pin 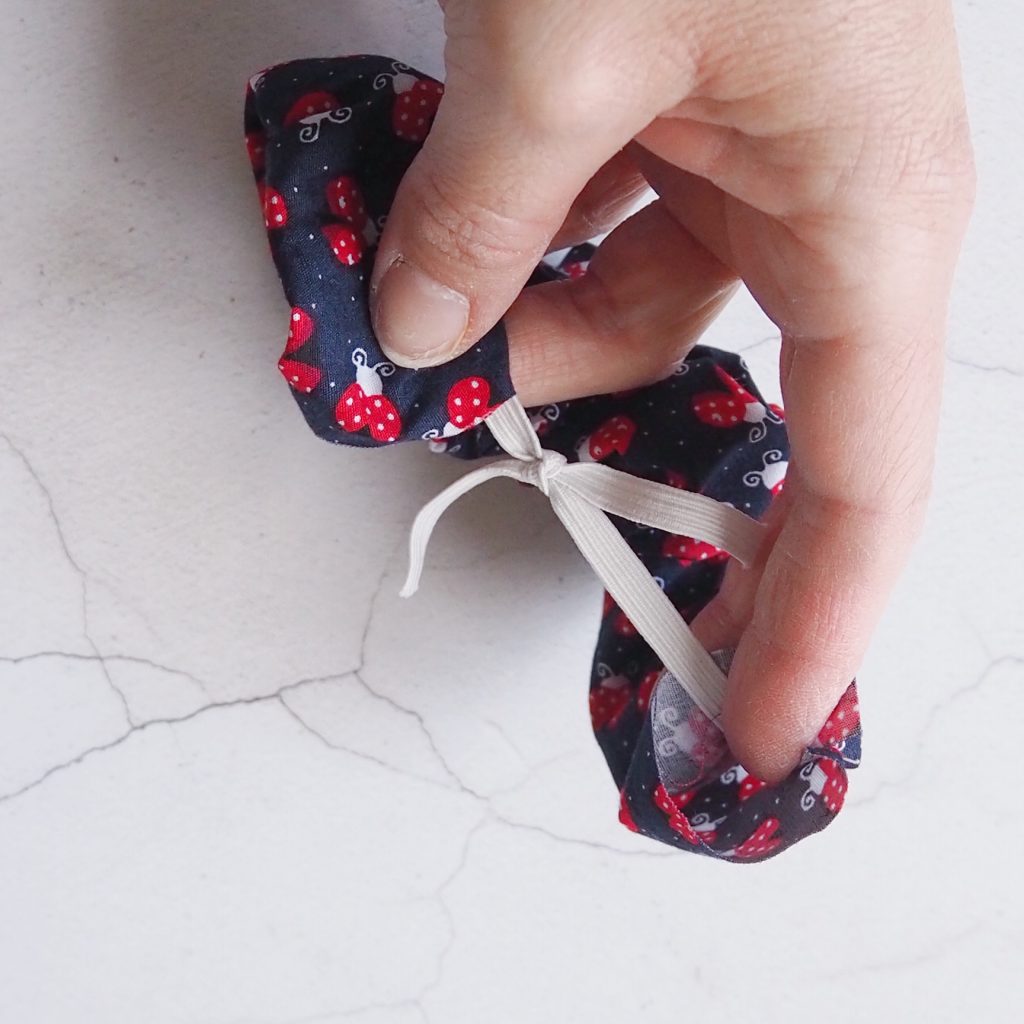
Tie your elastic into a secure knot
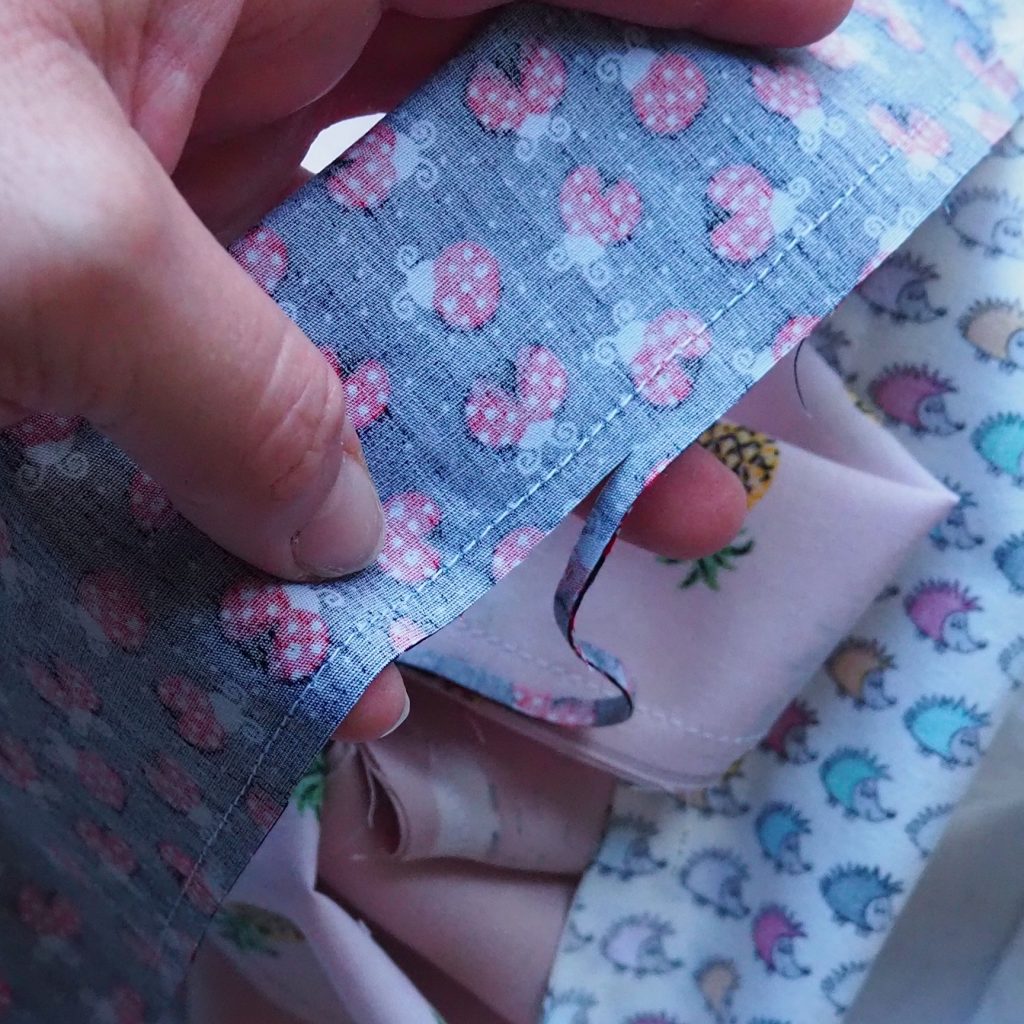
Step 6 – close your fabric tube
On one end of your fabric tube fold inwards a seam of approx. 1cm with your fingers, this doesn’t need to be super accurate but try to make sure you have enough that no raw edges are going to peek through. Poke the raw edge of the other end of your tube inside and underneath your folded end and pin.
Fold under a 1cm hem 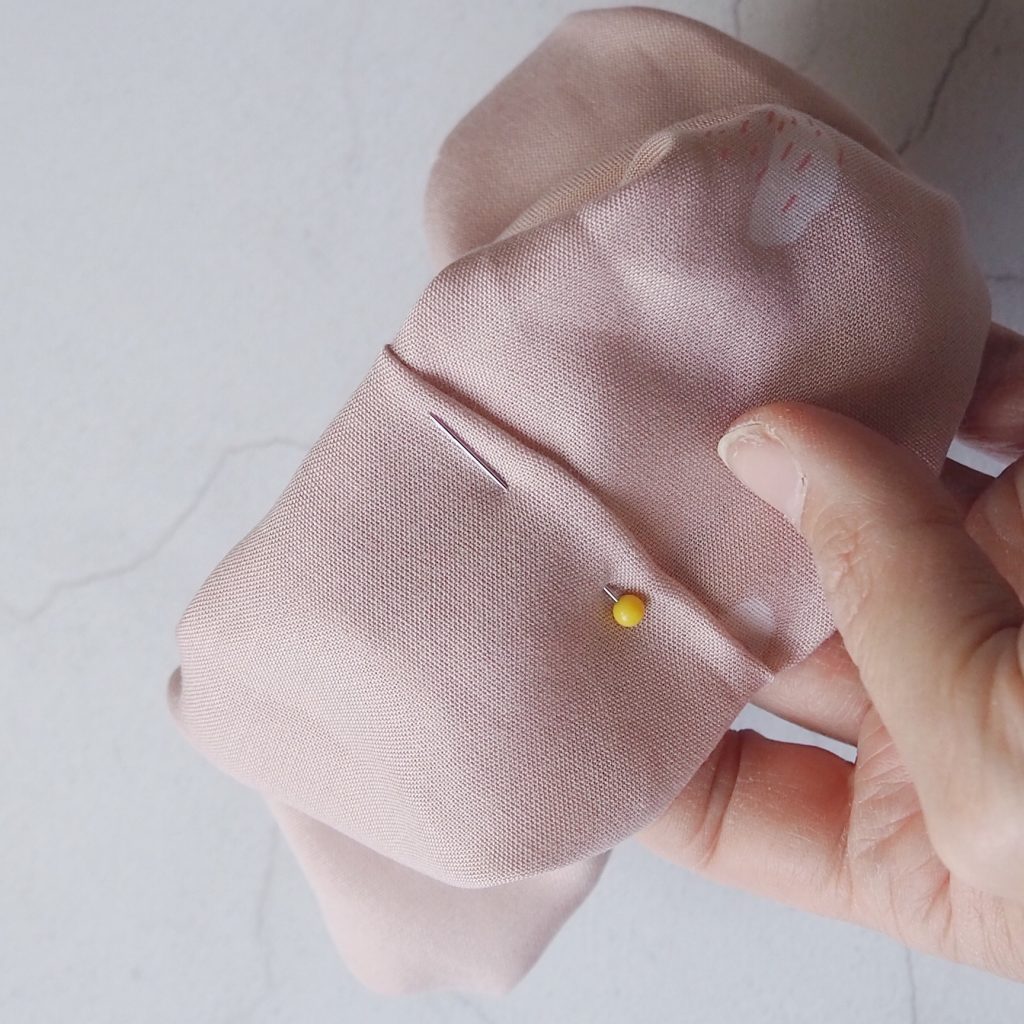
Pin together securing the raw edges
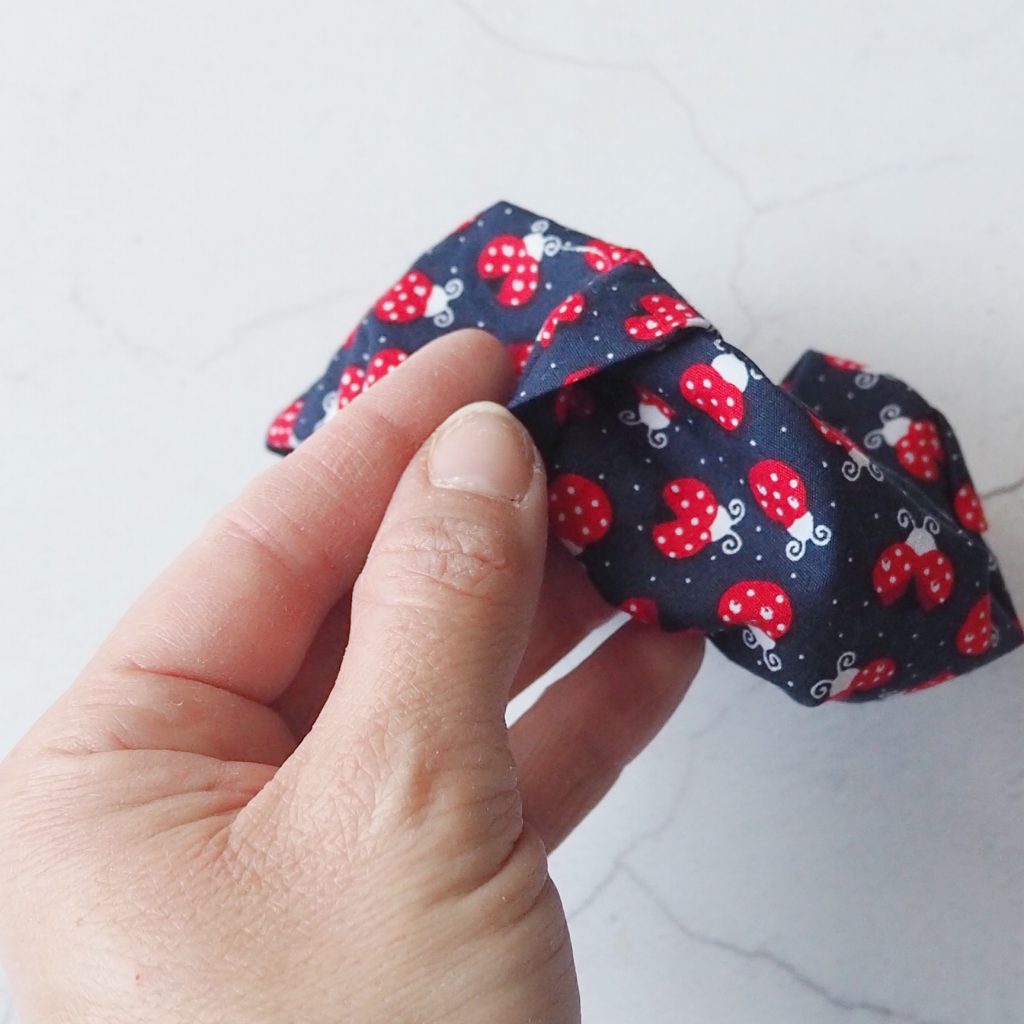
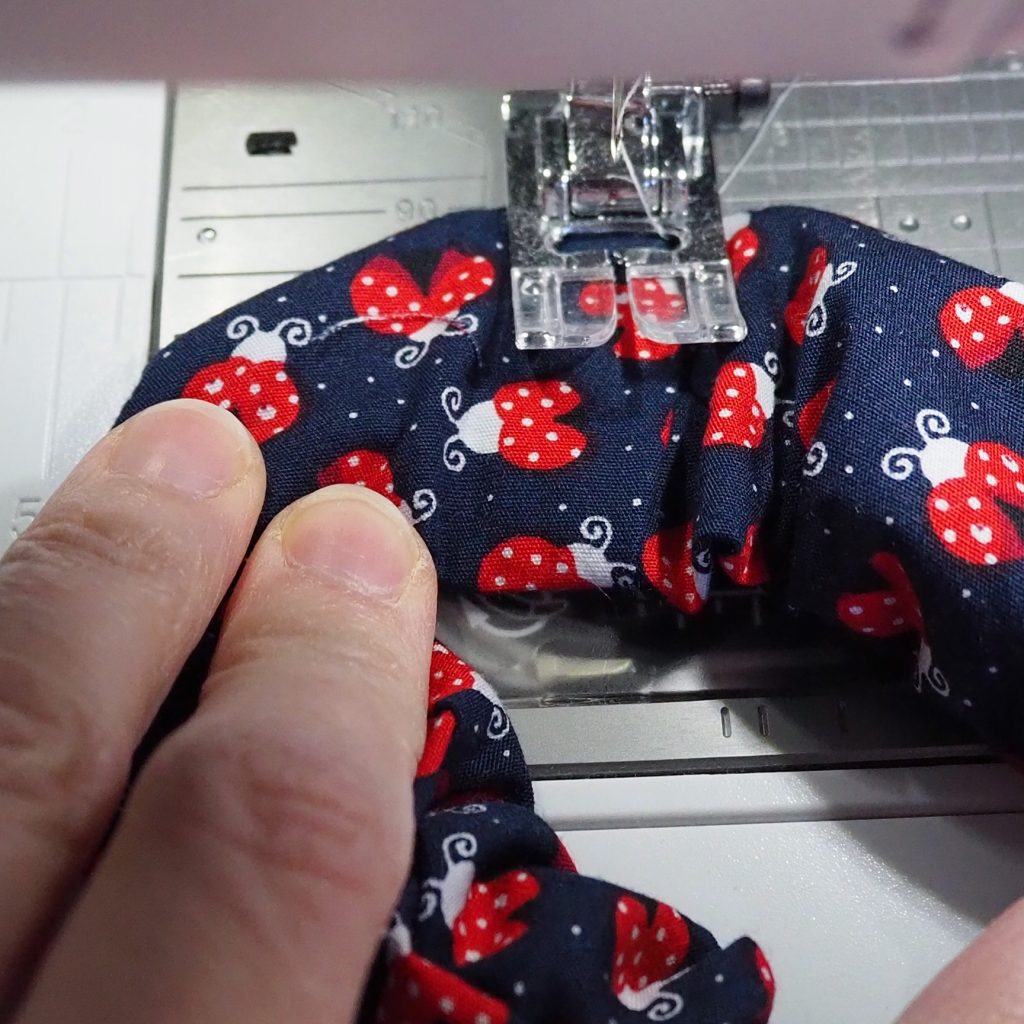
Then, either with your sewing machine or by hand, sew through all three layers (both ends of the tube and the elastic) to close the tube. If you want to be really neat you could slip stitch this opening by hand anyway so that no sewing is visible. I always tend to use the machine and a matching thread because when the scrunchie is all bunched up it doesn’t notice anyway!
Give your scrunchie a quick stretch on your hand to evenly spread the gathering.
Sew through all three layers 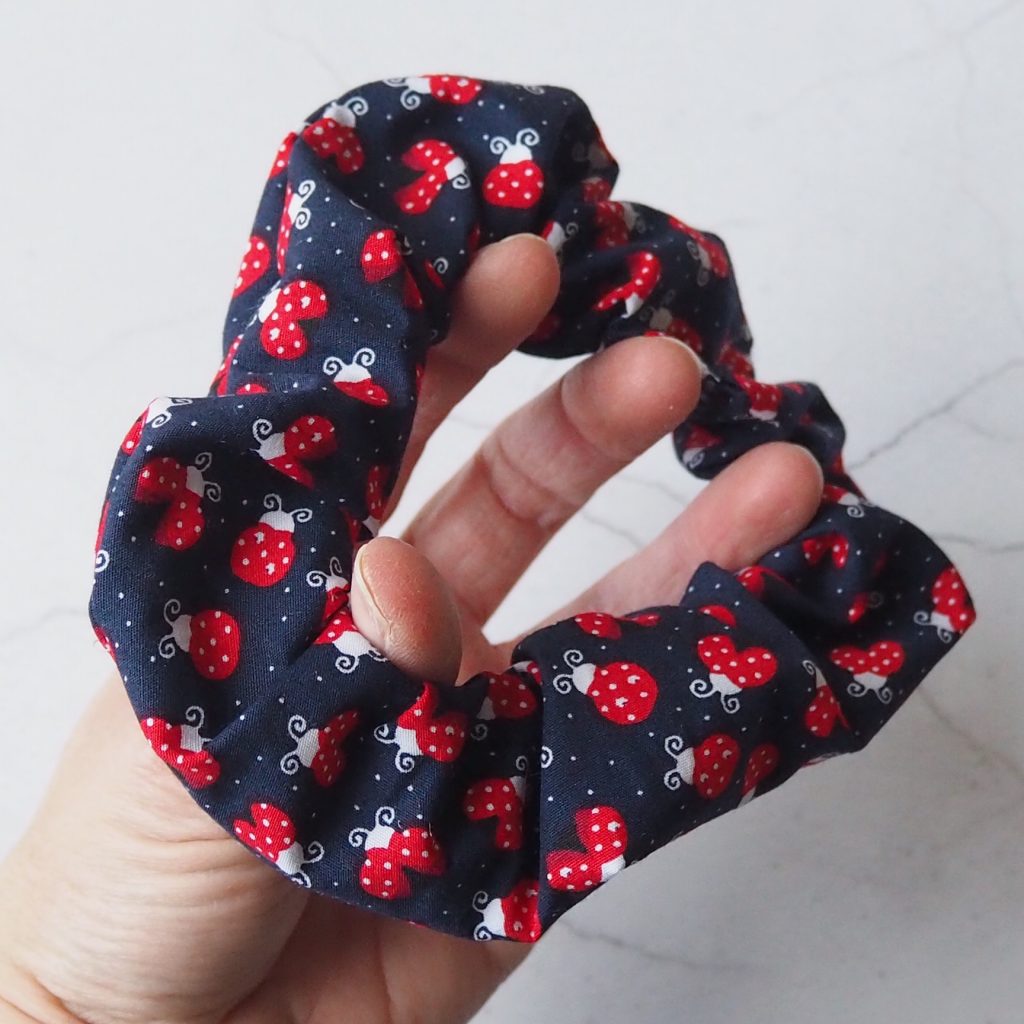
Give the scrunchie a good stretch
Step 7 – well done, you’re done!
Congratulate yourself on making your scrunchie and wear it with pride!!
If you use my tutorial to make your own scrunchie I would love to see and share your pictures. You can tag me on Instagram @poppy_and_primrose.
I’m hoping to add more beginner sewing tutorials to my blog – I’d love you to subscribe to my mailing list to be the first to hear about them and to make sure that you don’t miss out. You can sign up via my website home page.
Thank you so much for reading!
Lots of love
Sally xx

Follow Me!