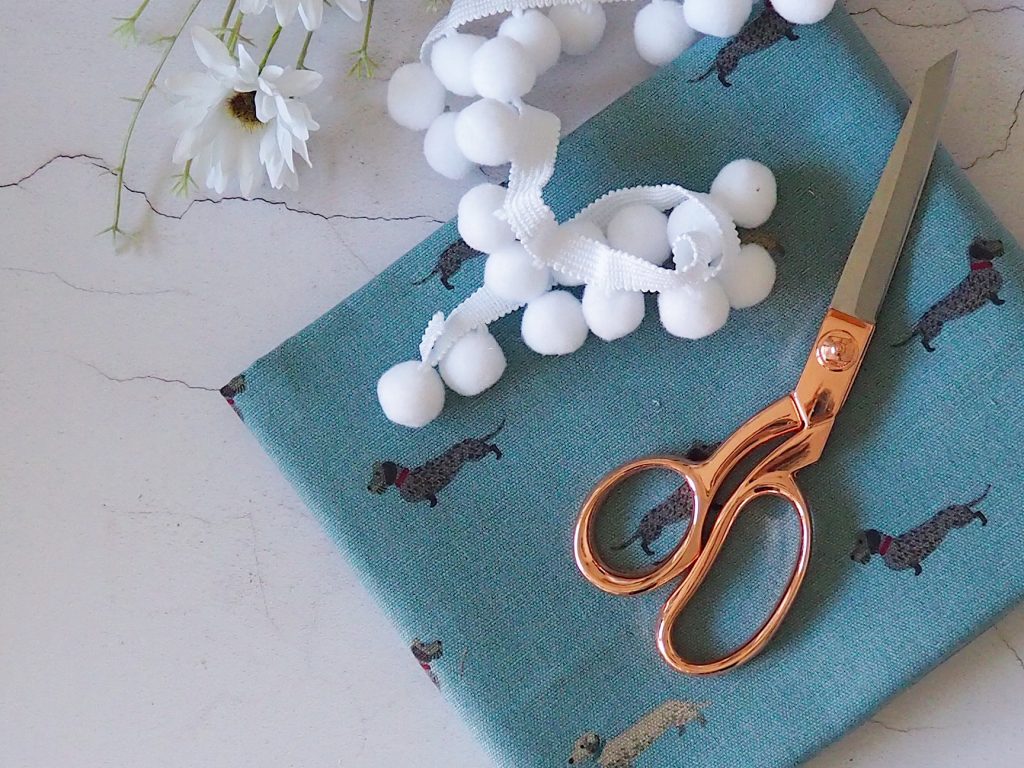
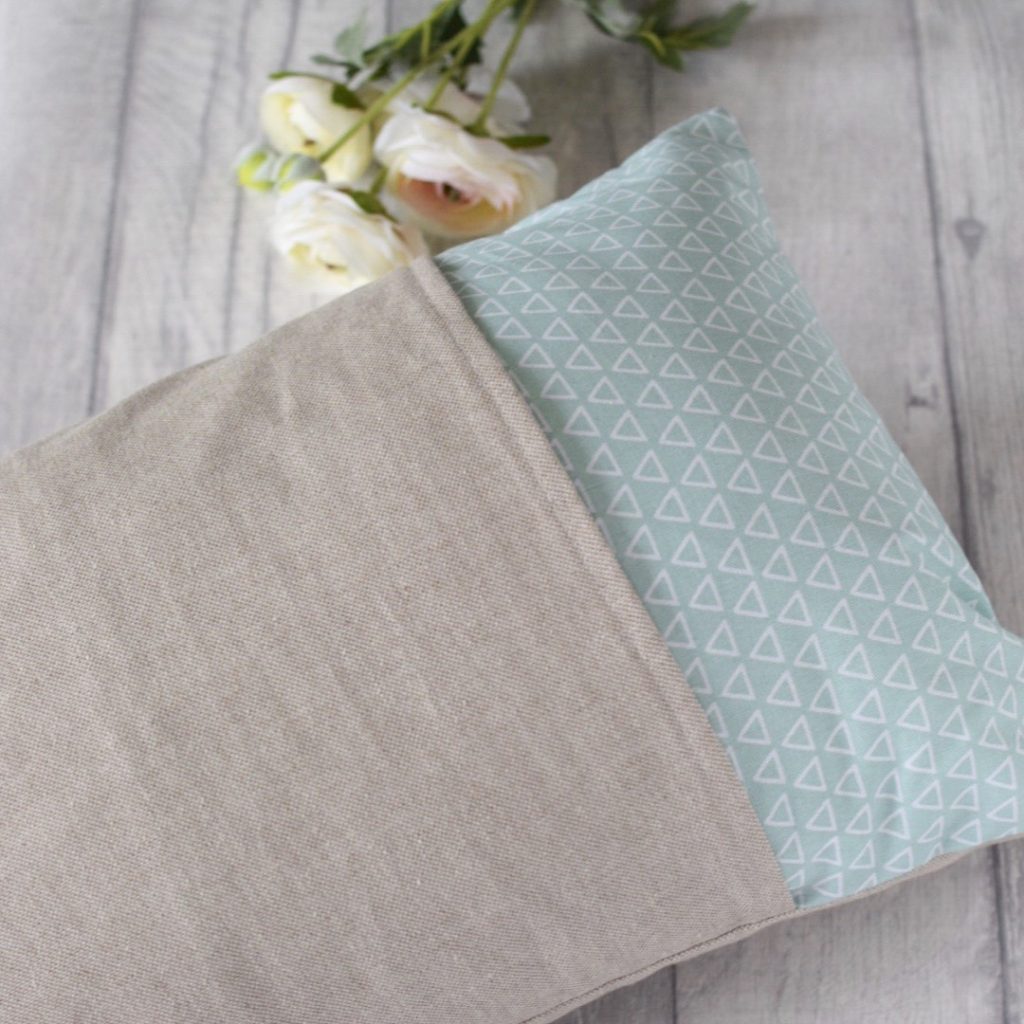
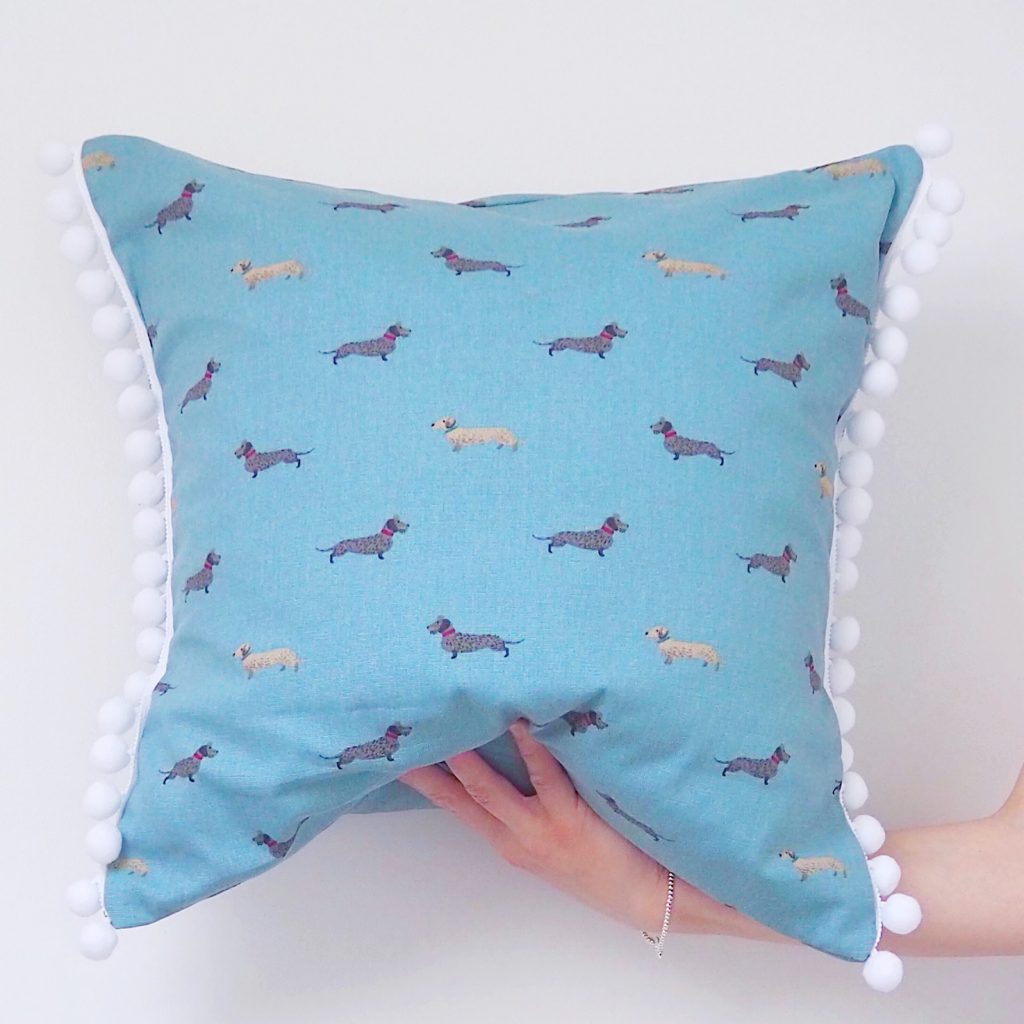
This envelope style cushion cover is one of the easiest styles of cushion cover to make as there are no zips and no button holes to master. The added touch of the pom pom trim gives a bit more interest but you could just as easily make it without of you don’t have any available or don’t want to.
You will need:
A cushion inner pad | Fabric for your cushion cover | Pom pom trim (if using) | Matching thread | Sewing machine | Scissors | Pins
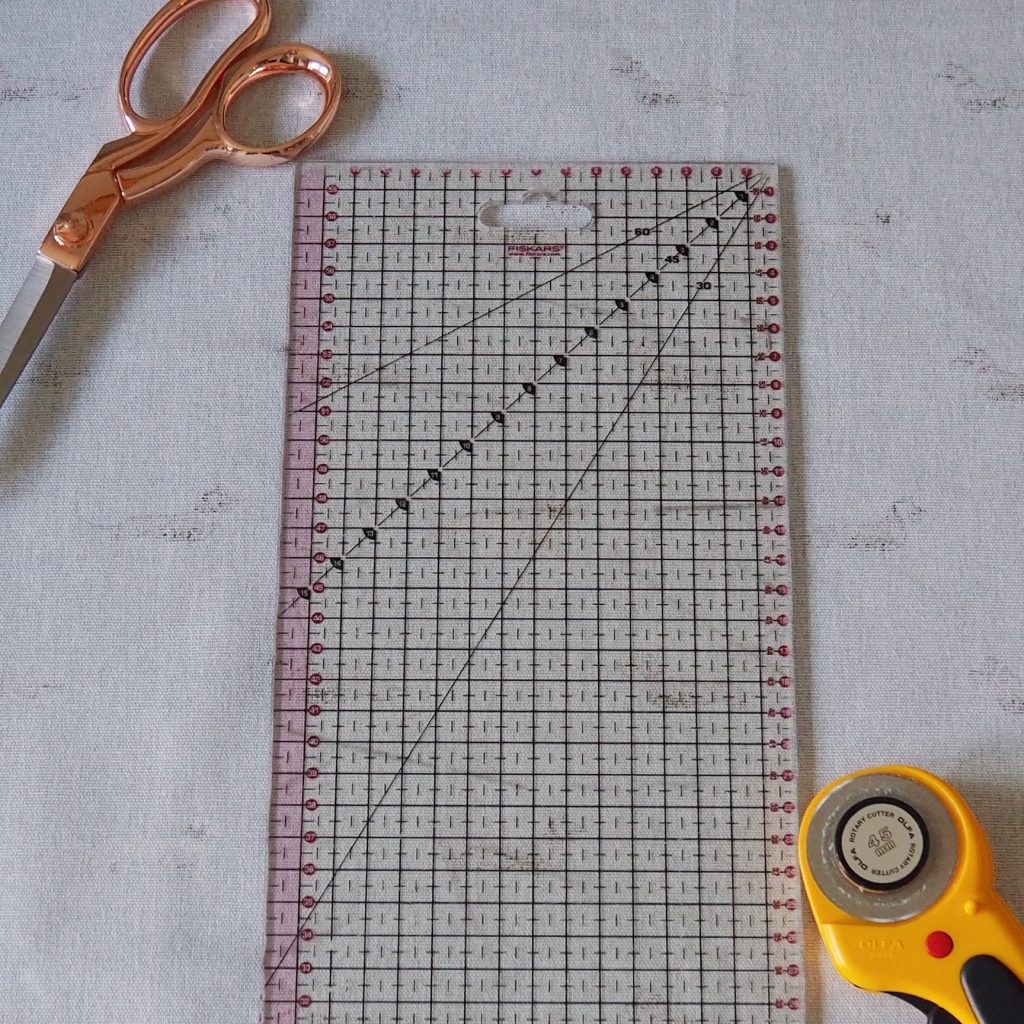
Step 1 – cut the front of your cushion cover
Measure your cushion pad. You will need to cut a square, or rectangle according to your cushion shape, to the measurement of your cushion pad but you will need to include a 1cm seam allowance all around. For example, my cushion was 50 x 50 cm so I cut a square which measured 52 x 52cm which included a 1cm seam allowance for each side.
Step 2 – cut your back ‘envelope’ pieces
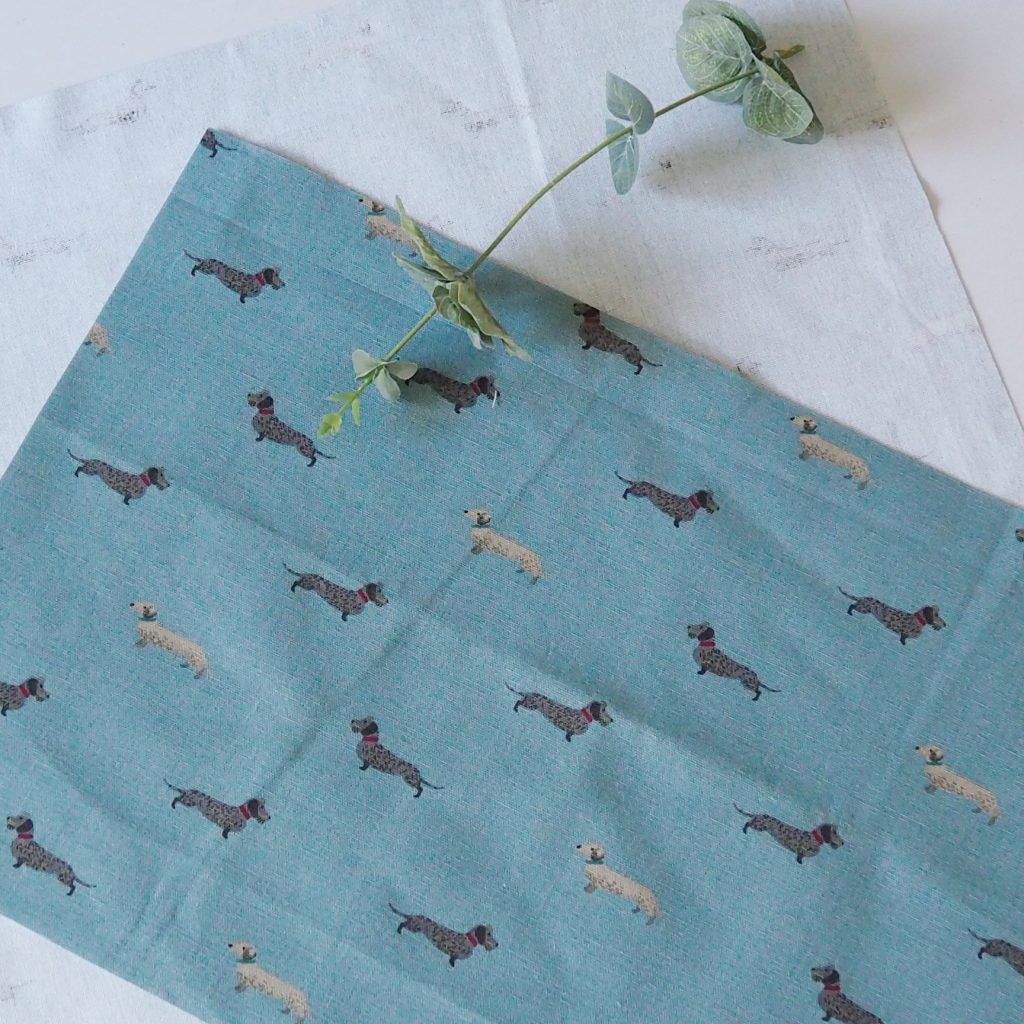
You will need to cut two rectangles for each of your ‘envelope’ pieces. There is no exact rule for working out this measurement, but I tend to use the formula width x 80% of the length of your cushion. So for my example above I will be cutting a rectangle measuring 52cm x 40cm. An 80% measurement might feel quite long but remember that this is going to include a hem and you want quite a generous overlap of the layers so that no inner pad pokes through!
NB. If you are using a rectangular cushion follow a similar calculation. For example if you have a cushion measuring 50 x 30 cm go with two pieces at either 80% each or sometimes having a small piece and a larger piece can work nicely like my example below.
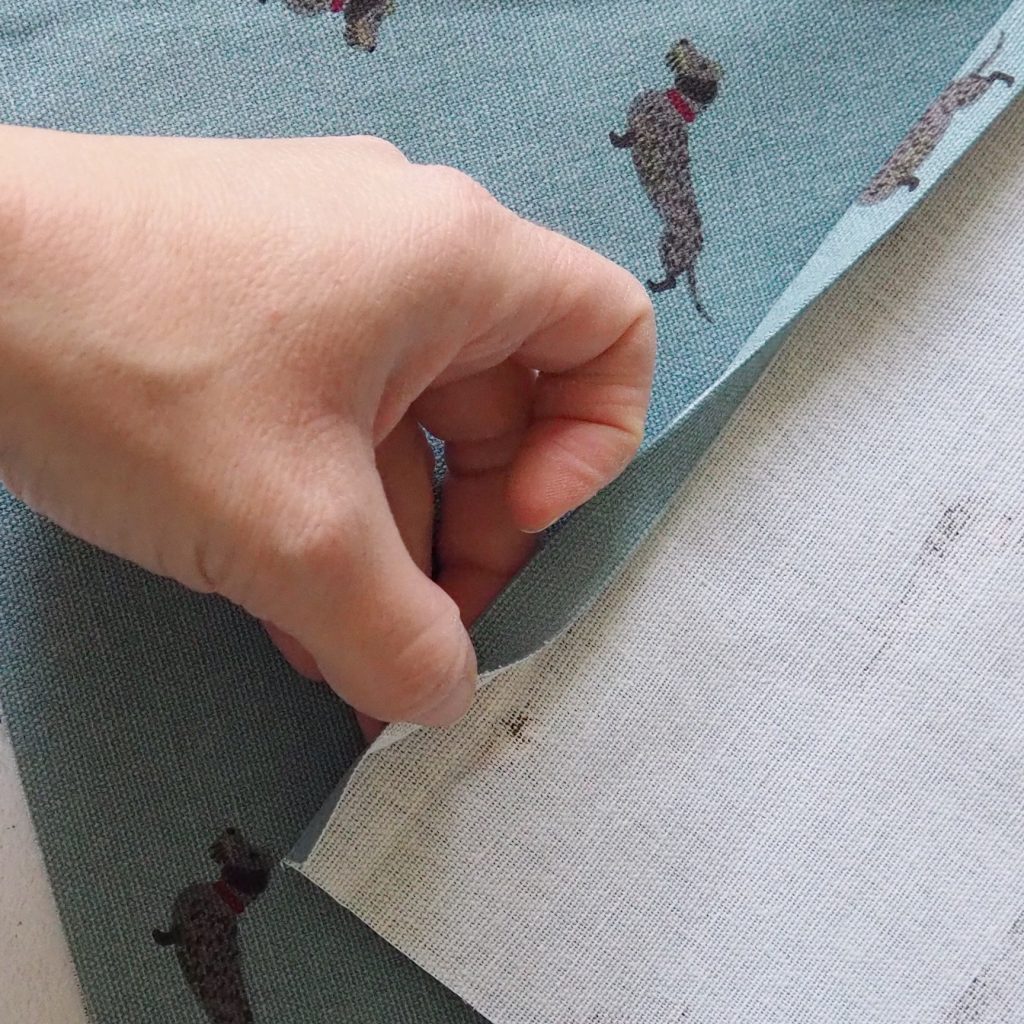
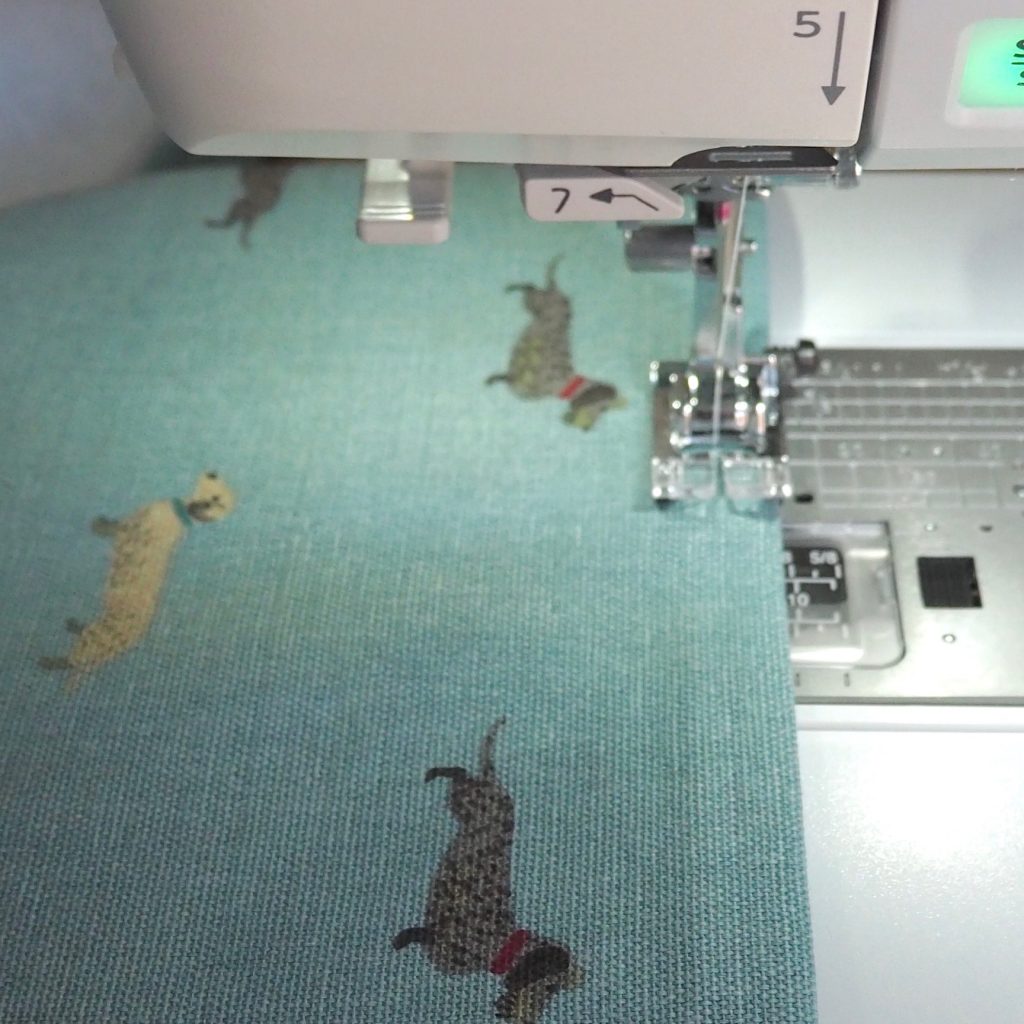
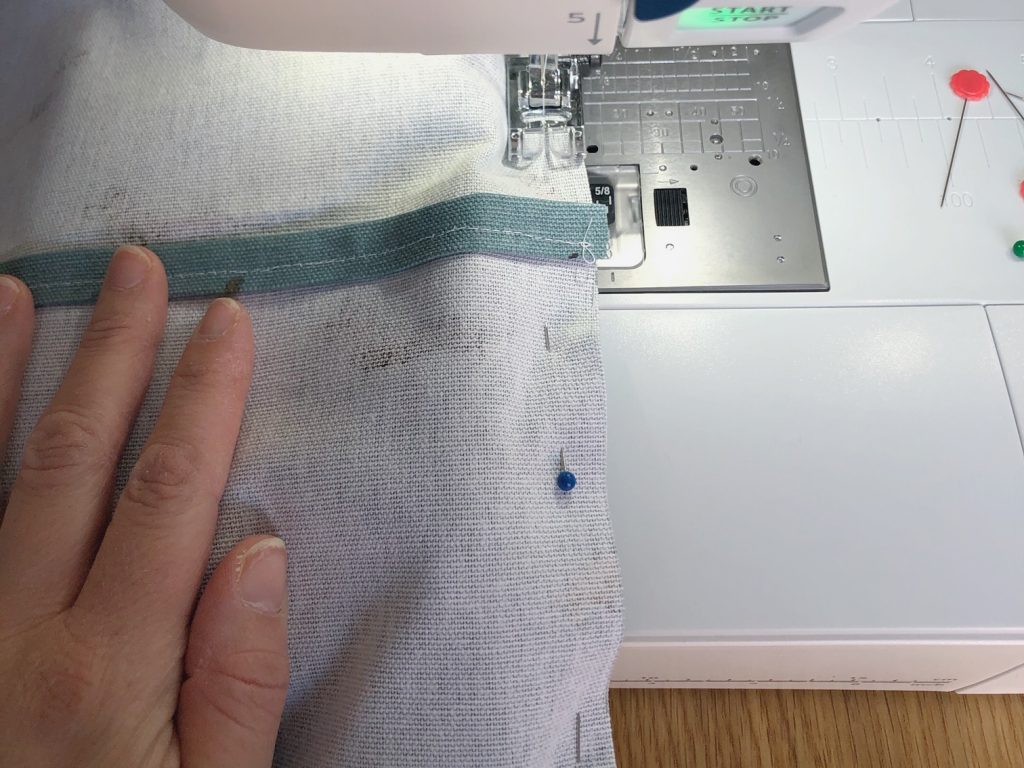
Step 3 – hem both of your envelope pieces
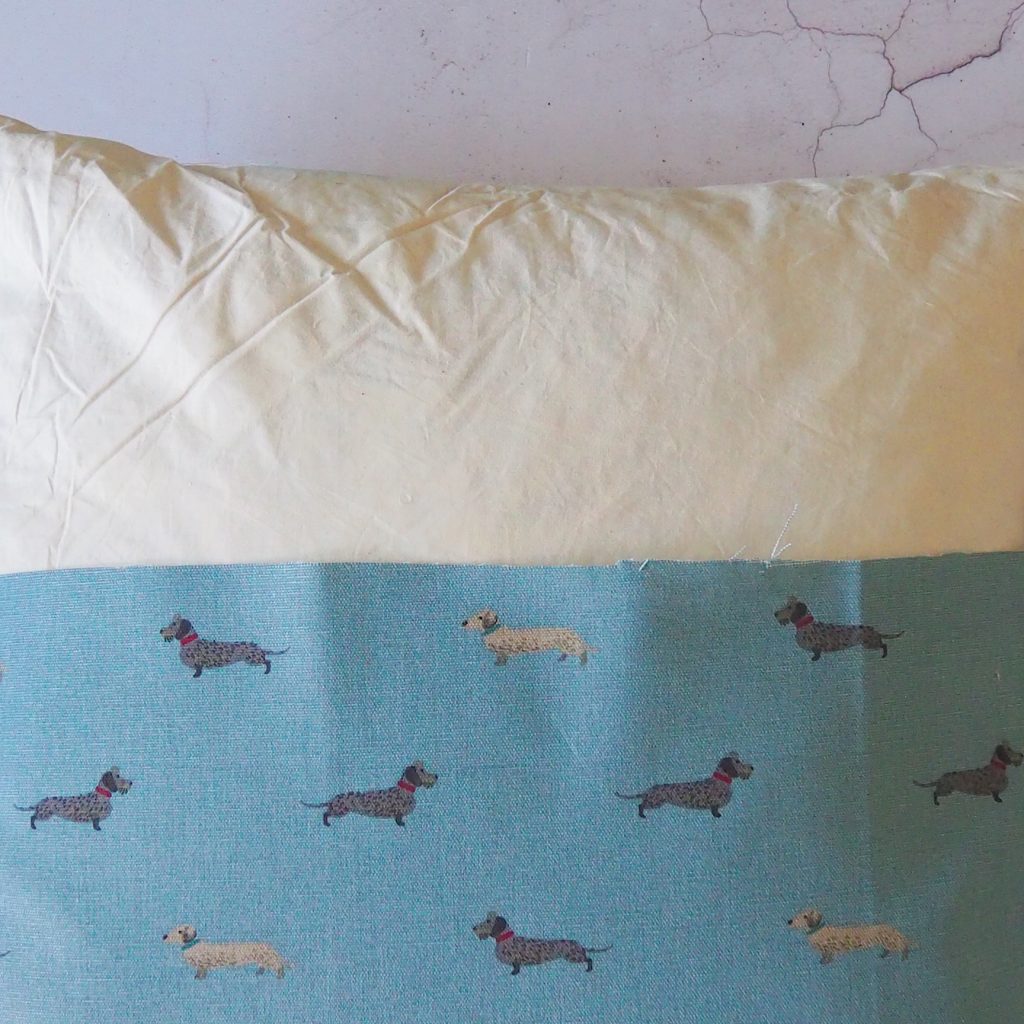
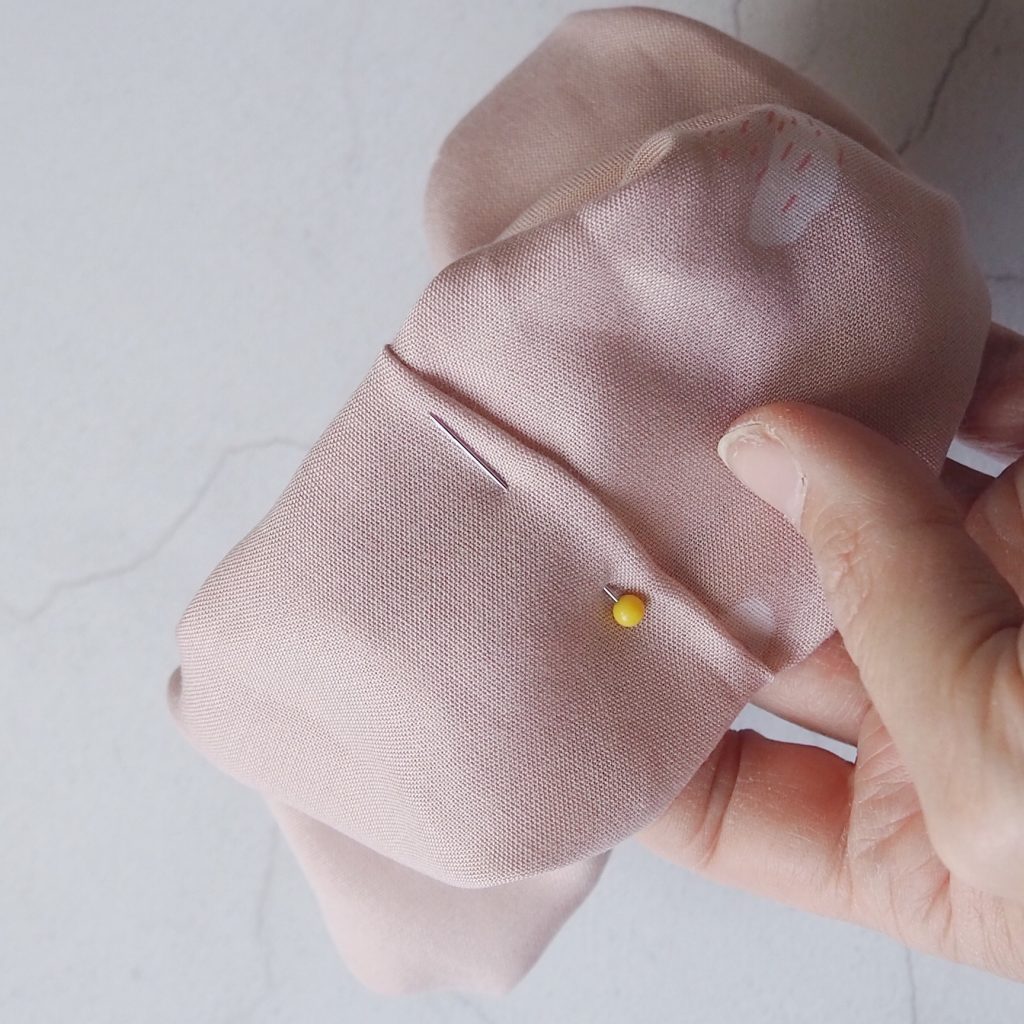
Turn over and press a 1cm hem along one of the opening edges of your back pieces then press over another 1cm so that your raw edge is completely enclosed. Pin this seam if necessary as you’ll be sewing this soon. Repeat this step for your other envelope piece, if you are using a directional print like I have here (the print all faces in the same direction) just make sure that your fabric is going to be the right way up once it’s sewn. You may need to turn one hem at the top of your piece and the other at the bottom to ensure that the print will be facing the right way when it’s sewn.
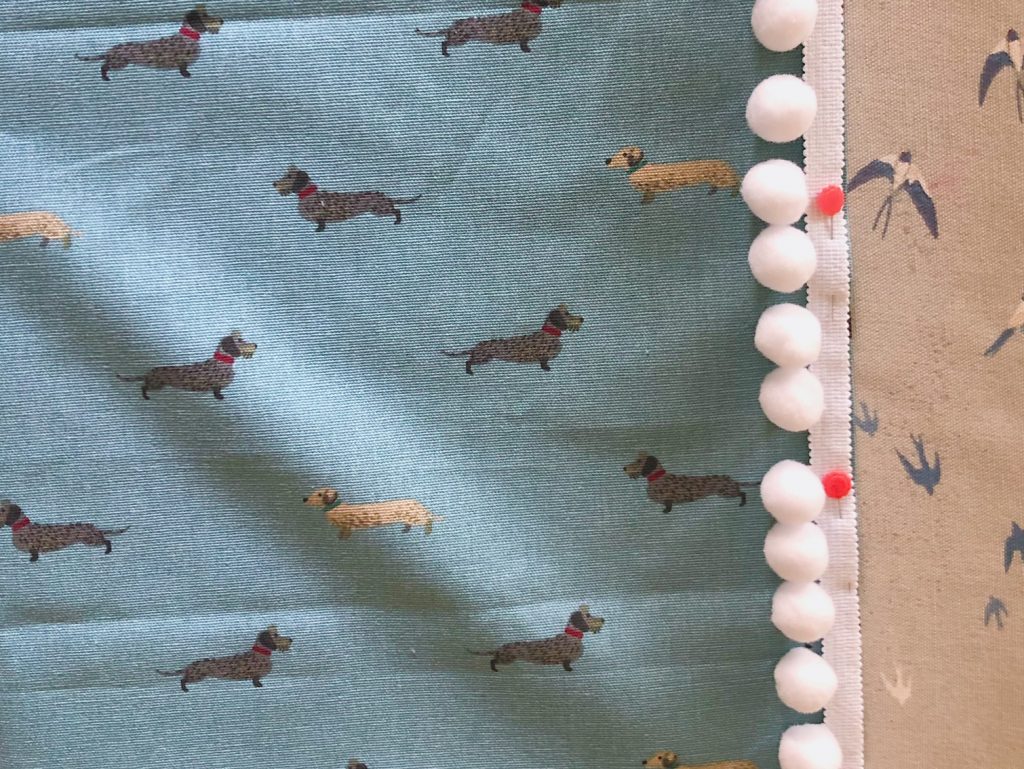
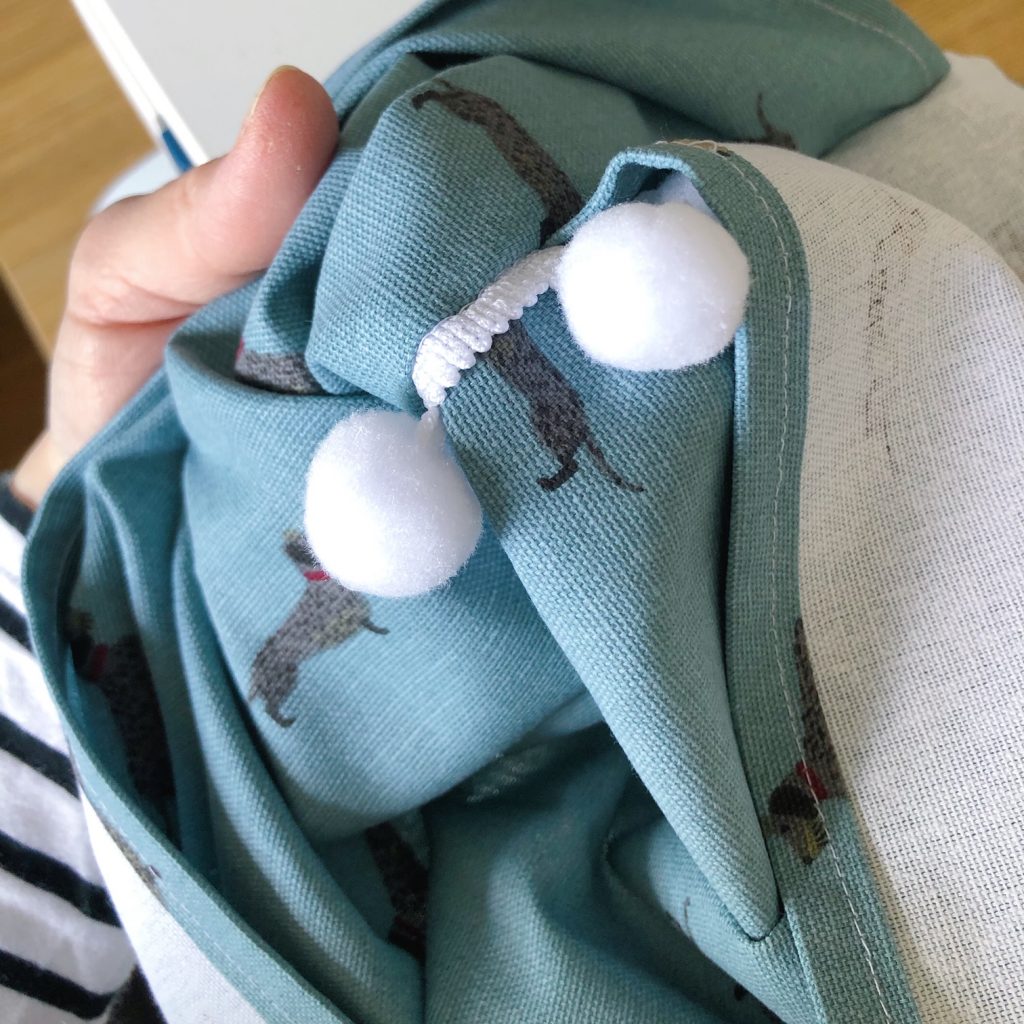
Step 4 – cut and prepare your pom pom trim (if using)
If you are using a pom pom trim measure and cut two lengths the same length as your cushion plus approximately 3cm extra just in case! Place one length of trim along the left edge of your front cushion piece on the right side of your fabric with the pom poms facing inwards. Pin the trim to the cushion piece and repeat on the right side. Once pinned, tack the trim to your cushion piece either by machine using a straight stitch with a long stitch length or by hand. This will keep the pom poms in place when you’re sewing the cushion cover together. Remove the pins as you go.
Step 5 – sew your cushion together
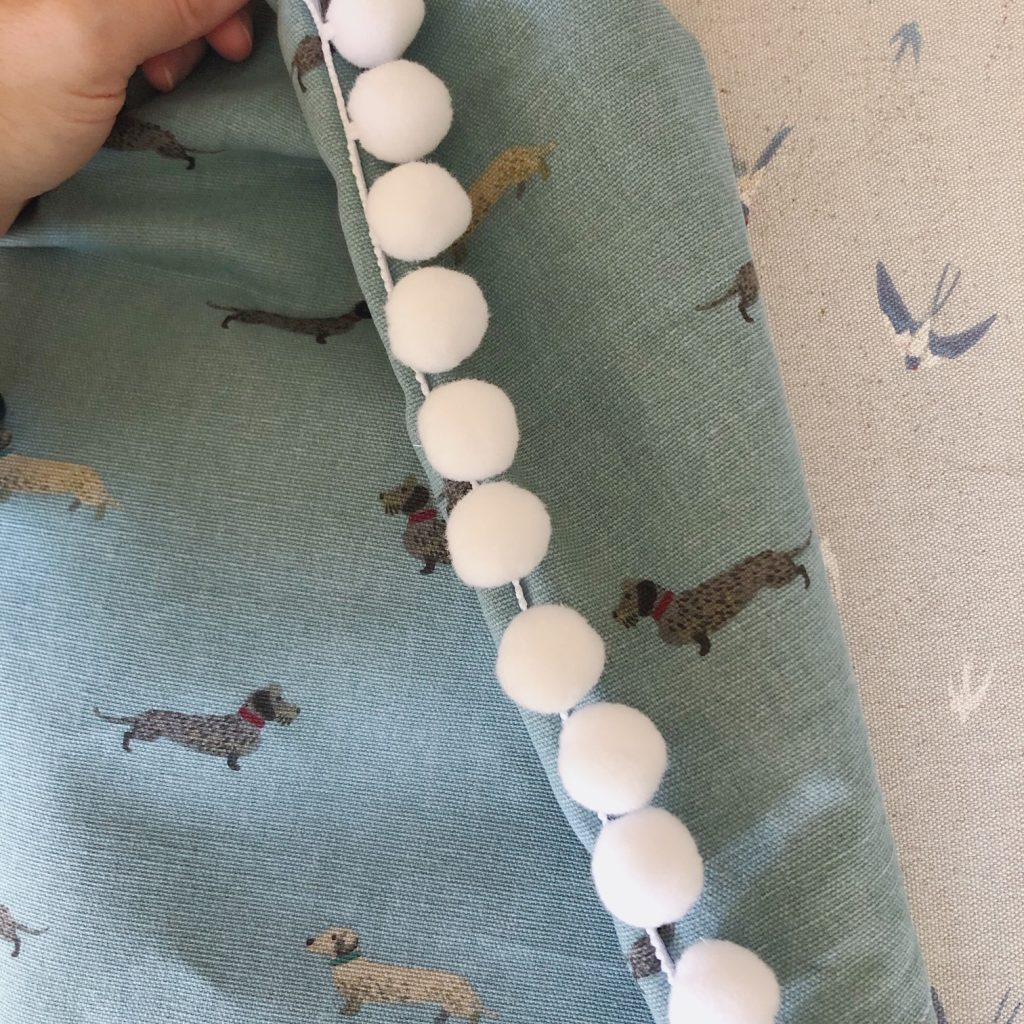
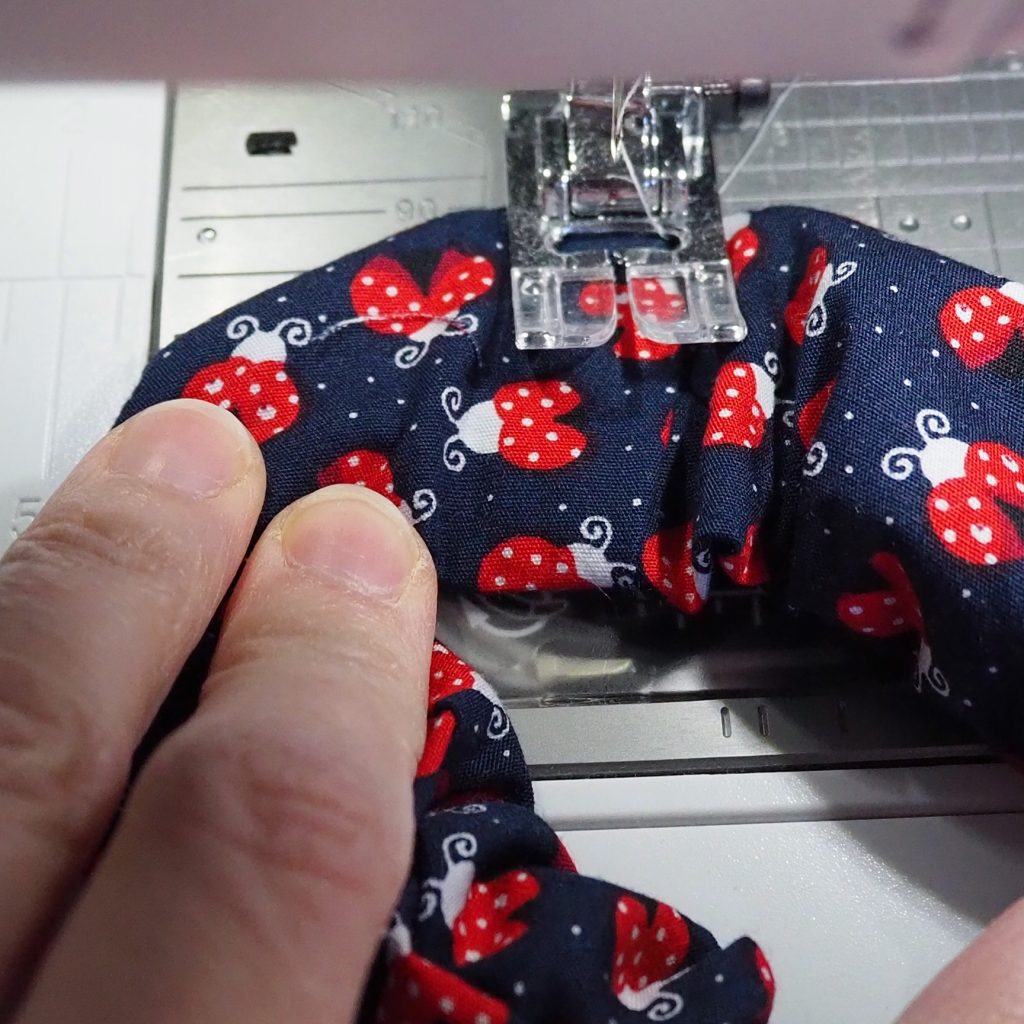
With your pom pom trim now tacked in place, carefully place your cushion top and envelope pieces right sides together, one back piece overlapping the other and pom poms securely inside. Pin all around the edge taking care that all of the trim is facing the inside of the cushion and nothing is accidentally poking out. Once everything is securely pinned, take your cushion over to the sewing machine and carefully and slowly sew all around the full square, Making sure to sew through the edge of your pom pom trim at the sides which should be securely sandwiched between your back and front pieces.
If you would like to you can finish the raw edges of your cushion with a zig zag or overlock stitch to prevent fraying.
Step 6 – turn your cushion cover through to the right side
Pull your cushion cover through to the right side through the envelope opening, straighten out the edges and make sure that you managed to catch all of that pom pom trim in your seam. If you missed any simply unpick that area, pin it back in, turn it back to the wrong side again and sew the area that you missed.
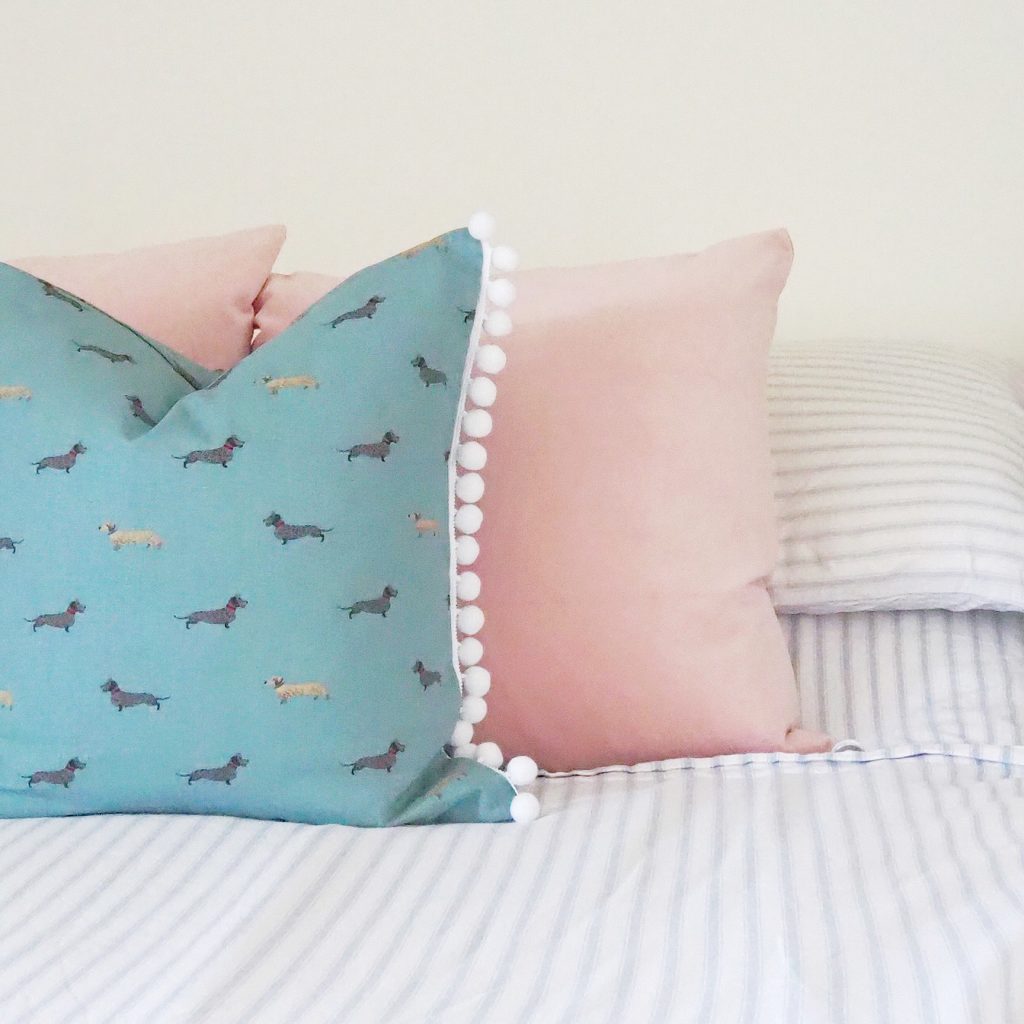
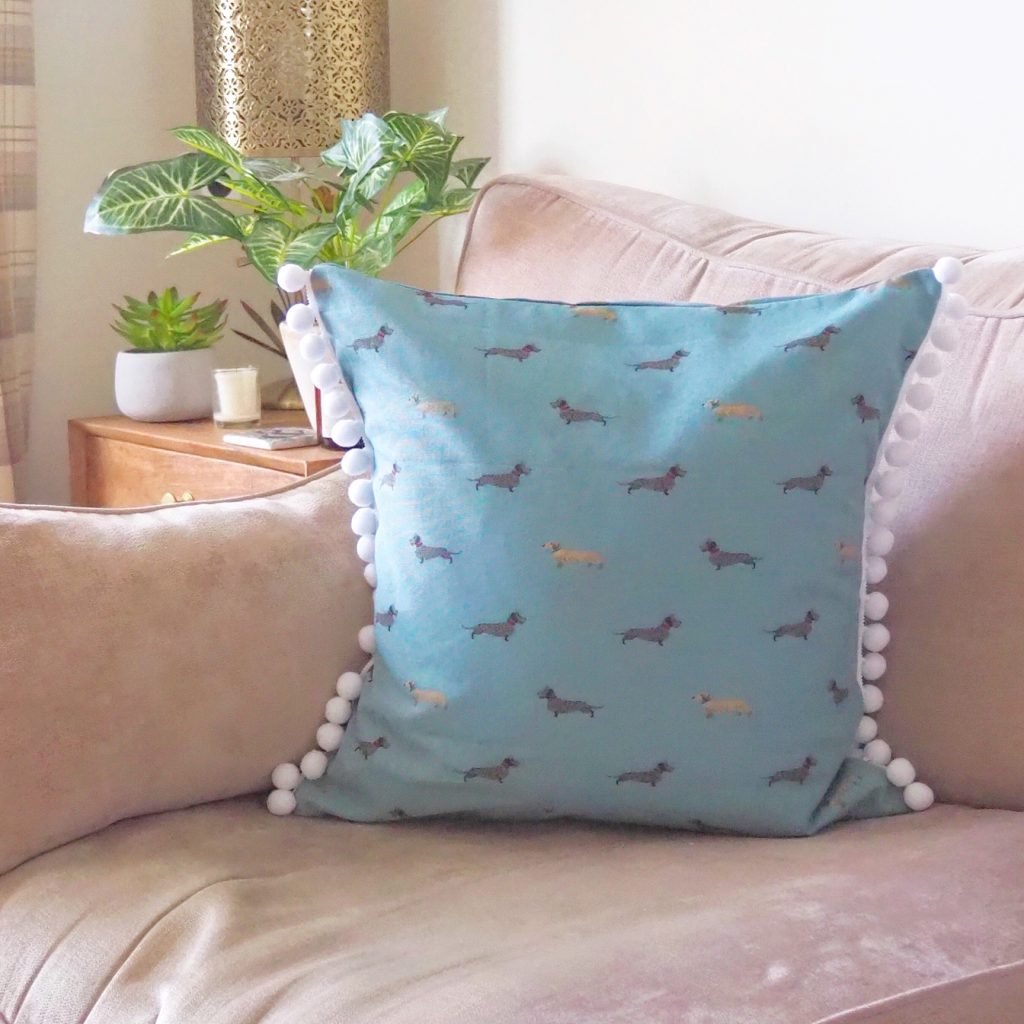
Give the cushion cover a good shake out and a lovely press with the iron and pop it over your cushion pad.
And that’s it, you now have a lovely, fancy new cushion pad!
I hope you enjoyed this tutorial, if you do use it to make your own cushion cover I would love to see and share your pictures. You can tag me on Instagram @poppy_and_primrose.
I’m hoping to be adding more beginner sewing tutorials to my blog – I’d love you to subscribe to my mailing list to be the first to hear about them and to make sure that you don’t miss out.
Thank you so much for reading and happy sewing!
Lots of love
Sally xx


Follow Me!